
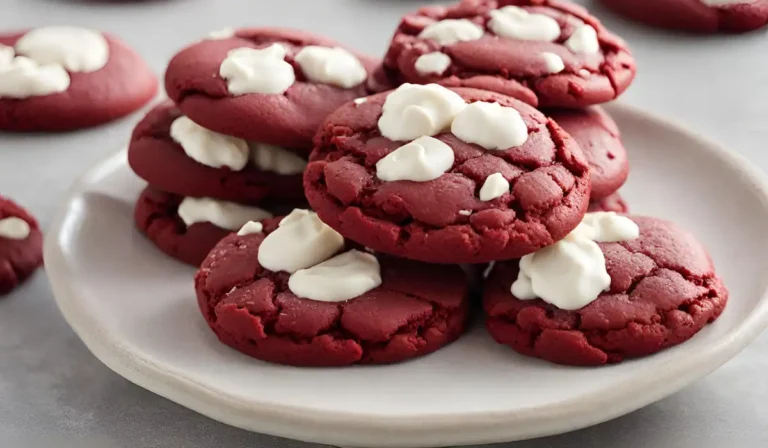
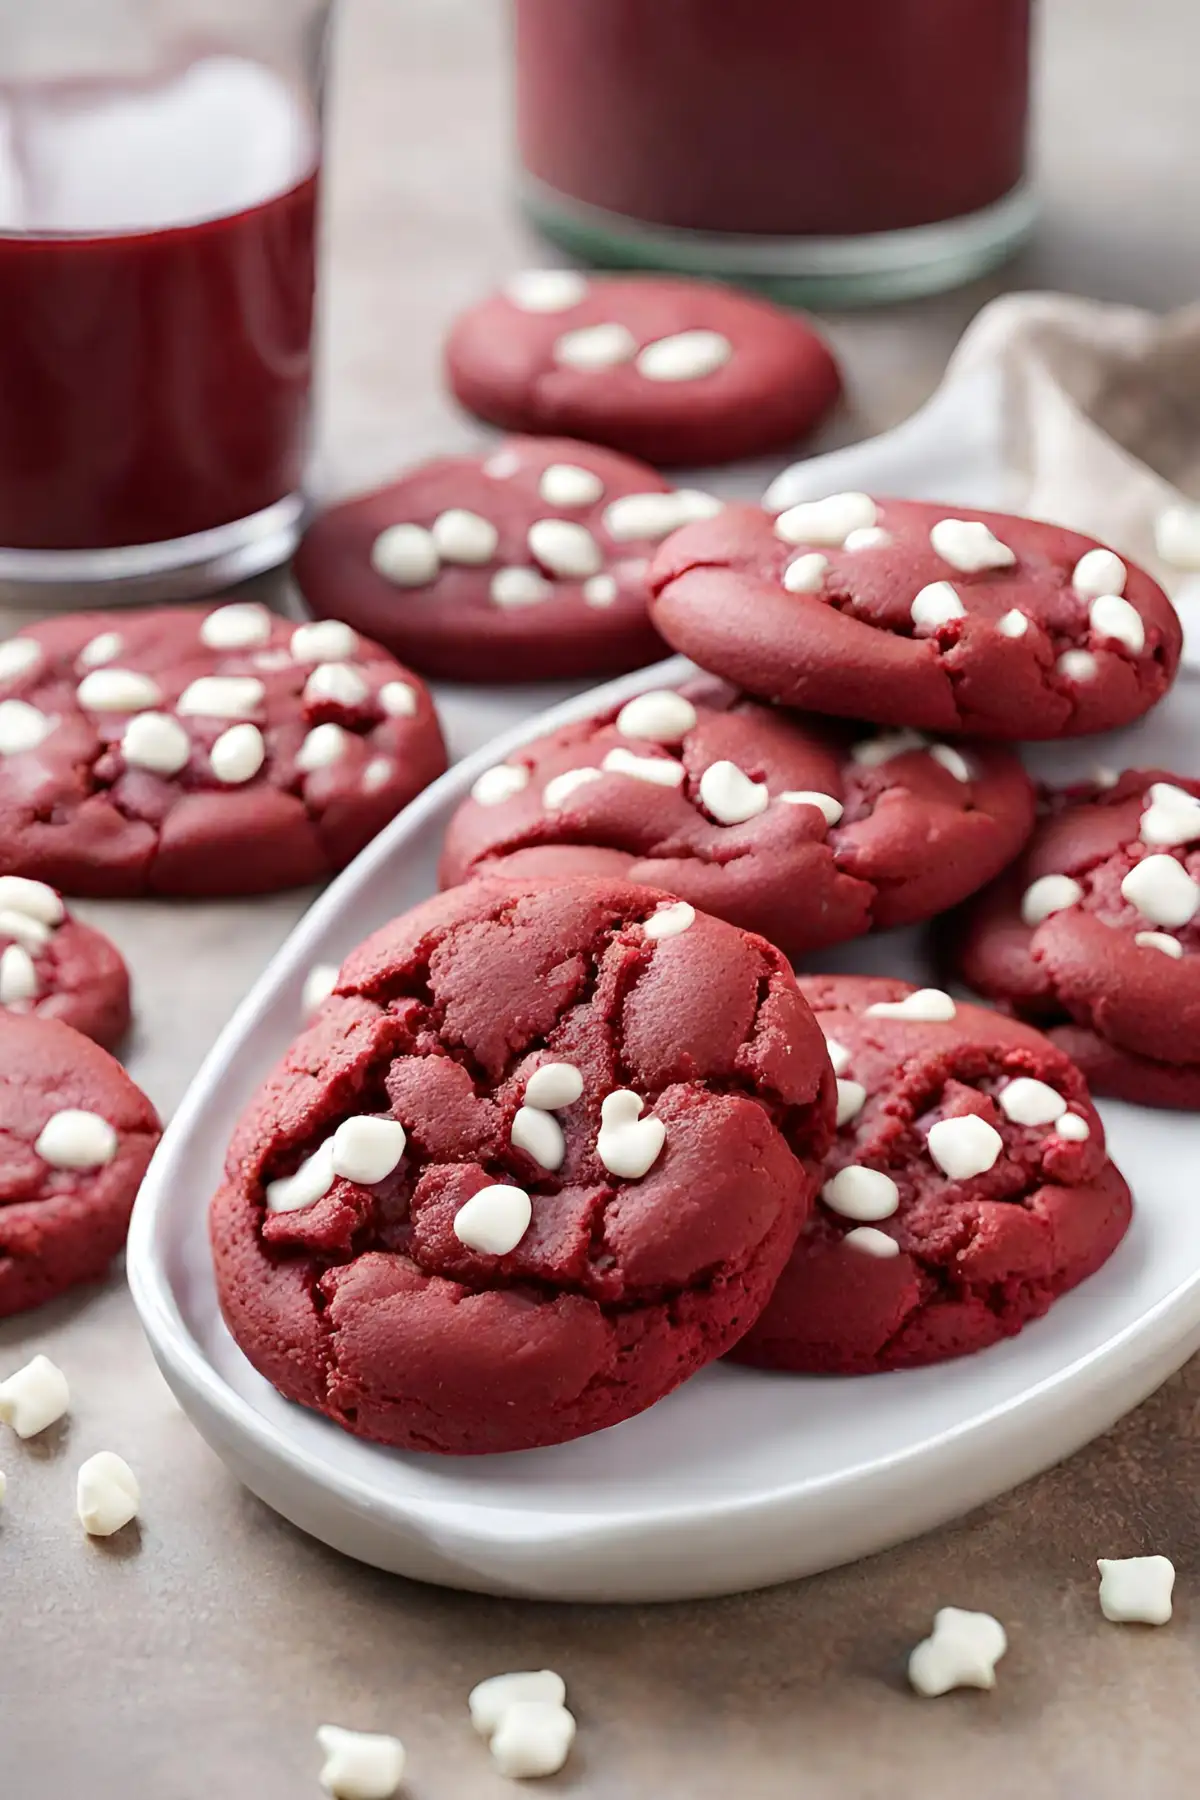
Easy Red Velvet Cookies Recipe with Cake Mix – Quick & Delicious Treats
Red velvet has always been a classic flavor loved by many. Originating from the Victorian era, it has become a staple in the world of desserts, especially in the form of cakes and cupcakes. However, the adaptation of this rich, vibrant flavor into cookie form, particularly using cake mix, has gained popularity for its simplicity and delicious taste.
Why Use Cake Mix for Cookies?
Using a cake mix for cookies is a clever hack for several reasons:
- Convenience: It saves time and effort, especially when you’re in a rush.
- Consistency: Cake mixes provide a fail-safe way to achieve perfect cookies every time.
For more unique cookie ideas, check out our Delicious Cinnamon Roll Cookies Recipe.
Choosing the Right Cake Mix
- Brand Matters: Not all cake mixes are created equal. Brands like Duncan Hines offer a red velvet mix that is rich in flavor and gives the cookies a perfect texture.
- Gluten-Free Options: For those with dietary restrictions, gluten-free options are available.
Recipe and Preparation
Ingredients Overview
To make these delightful red velvet cookies, you will need:
- 1 box of red velvet cake mix
- Oil (vegetable or canola)
- Eggs
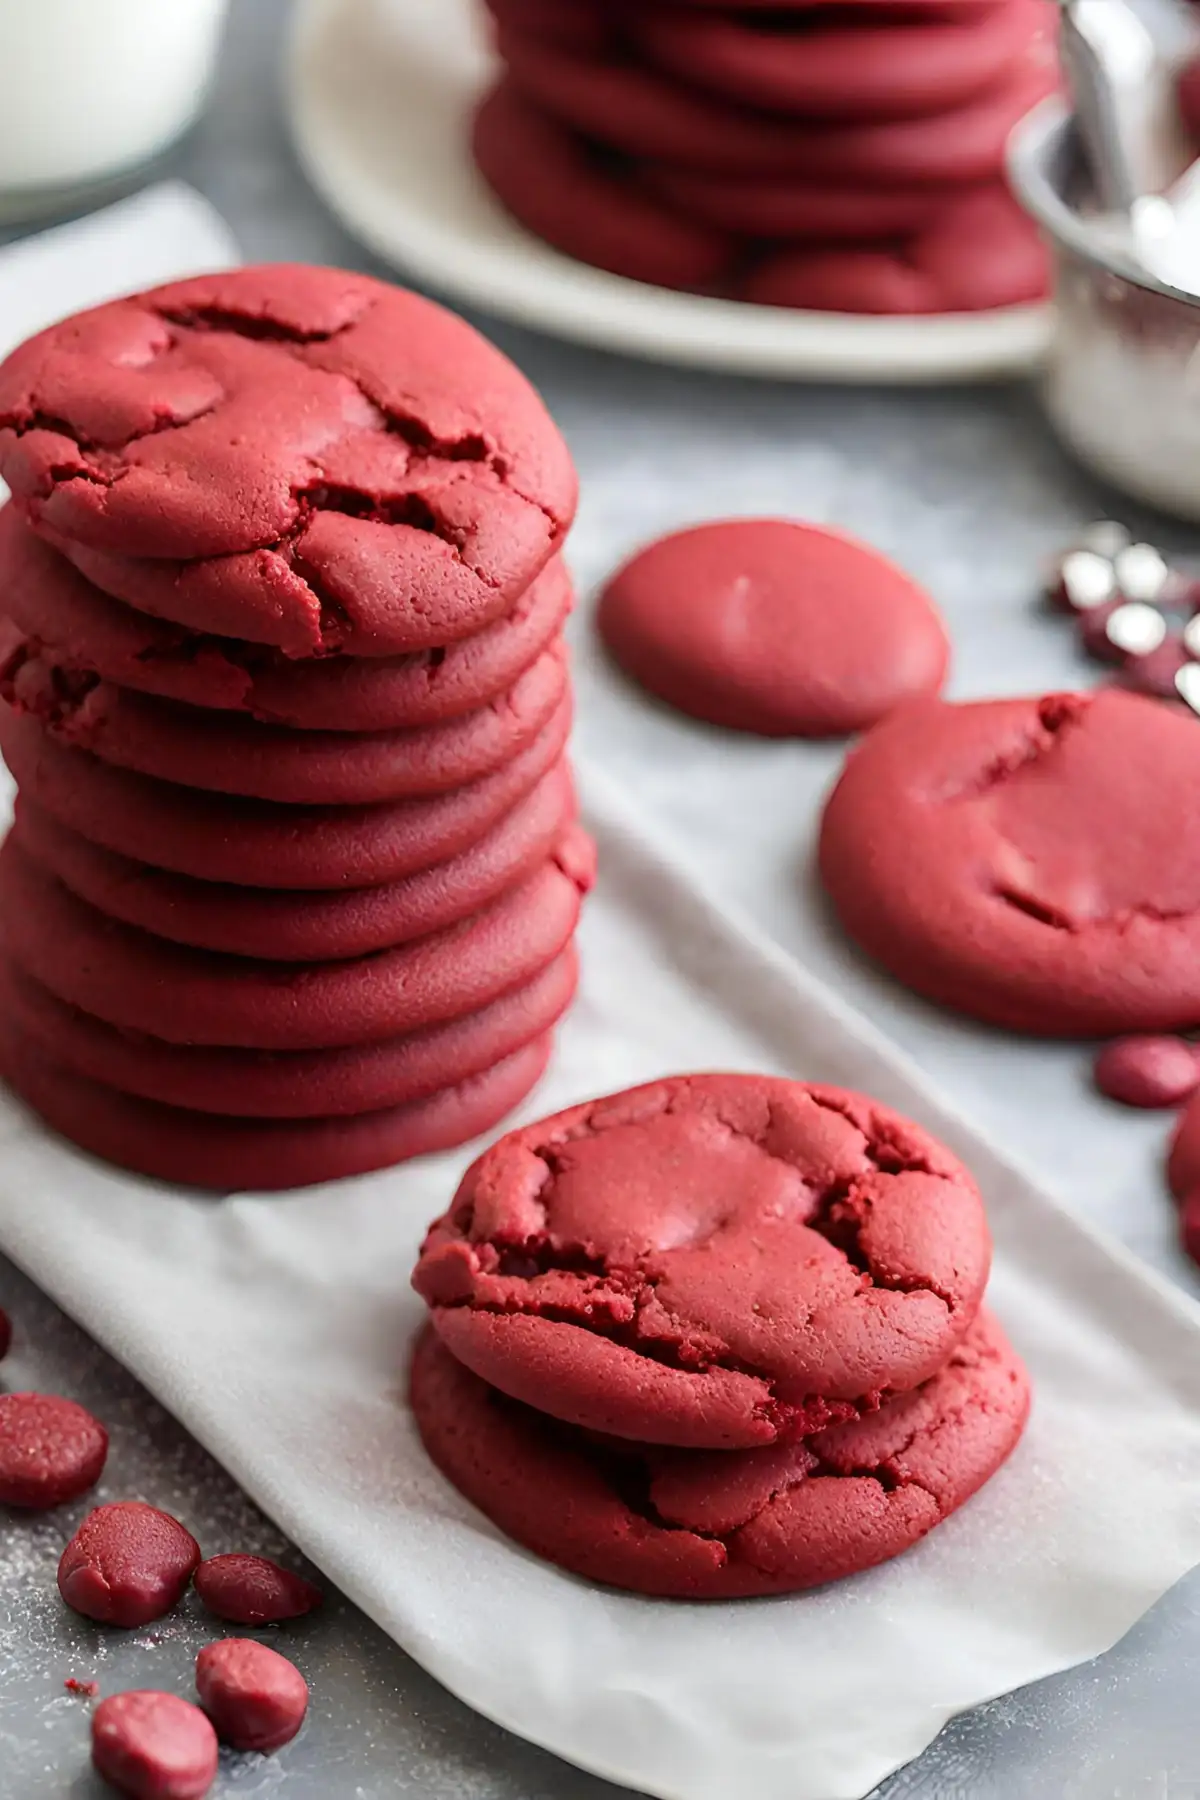
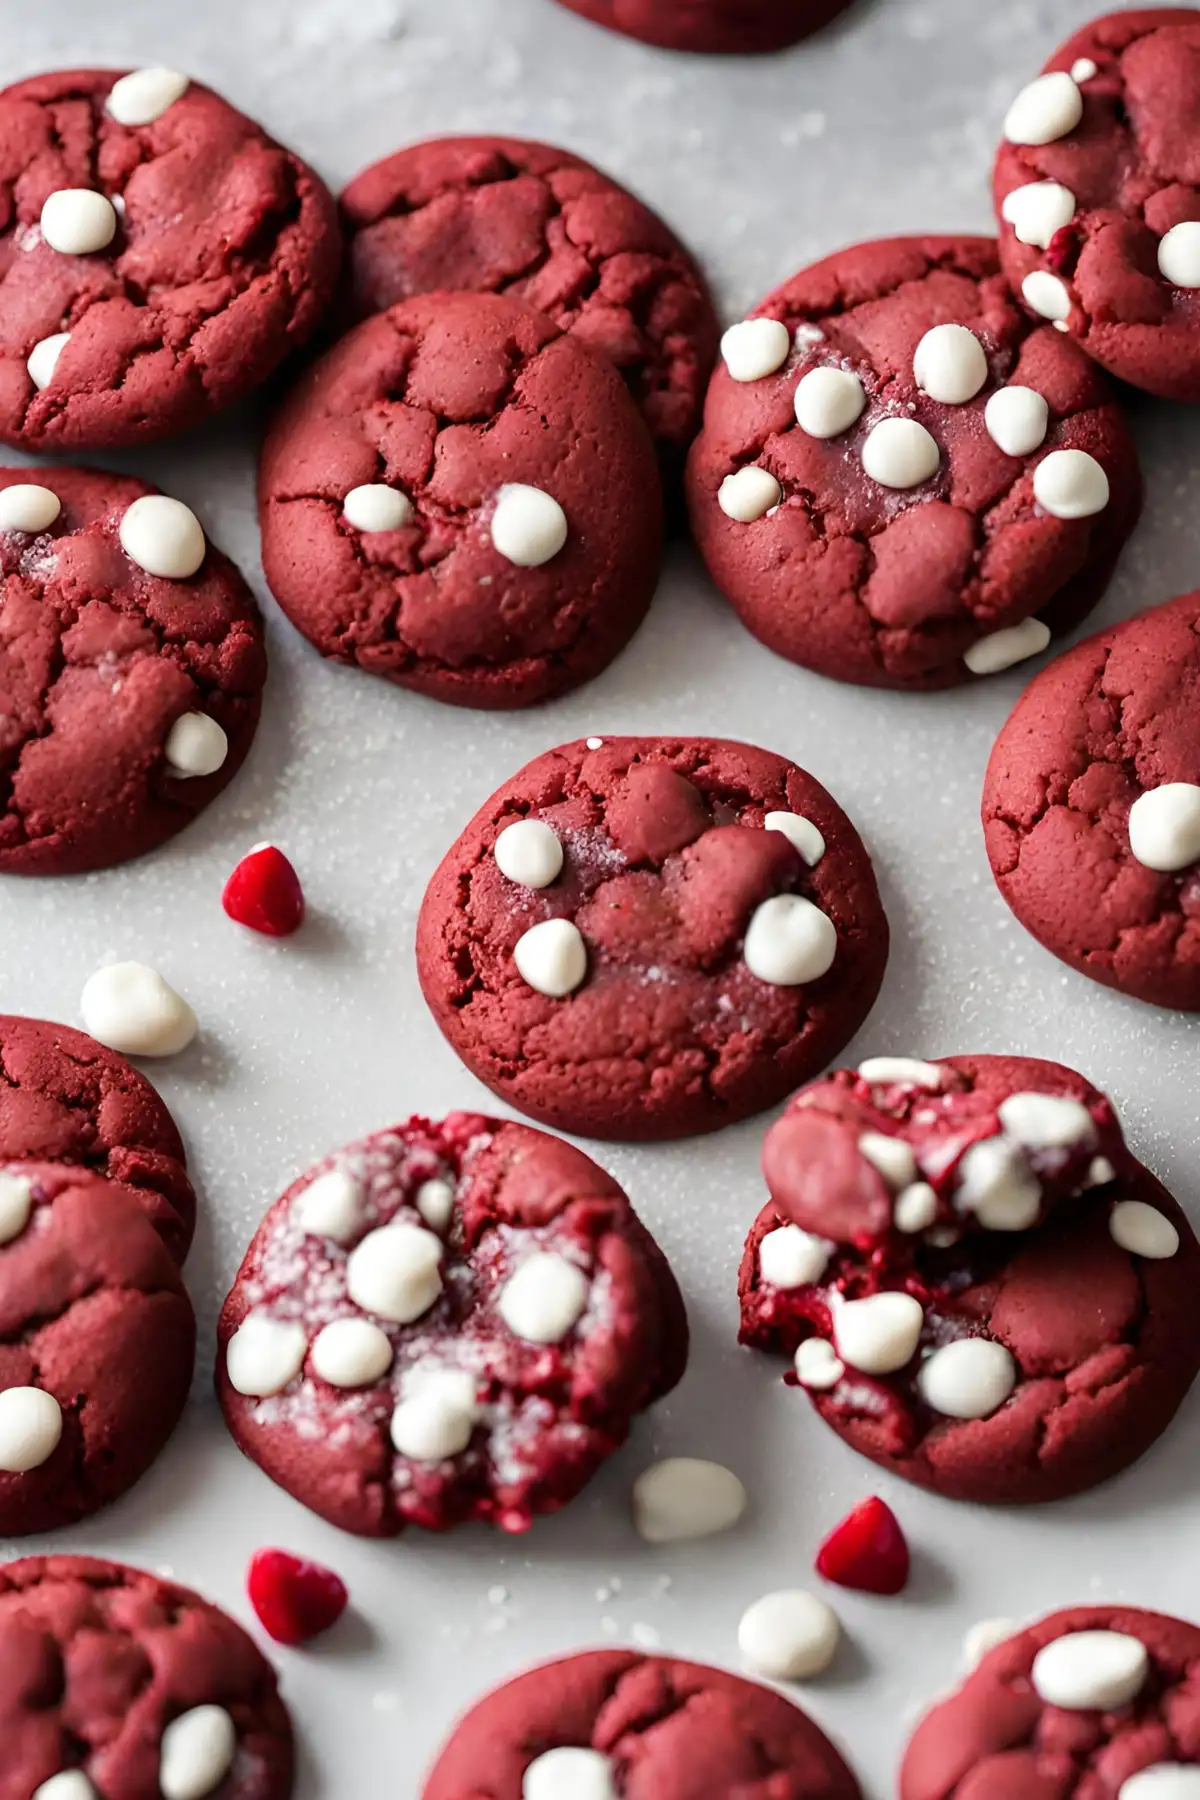
- White chocolate chips (or your choice of mix-ins)
Step-by-Step Baking Instructions
- Preheat your oven to the specified temperature.
- Mix the cake mix, oil, and eggs until well combined.
- Fold in the chocolate chips or other mix-ins.
- Scoop the dough onto a baking sheet.
- Bake for the recommended time until the cookies are set.
Decoration and Serving Ideas for Cookies
When it comes to cookies, the decoration and presentation can transform a simple baked good into a delightful treat that’s as pleasing to the eye as it is to the palate. Here are some creative and classic ideas to decorate and serve your cookies:
-
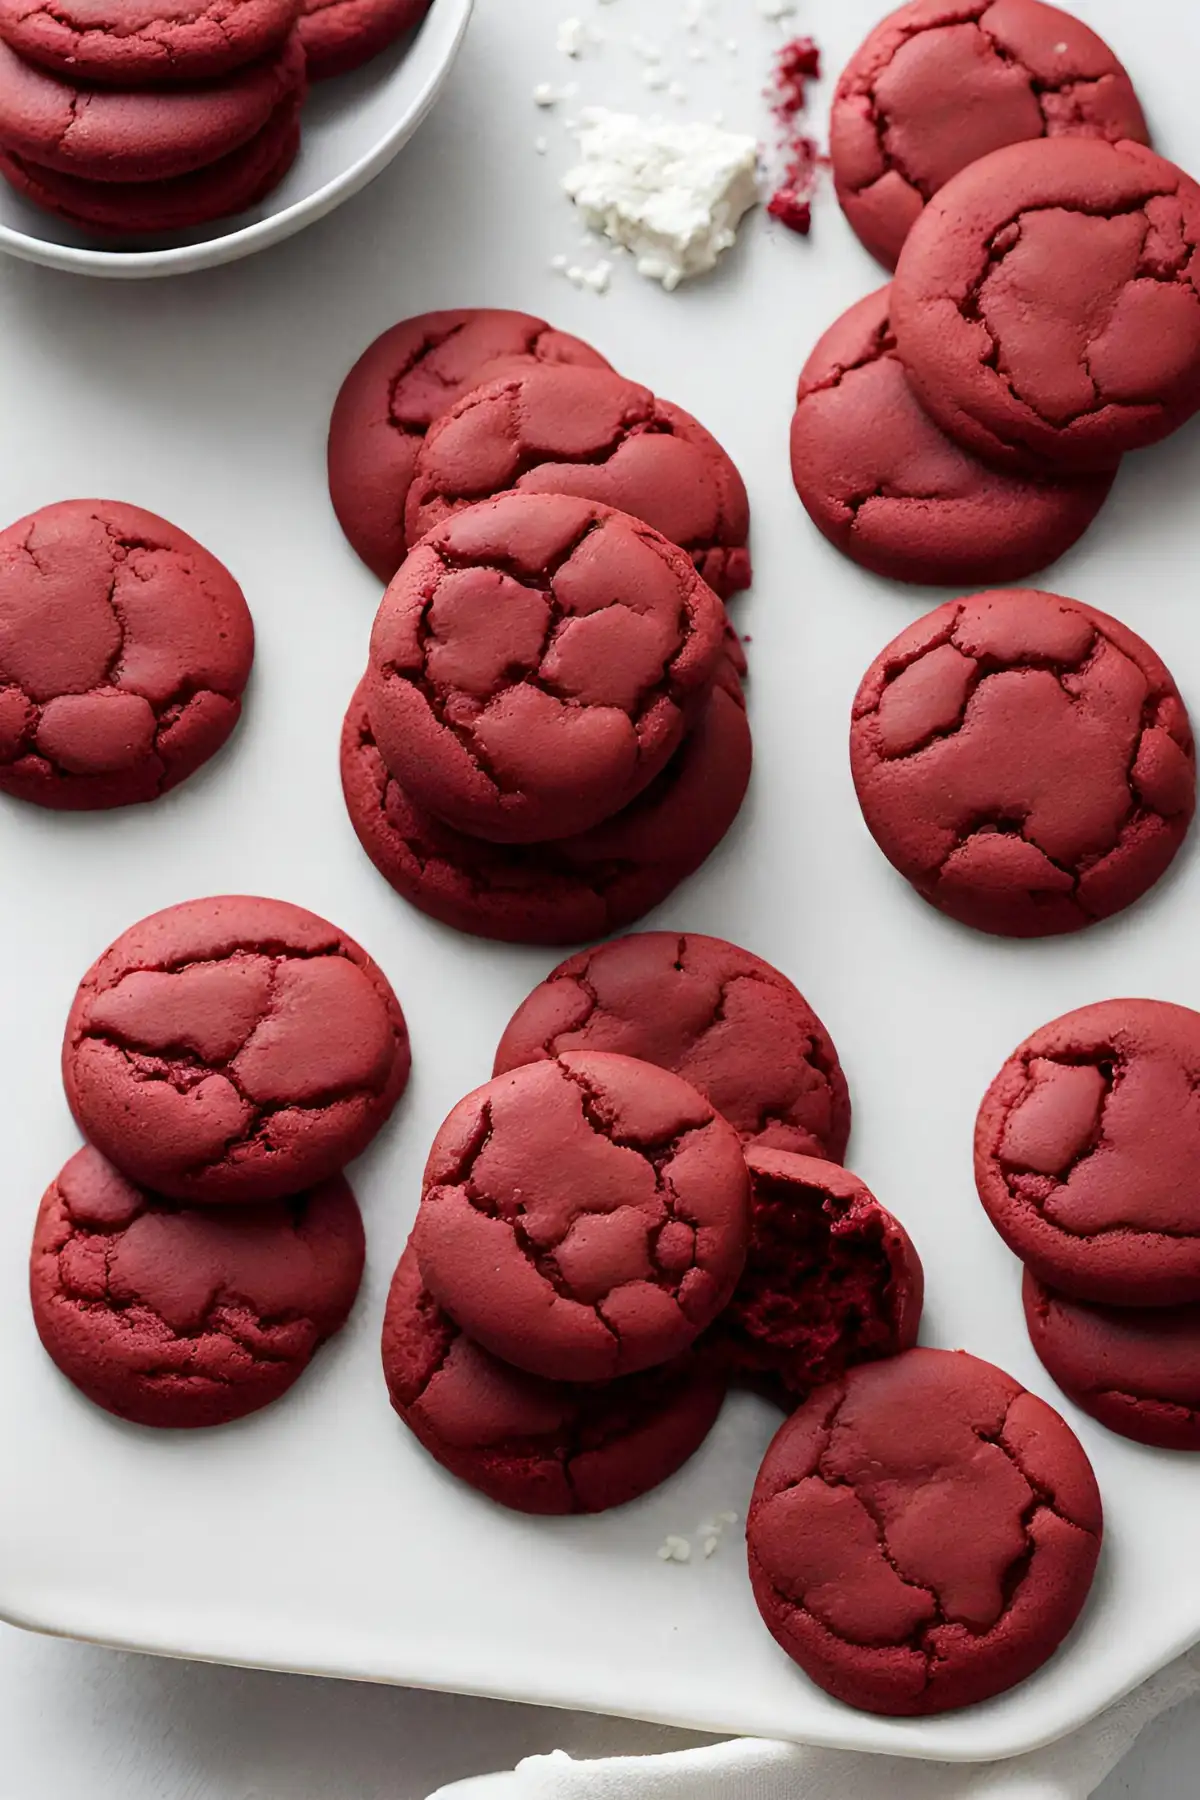
Classic Powdered Sugar Dusting: For an elegant and timeless look, lightly sprinkle powdered sugar over your cookies. This works exceptionally well on cookies with a slightly rough surface, as it highlights their texture.
-
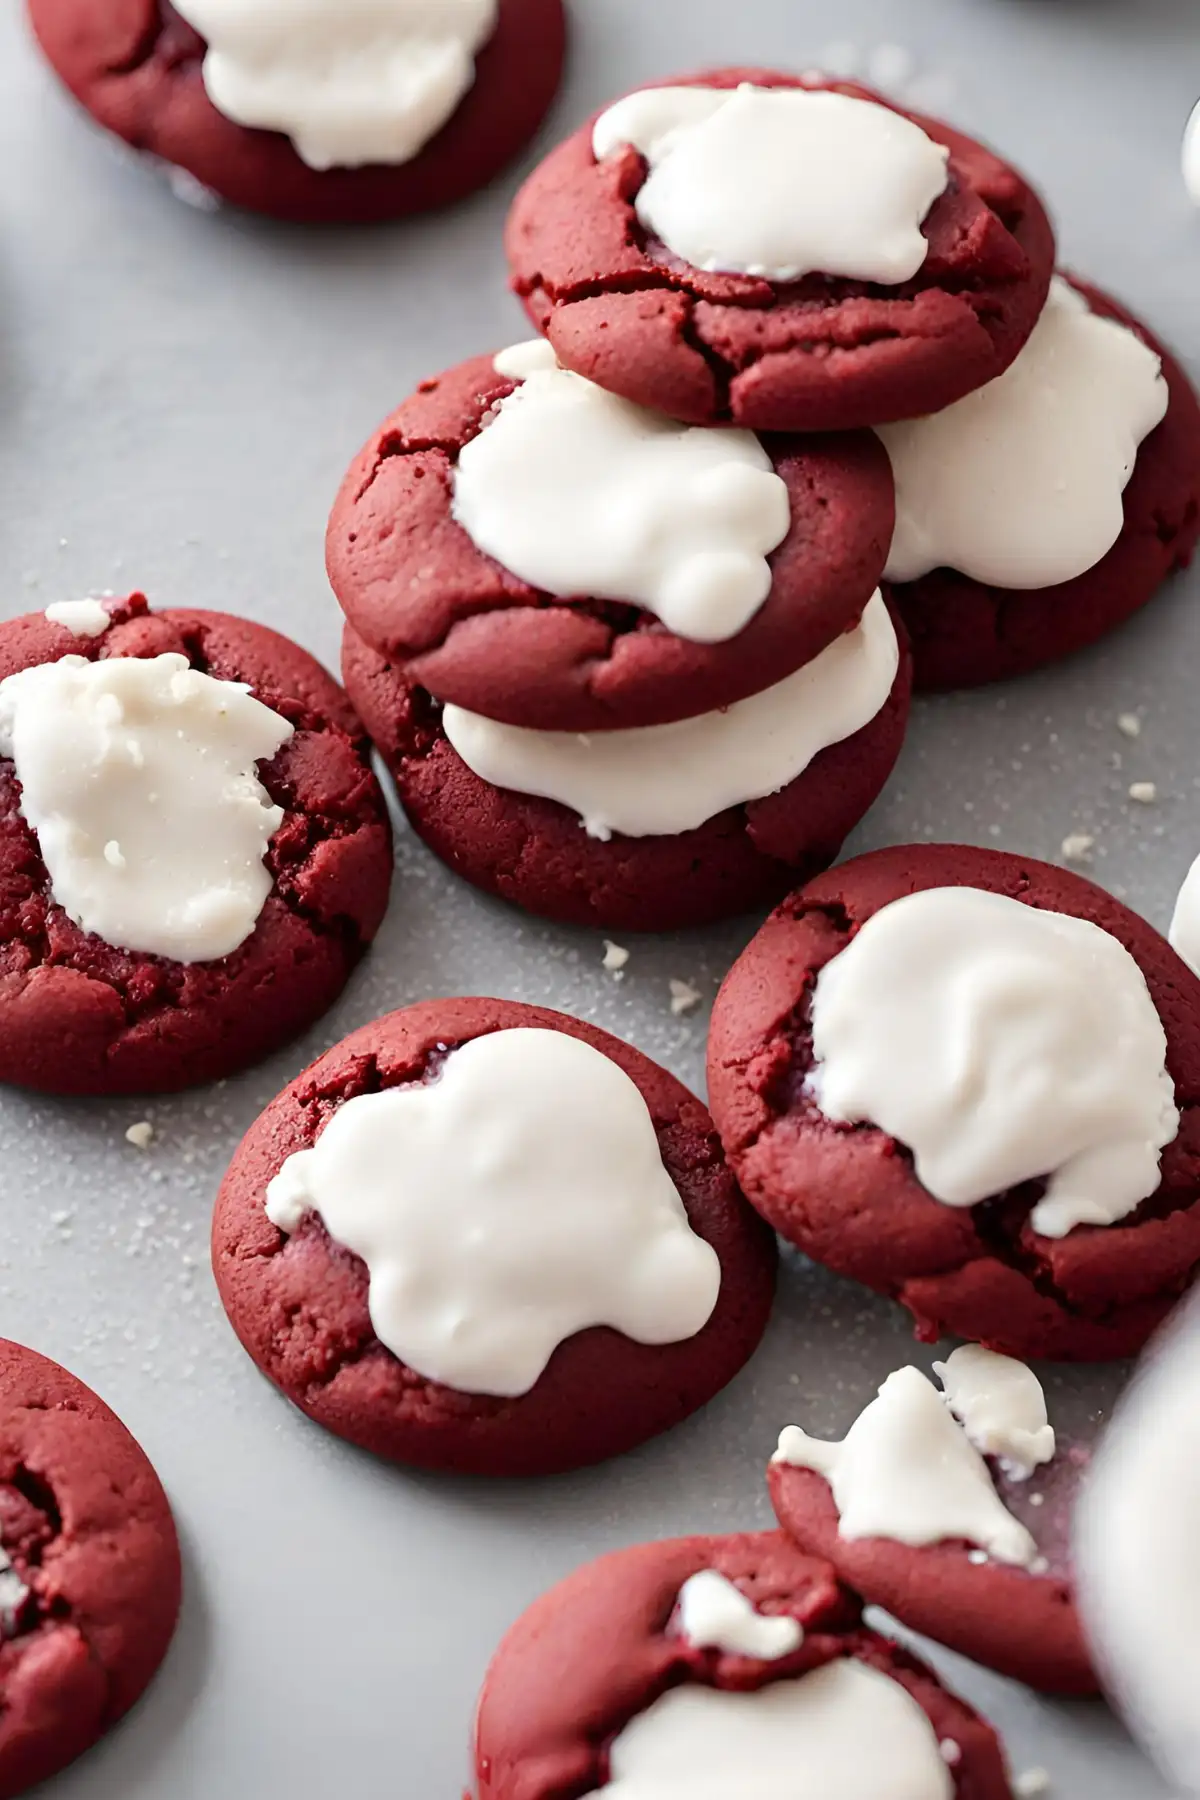
Decadent Cream Cheese Frosting Drizzle: Elevate the richness of your cookies by drizzling them with a creamy, tangy cream cheese frosting. This adds a luxurious taste and texture, making them irresistible.
-
Colorful Sugar Sprinkles: Before baking, you can also press your cookies into colorful sugar sprinkles for a fun and festive look. This is especially popular for holidays and special occasions.
-
Chocolate Dip or Drizzle: Melted chocolate (dark, milk, or white) can be drizzled over the cookies or used to dip half the cookie in chocolate. Once set, this adds a beautiful contrast and a rich flavor.
-
Nutty Toppings: Pressing chopped nuts into the tops of cookies before baking adds a crunchy texture and a nutty flavor. Pecans, walnuts, or almonds make excellent choices.
-
Fruit Glazes: A light glaze made from citrus juice and powdered sugar can add a zesty brightness to your cookies. Lemon, lime, or orange glazes are particularly refreshing.
-
Edible Flowers: For a sophisticated touch, decorate your cookies with small edible flowers or petals. This is perfect for tea parties or elegant gatherings.
-
Custom Messages: Use royal icing to pipe custom messages or designs on your cookies, making them personalized for events or gifts.
Storage and Freezing Tips for Cookies
Proper storage is key to maintaining the freshness and quality of your cookies. Here are some tips for storing and freezing your cookies:
-
Airtight Containers: Keep your cookies in an airtight container at room temperature to preserve their texture and prevent them from becoming stale. Layer them with parchment paper to avoid sticking.
-
Room Temperature Storage: Most cookies will stay fresh for up to 5 days when stored properly in an airtight container.
-
Freezing Dough Balls: For freshly baked cookies on demand, you can freeze individual dough balls. Place them on a baking sheet to freeze initially, then transfer to a freezer bag. Bake from frozen, adding a few extra minutes to the baking time.
-
Freezing Baked Cookies: Fully baked cookies can also be frozen. Once cooled, layer them between sheets of parchment paper in an airtight container. They can be thawed at room temperature when ready to serve.
-
Refrigerating Dough: If you plan to bake the cookies within a few days, you can refrigerate the dough. Ensure it’s wrapped tightly in plastic wrap to prevent it from drying out.
By following these decoration, serving, and storage tips, you can ensure your cookies are not only delicious but also beautifully presented and well-preserved for future enjoyment.
Nutritional Information
For those curious about the nutritional content of these delightful treats, here’s a breakdown per cookie:
- Calories: 120
- Fat: 5g
- Carbohydrates: 17g
- Protein: 2g
This information can help you enjoy your cookies mindfully, understanding their contribution to your daily nutritional intake.
Pairing with Beverages
Enhance your red velvet cookie experience by pairing them with the perfect beverage. Depending on the time of day or your personal preference, here are some delightful combinations:
-
Cold Milk: A classic pairing, the richness of the cookies is perfectly balanced by the cool freshness of a glass of milk.
-
Hot Coffee: The depth of coffee complements the cocoa in red velvet, making it a cozy choice for a morning treat or an afternoon pick-me-up.
-
Sweet Dessert Wine: For a more sophisticated twist, select a sweet dessert wine to highlight the chocolatey notes and creamy texture of the cookies.
These pairings are not only delicious but also add an extra layer of enjoyment to your red velvet cookie indulgence.
Customizing Your Cookies
Make your red velvet cookies uniquely yours with these customization tips:
- Nuts or Dried Fruits: Incorporate nuts like pecans or walnuts, or dried fruits such as cranberries or cherries, to add texture and a flavor twist.
- Chocolate Chips: Experiment with different types of chocolate chips (white, milk, dark, or even flavored) to find your perfect match.
Troubleshooting Common Issues
Encountered a baking mishap? Here’s how to solve common issues:
- Oven Temperature: Ensure your oven is properly calibrated. An oven thermometer can help check if your oven reaches the set temperature accurately.
- Ingredient Temperature: Ingredients should be at room temperature to mix evenly and achieve the desired texture. If your dough isn’t coming together as it should, ingredient temperature might be the issue.
By following these guidelines, you can ensure that your red velvet cookies turn out beautifully decorated, deliciously paired, and perfectly customized every time.
For more red velvet delights, explore our Red Velvet Bundt Cake Recipe.
Frequently Asked Questions
Can I use a different type of cake mix?
- Yes! You’re encouraged to experiment with various cake mix flavors. While red velvet is classic, branching out into other flavors can add an exciting twist to your cookies. Whether you’re in the mood for chocolate, vanilla, or something more adventurous, swapping out the cake mix lets you customize the cookies to suit your taste preferences.
How to make the cookies gluten-free?
- Gluten-Free Adaptation: To cater to a gluten-free diet without sacrificing the delightful taste of these cookies, simply opt for a gluten-free red velvet cake mix. These are readily available in many supermarkets and health food stores. By making this simple switch, you can enjoy the same delicious cookies with a gluten-free twist, ensuring they are accessible to everyone, regardless of dietary restrictions.
Can these cookies be frozen?
- Freezing Options: Absolutely, freezing is an excellent way to extend the shelf life of your red velvet cookies. You have two convenient options:
- Freeze the Dough: Scoop or roll the dough into balls and freeze them on a baking sheet. Once solid, transfer them to a freezer bag. This way, you can bake fresh cookies whenever the craving strikes.
- Freeze Baked Cookies: Fully baked cookies can also be frozen. Ensure they’re completely cool before placing them in a single layer on a baking sheet to freeze, then transfer to a freezer bag or container. This method keeps them ready for a quick thaw and serve, maintaining their flavor and texture.
By incorporating these tips and answers into your baking routine, you can enjoy red velvet cookies that are not only delicious and versatile but also suited to various dietary needs and preferences.
Print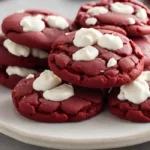
Red Velvet Cookies Recipe with Cake Mix
- Total Time: 22 minutes
- Yield: 24 cookies 1x
Description
This easy and delightful recipe transforms a simple red velvet cake mix into soft, chewy cookies that are perfect for any occasion. With just a few added ingredients and minimal prep time, you can enjoy the classic taste of red velvet in a bite-sized treat.
Ingredients
- 1 box red velvet cake mix
- 2 large eggs
- 1/2 cup vegetable oil
- Optional: 1 cup white, milk, or dark chocolate chips
- Optional: 1/2 cup chopped nuts or dried fruits
Instructions
- Preheat your oven to 350°F (175°C).
- In a large bowl, combine the red velvet cake mix, eggs, and vegetable oil. Stir until well mixed.
- Fold in chocolate chips and nuts or dried fruits, if using.
- Drop by rounded spoonfuls onto ungreased baking sheets.
- Bake for 10 to 12 minutes, or until the edges are set but the centers are still soft.
- Allow cookies to cool on the baking sheet for 5 minutes before transferring to a wire rack to cool completely.
Notes
- For a gluten-free version, use a gluten-free red velvet cake mix.
- Cookies can be stored in an airtight container at room temperature for up to 5 days or frozen for longer storage.
- Prep Time: 10 minutes
- Cook Time: 12 minutes
- Category: Dessert
- Method: Baking
- Cuisine: American
Nutrition
- Serving Size: per cookie
- Calories: 120
- Fat: 5g
- Carbohydrates: 17g
- Protein: 2g