
Introduction to Banana Pudding Ice Cream No Churn
When the sun beats down during those long summer days, what could be more delightful than a scoop of creamy Banana Pudding Ice Cream No Churn? It’s an easy, no-fuss dessert that brings together the classic flavors of banana pudding and ice cream—all without requiring an ice cream maker! Perfect for busy young professionals, this treat combines the sweet nostalgia of childhood desserts with the chill of summer indulgence.
Why Banana Pudding Ice Cream is the Perfect Summer Treat
Imagine lounging outside, perhaps with friends or a book you’ve been meaning to read, and having a bowl of this smooth, velvety ice cream in hand.
Here’s why Banana Pudding Ice Cream No Churn shines as a standout summer dessert:
-
Simplicity: The beauty of this recipe lies in its straightforward nature. With just a handful of ingredients—bananas, heavy cream, sweetened condensed milk, and vanilla—you can whip up this delight in no time. For those hectic days when you’re balancing work and life, this recipe is a lifesaver. You can even get the kids involved in the mixing!
-
Versatile Flavor: If you’re a banana lover, this ice cream will quickly become your go-to dessert! The sweet, ripe bananas marry beautifully with the creamy base. Add in a sprinkle of crushed vanilla wafers, and you’ll have the perfect crunch to complement the softness—pure bliss!
-
Endless Customization: While the classic banana pudding flavor is divine, don’t hesitate to make it your own! Add in extras like crushed nuts or chocolate chips, or experiment with flavors that make your taste buds dance. The opportunities are as limitless as your creativity.
Before jumping into the recipe, if you’re curious about how bananas contribute to your health as well, the National Institutes of Health has some fascinating insights on the benefits of this fantastic fruit!
This summer, as you search for the ideal treat that’s both delightful and easy, keep Banana Pudding Ice Cream No Churn at the top of your list. It's not just a dessert—it's a nostalgic adventure waiting to be had. So grab your mixing bowl and let’s dive into this chilled wonder!
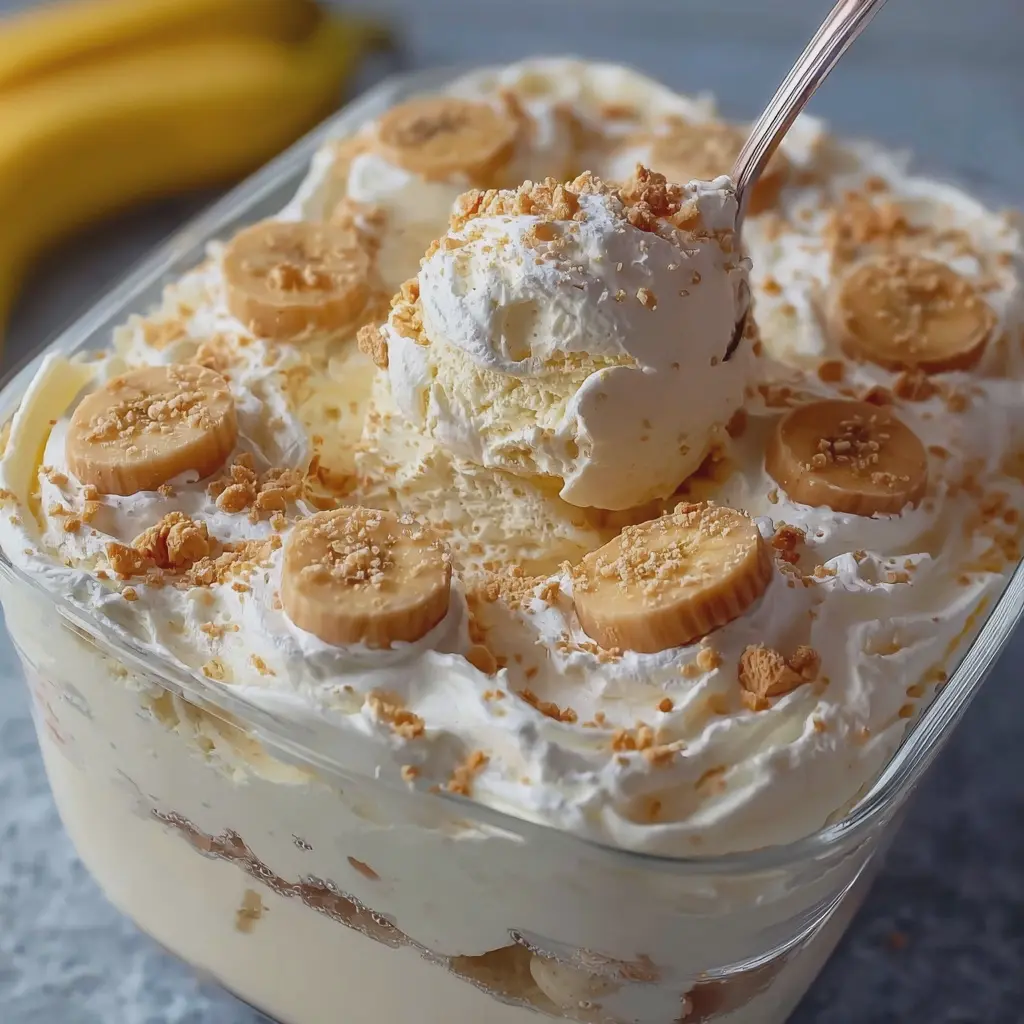
Ingredients for Banana Pudding Ice Cream No Churn
When you’re dreaming of a creamy, dreamy dessert that’s oh-so-simple to whip up, Banana Pudding Ice Cream No Churn is the way to go! Here are the essentials you’ll need to bring this delicious treat to life.
Essential ingredients you'll need
- Ripe bananas – The star of the show! Look for ones with brown spots for maximum sweetness.
- Sweetened condensed milk – This adds a rich creaminess that enhances the banana flavor.
- Heavy cream – Ideal for that luxurious smooth texture, transforming your mixture into ice cream perfection.
- Vanilla extract – A splash of this brings harmony and depth to the flavor.
Optional ingredients for extra flavor
Want to elevate your ice cream even further? Consider adding:
- Crushed vanilla wafers – For some delightful crunch and texture.
- Chopped nuts (like pecans or walnuts) – Adds a nice earthiness, balancing the sweetness.
- Chocolate chips or chunks – A perfect complement to bananas, for those who crave chocolate!
With these ingredients, you're well on your way to creating a delightful Banana Pudding Ice Cream No Churn that everyone will love! For more tips on ice cream basics, check out this comprehensive guide from Serious Eats. Happy creating!
Step-by-Step Preparation of Banana Pudding Ice Cream No Churn
Making ice cream can often sound like an overwhelming task, but I promise, it’s easier than you think! With this Banana Pudding Ice Cream No Churn recipe, you'll be able to whip up a delicious treat without any fancy equipment or techniques. Let’s get started!
Start by Mashing the Bananas
The first step is all about the star of the show—bananas! You'll want to use perfectly ripe bananas, as their natural sweetness will enhance the flavor of your ice cream. Using a fork or a potato masher, simply mash the bananas in a bowl until you achieve a smooth consistency.
A little banana trivia: did you know that bananas are packed with potassium and vitamin C? It's nice to know that while you're indulging in dessert, you're also getting some nutritional benefits!
Next, Mix the Wet Ingredients
Now that you've got your bananas ready, it's time to mix the wet ingredients. In a separate bowl, combine the mashed bananas with sweetened condensed milk, vanilla extract, and a touch of lemon juice.
The lemon juice is key here—it helps prevent the bananas from browning and adds just the right zing to balance the sweetness of the other ingredients. Stir everything together until it’s well blended and smooth. If you’re looking for additional inspiration or alternatives, check out this great article on different banana recipes for dessert here.
Whip the Cream Until Stiff Peaks Form
In the next step, you’ll want to whip the cream. It’s all about creating that luscious, airy texture! Pour heavy whipping cream into a mixing bowl, and using an electric mixer, beat the cream on medium-high speed until it forms stiff peaks.
What does that mean? Well, when you lift the mixer, the cream should hold its shape rather than droop. This process usually takes about 3-5 minutes, so keep an eye on it to avoid over-whipping. Those whipped peaks will create a creamy, dreamy base for your Banana Pudding Ice Cream No Churn.
Combine Whipped Cream and Banana Mixture
Now comes the fun part—combining! Gently fold the whipped cream into the banana mixture using a spatula. Be patient during this step; you want to keep the airiness of the whipped cream intact.
Folding ensures your ice cream isn't too dense. You’ll know it’s ready when you see a smooth and blended consistency that still holds the creamy clouds of whipped cream. As an added tip, you might want to make this right before you serve a small crowd so they can indulge in the delightful aroma!
Fold in the Vanilla Wafers
Vanilla wafers add the classic banana pudding crunch and flavor. Break up the vanilla wafers into smaller pieces and fold them into the mixture. This adds a lovely texture contrast and boosts the nostalgia factor. Who doesn’t love a classic banana pudding?
If you’re feeling adventurous, feel free to add some chopped nuts or chocolate chips for an extra flair. Options are endless!
Layer and Freeze
Finally, it’s time to layer the mixture and freeze it. Pour your lovely banana pudding mixture into a loaf pan or an airtight container. Smooth the top with a spatula, then cover it with plastic wrap.
Place the ice cream in the freezer for at least 6 hours or overnight if you can wait! Taking a moment to let the flavors meld together will only enhance the experience. When it’s ready, scoop out some of your homemade Banana Pudding Ice Cream No Churn, and enjoy the creamy indulgence with family or friends.
There you have it! A super simple way to make delicious Banana Pudding Ice Cream No Churn from scratch. Making this treat is a great conversation starter, and the taste will leave everyone wanting more. Happy ice cream making!
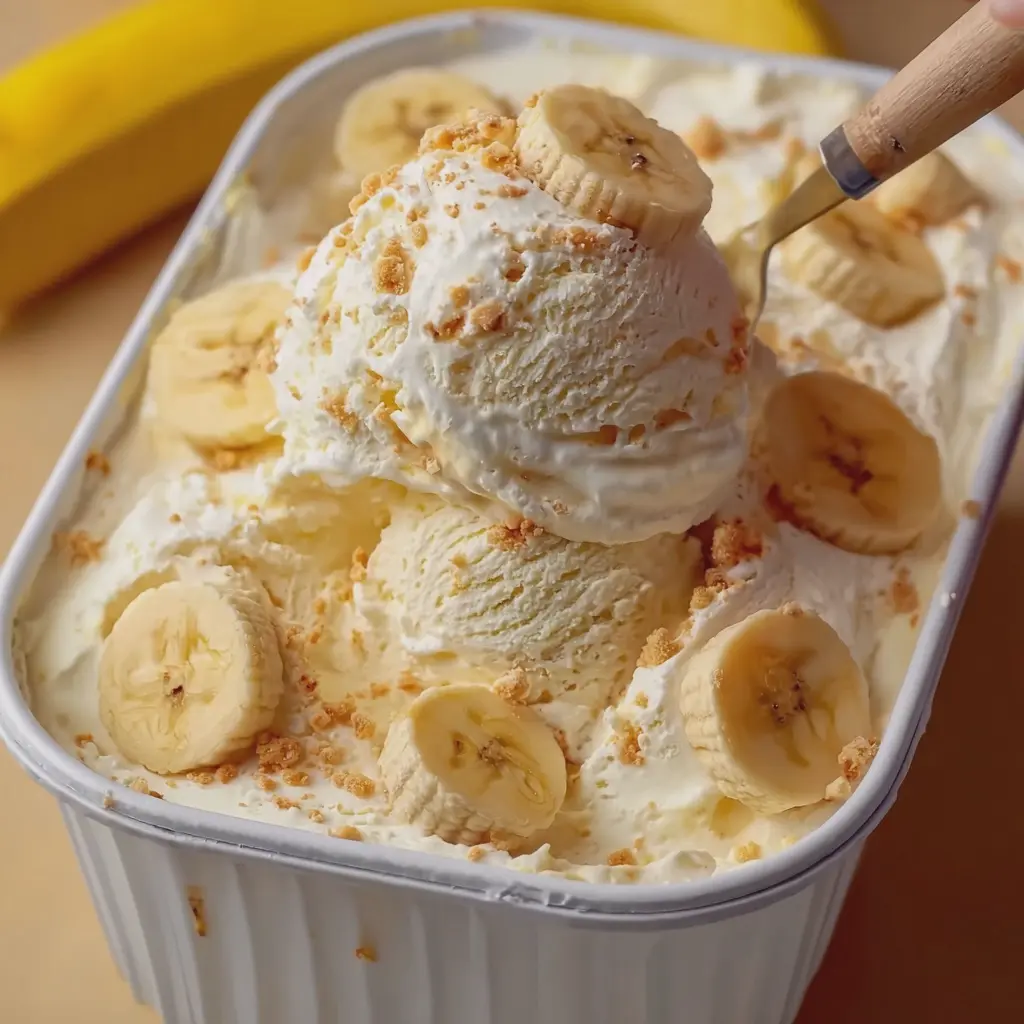
Variations on Banana Pudding Ice Cream No Churn
Add-ins for a Twist on Classic Flavors
If you’re looking to elevate your Banana Pudding Ice Cream No Churn, consider incorporating some fun and unexpected add-ins. Here are a few ideas to inspire you:
- Nuts: Chopped pecans or walnuts can add a delightful crunch and a richness that complements the banana flavor beautifully.
- Caramel Swirl: Drizzling some caramel sauce through your ice cream not only enhances the flavor but also creates a visually appealing treat.
- Chocolate Chips: Who can resist chocolate? Mini chocolate chips or dark chocolate chunks will bring a new level of decadence to your dessert.
Feel free to experiment. You could even fold in crushed cookies, graham crackers, or dried fruits to personalize your creation!
Dairy-Free and Vegan Options
Want to enjoy your Banana Pudding Ice Cream No Churn without dairy? No problem! You can easily make it vegan-friendly with a few simple swaps:
- Coconut Cream: Use full-fat coconut cream instead of traditional heavy cream. Not only does this provide a creamy texture, but it also adds a subtle coconut flavor.
- Banana Milk: To keep it dairy-free, opt for banana milk or almond milk as your base. Pairing it with fresh ripe bananas ensures that the flavor remains vibrant and indulgent.
It's fascinating to know that over 40% of adults are trying to incorporate more plant-based foods into their diets. So, why not contribute to this trend by whipping up a deliciously creamy version that's still aligned with your lifestyle preferences?
For more information on dairy alternatives, check out resources from the Dairy Council of California to learn about various options that suit your dietary guidelines. Remember, experimenting with flavors is all about having fun in the kitchen!
Cooking Tips and Notes for Banana Pudding Ice Cream No Churn
How to Achieve the Best Texture
Getting that perfect creamy texture in your Banana Pudding Ice Cream No Churn is all about incorporating air into your mixture. Start by whipping your heavy cream until stiff peaks form—this is key! Folding in your banana mixture gently ensures that you retain that delightful volume. For an extra creamy finish, consider using a full-fat sweetened condensed milk. It’s not just sweet; it also provides a silky base that complements the bananas beautifully.
Tips for Storage and Freshness
Once you’ve made your luscious Banana Pudding Ice Cream No Churn, proper storage is essential. Use an airtight container to prevent ice crystals from forming, which can ruin that creamy texture you worked hard to achieve. For the best taste, it’s recommended to consume it within a week. However, it can last up to two weeks in the freezer if stored correctly. Always remember to let it sit at room temperature for a few minutes before scooping to make serving a breeze!
For more tips on freezing techniques, check out this guide from The Kitchn.
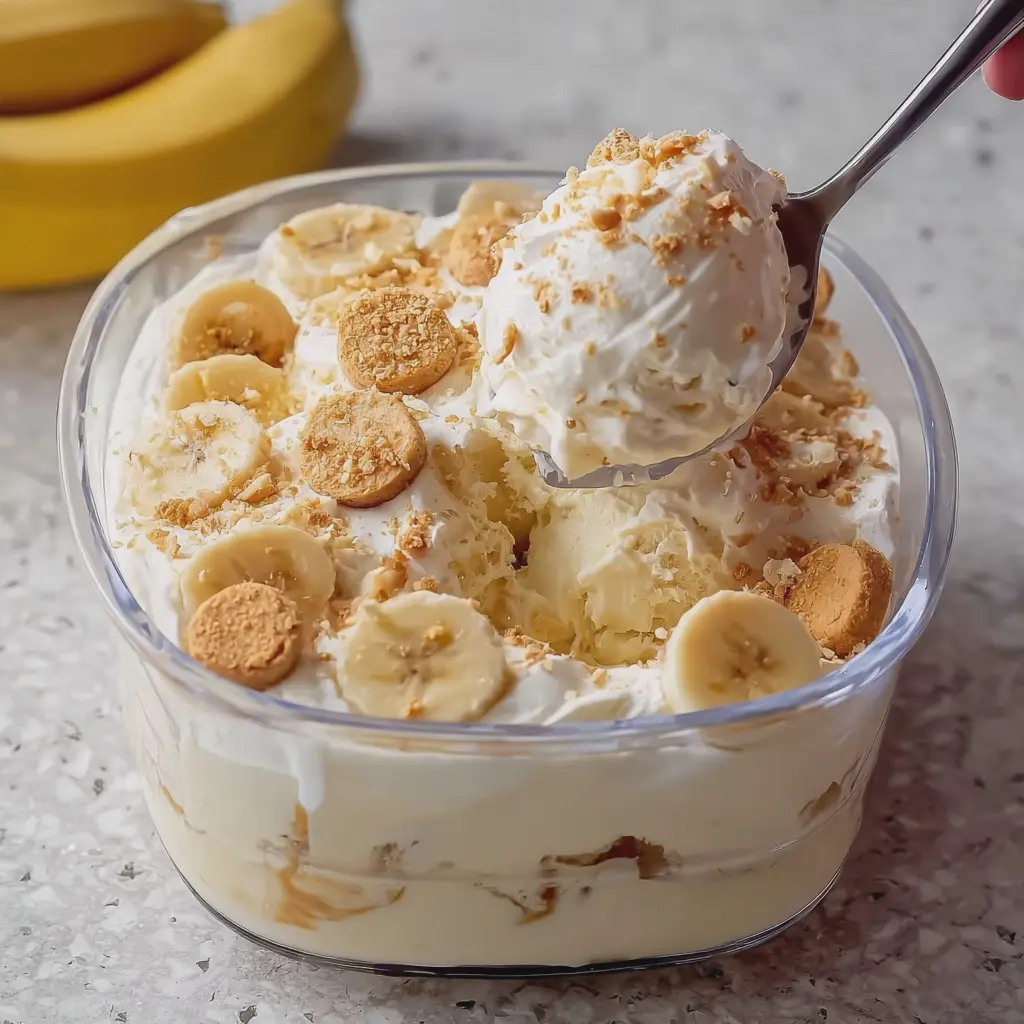
Serving Suggestions for Banana Pudding Ice Cream No Churn
Creative Ways to Serve the Ice Cream
When it comes to serving Banana Pudding Ice Cream No Churn, think beyond a simple scoop! Here are a few ideas to elevate your experience:
- Dessert Parfaits: Layer the ice cream with crumbled vanilla wafers and chopped bananas in a glass. Top with a drizzle of caramel sauce for an extra indulgent treat.
- Banana Splits: Add a twist to the classic by using your homemade ice cream, topping it with sliced strawberries and a sprinkle of chopped nuts.
- Ice Cream Sandwiches: Use chocolate chip cookies to create delicious ice cream sandwiches that are perfect for sharing.
Pairings That Complement the Flavor
Looking to enhance your dessert experience? Here are some complementary flavors:
- Fruits: Fresh berries, particularly strawberries and blueberries, create a delightful contrast with the creamy banana flavor.
- Crunchy Toppings: Consider toasted coconut flakes or turkey bacon crumbles for a unique texture.
- Drinks: Pair with a chilled cup of herbal tea or a refreshing lemonade to cleanse the palate.
By incorporating these creative presentation styles and complementary flavors, you’ll surely impress friends and family! For more ideas, feel free to check out resources like Serious Eats or Food Network.
Time Breakdown for Banana Pudding Ice Cream No Churn
Preparation Time
Making Banana Pudding Ice Cream No Churn is a breeze! You’ll need about 15 to 20 minutes to gather your ingredients, mash those ripe bananas, and mix everything together. It’s surprisingly quick—perfect for a spontaneous sweet craving.
Freezing Time
Once you’ve whipped up your mixture, it’s time to chill! The ice cream needs to freeze for at least 6 hours, but for the best texture, aim for overnight. Patience is key; the longer it sets, the creamier it becomes.
Total Time
In total, you’re looking at a solid 6 to 7 hours from prep to scoop—a small price to pay for the dreamy, creamy delight that awaits! For more tips on freezing techniques and ice cream textures, check out resources like the Ice Cream Science blog. Happy freezing!
Nutritional Facts for Banana Pudding Ice Cream No Churn
Calories per serving
When indulging in Banana Pudding Ice Cream No Churn, it's always good to be mindful of your intake. Each serving contains approximately 250-300 calories. While this decadent dessert offers a creamy delight, it's important to balance your treat with your nutritional goals for the day.
Key nutritional information
Here are some key nutritional highlights to ponder:
- Total Fat: About 15g (primarily from cream)
- Sugars: Around 20g (natural sugars from bananas and added sugars)
- Protein: Approximately 3g per serving
- Dietary Fiber: Roughly 1g, thanks to those delicious bananas!
If you're looking to learn more about the benefits of incorporating bananas into your diet, check out the Nutrition Journal where you can find insights about fruits and their impact on overall health. The texture and flavor of Banana Pudding Ice Cream No Churn make it a delightful experience that doesn't compromise too much on nutrition, especially when enjoyed in moderation!
Curious about how this dessert fits into your weekly meal prep? Explore more nutrition tips that can help you stay on track while still enjoying treats like this one.
FAQs about Banana Pudding Ice Cream No Churn
Can I use different flavors of pudding mix?
Absolutely! While the classic Banana Pudding Ice Cream No Churn recipe calls for instant banana pudding, feel free to get creative. Chocolate, vanilla, or even butterscotch pudding mixes can add a unique twist to your ice cream. Just remember that the flavor of your pudding will influence the final taste, so choose what tickles your taste buds!
How long can I store the ice cream in the freezer?
Great question! Your delicious Banana Pudding Ice Cream No Churn can typically last in the freezer for about 2-4 weeks when stored in an airtight container. For the best taste and texture, try to enjoy it within the first couple of weeks. Over time, it might develop ice crystals and lose its creamy charm. Check out this handy guide from the FDA for more tips on food storage.
What can I substitute for crushed vanilla wafers?
No vanilla wafers on hand? No problem! Instead, you can use graham cracker crumbs or even crushed shortbread cookies for a different texture and flavor profile. If you're looking for a healthier option, consider blending some almonds or pecans to sprinkle throughout the ice cream. Just keep in mind that each substitute will bring its own flair to this yummy treat, allowing you to personalize it even more!
By using these tips, you can make your Banana Pudding Ice Cream No Churn even more enjoyable for everyone. Whether changing up the pudding flavor or trying different mix-ins, the possibilities are endless! Enjoy your ice cream experience and happy scooping!
Conclusion on Banana Pudding Ice Cream No Churn
Creating your own Banana Pudding Ice Cream No Churn is not just about satisfying your sweet tooth; it’s a joyous celebration of homemade delights that brings together friends and family. The simple combination of ripe bananas, velvety cream, and crunchy wafer cookies transforms into a treat that’s indulgent yet nostalgic.
When you take the time to whip up a batch, you’re also crafting memories and fostering connection. Imagine warm summer evenings with laughter and the delightful sound of spoons tapping against bowls. For tips on finding the best bananas, check out this article. Homemade ice cream is more than just dessert; it's an experience waiting to unfold.
Print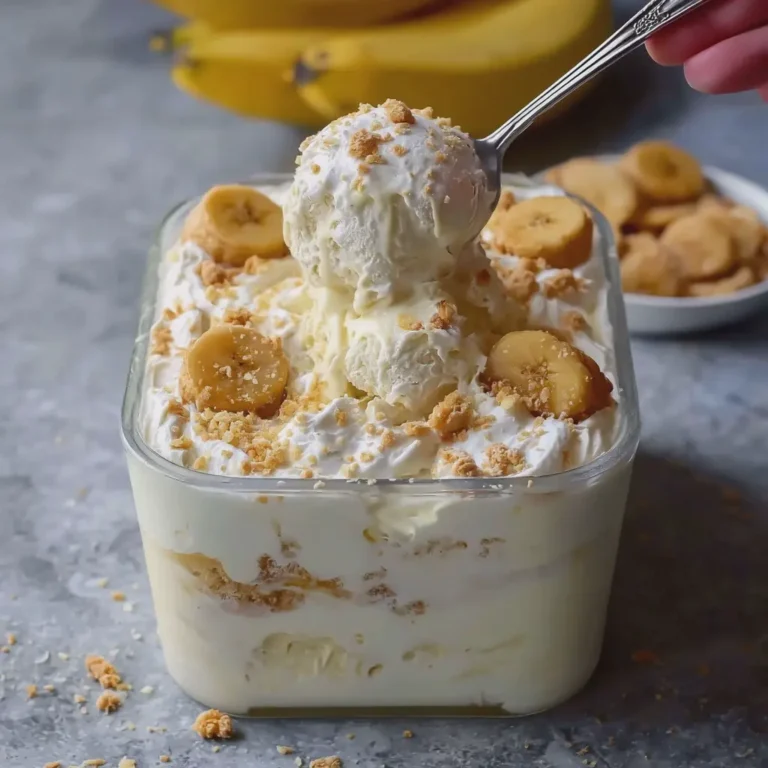
Banana Pudding Ice Cream No Churn: Easy Indulgence for All
This Banana Pudding Ice Cream No Churn recipe offers a creamy and indulgent dessert that is perfect for all occasions, with every bite capturing the essence of classic banana pudding.
- Total Time: 6 hours 15 minutes
- Yield: 6 servings
Ingredients
- 2 cups heavy cream
- 1 cup sweetened condensed milk
- 2 ripe bananas, mashed
- 1 teaspoon vanilla extract
- 1 cup vanilla wafer cookies, crushed
- ½ cup chopped nuts (optional)
Instructions
- In a large mixing bowl, whip the heavy cream until stiff peaks form.
- In another bowl, mix the sweetened condensed milk, mashed bananas, and vanilla extract until smooth.
- Gently fold the whipped cream into the banana mixture until well combined.
- Stir in the crushed vanilla wafers and nuts if using.
- Transfer the mixture to a loaf pan or an airtight container and smooth the top with a spatula.
- Cover and freeze for at least 6 hours or until firm.
- Serve scoops of the ice cream topped with additional crushed wafers or banana slices if desired.
Notes
- Make sure the bananas are ripe for the best flavor.
- You can substitute the nuts with chocolate chips for a variation.
- Prep Time: 15 minutes
- Cook Time: 0 minutes
- Category: Dessert
- Method: No Churn
- Cuisine: American
- Diet: Vegetarian

Leave a Reply