
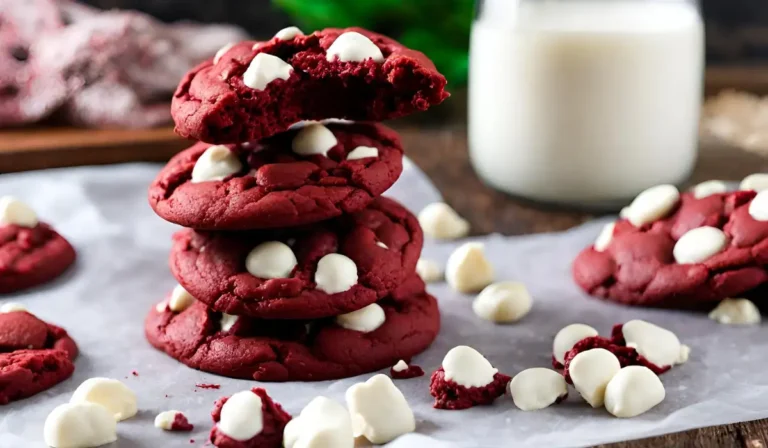
Red Velvet Cookies with Cake Mix: A Delightful Twist on a Classic Treat
Introduction to Red Velvet Cookies with Cake Mix
Red velvet flavor has long been a beloved choice for cakes and desserts. Its unique taste and vibrant color make it a favorite for special occasions and everyday treats alike. In this article, we’ll explore how to make delicious red velvet cookies using a simple cake mix base, ensuring a delightful treat that’s both easy and quick to prepare. For more delicious dessert ideas, check out our delicious cinnamon roll cookies recipe.
Recipe Ingredients
Ingredients for Red Velvet Cookies
- 1 box of Red Velvet Cake Mix (typically around 15.25 oz)
- 1/2 cup of unsalted butter, melted (can substitute with canola or vegetable oil)
- 2 large eggs
- 1 teaspoon of pure vanilla extract
- Optional: 1/2 cup of white chocolate chips or chopped nuts
For Rolling the Cookies
- 1/4 cup granulated sugar or powdered sugar (for coating)
Ingredients for Cream Cheese Frosting (Optional)
- 4 oz cream cheese, softened
- 1/4 cup unsalted butter, softened
- 1 1/2 cups powdered sugar, sifted
- 1/2 teaspoon vanilla extract
These ingredients combine to create a delightful batch of red velvet cookies that are simple to make and delicious to enjoy. The optional cream cheese frosting adds a classic touch to these treats.
When it comes to baking these cookies, the right ingredients are key. Here’s what you’ll need:
- Red velvet cake mix: The foundation of our cookies. For a deeper dive into the history and versatility of red velvet, check out our Red Velvet Bundt Cake Recipe.
- Butter or oil: To add richness and moisture.
- Eggs: For binding the ingredients together.
- Vanilla extract: To enhance the flavor.
- Sugar: For a touch of sweetness and texture.
Step-by-Step Baking Instructions
Follow these steps for perfect red velvet cookies every time:
- Preheat your oven and prepare your baking sheet.
- Mix the wet ingredients, then gradually add the cake mix.
- Shape the dough into balls and coat them in sugar.
- Bake until they’re just right – not too hard, not too soft.
Customizing Your Red Velvet Cookies
Red velvet cookies are not just delicious; they’re also a canvas for your culinary creativity! These soft, vibrant cookies can be tailored to suit any taste or dietary requirement. Here’s how you can make these treats uniquely yours:
-
Add-Ins for Texture and Flavor: Incorporate chocolate chips or crushed nuts into the dough before baking. Chocolate chips will add a sweet, melty texture, while nuts like pecans or walnuts offer a crunchy contrast to the soft cookie base.
-
Frosting Flavors: While classic cream cheese frosting is a perfect match, don’t hesitate to experiment. Try adding citrus zest for a tangy twist, cocoa powder for chocolate lovers, or even a dash of espresso powder to complement the cookie’s sweetness.
-
Vegan and Gluten-Free Options: To make these cookies accessible to everyone, you can easily substitute ingredients. Use gluten-free flour blends for a gluten-free version. For vegan cookies, opt for plant-based cream cheese and butter, and ensure your red food coloring is vegan-friendly.
Cream Cheese Frosting Recipe
A batch of red velvet cookies wouldn’t be complete without a generous topping of cream cheese frosting. This creamy, tangy frosting pairs beautifully with the subtle cocoa flavor of red velvet. Here’s a simple yet delicious recipe to top off your cookies:
Ingredients:
- 8 oz cream cheese, softened
- 1/2 cup (1 stick) unsalted butter, softened
- 2 cups powdered sugar, sifted
- 1 teaspoon vanilla extract
Instructions:
-
Mix Cream Cheese and Butter: In a large mixing bowl, beat the cream cheese and butter together until smooth and creamy. This forms the base of your frosting, so ensure both ingredients are well combined without any lumps.
-
Add Powdered Sugar: Gradually add the powdered sugar to the cream cheese mixture, beating on low speed until fully incorporated. Then, increase the speed to high and beat until the frosting is light and fluffy. This step is crucial for achieving the right sweetness and texture.
-
Flavor with Vanilla: Stir in the vanilla extract. This adds a subtle aroma and flavor that complements the tanginess of the cream cheese beautifully.
-
Frost Your Cookies: Once your cookies have cooled completely, use a spatula or piping bag to apply the frosting. Be as generous or as minimalist as you like.
-
Serve and Enjoy: Your red velvet cookies are now ready to be enjoyed! They’re perfect for special occasions, gifts, or simply as a treat for yourself.
Feel free to get creative with your red velvet cookies. Whether you’re making them for a special occasion or just a cozy night in, these customizable options ensure there’s a red velvet cookie for every palate.
Mix these together until smooth. For more detailed instructions and tips, visit our Nothing Bundt Cake Red Velvet Recipe.
Presentation and Serving Ideas for Red Velvet Cookies

Taking your red velvet cookies from delicious to spectacular is all about presentation and serving. Here are some creative ideas to elevate your cookie experience:
-
Sandwich Cookies: Double the delight by using your cream cheese frosting as a filling between two cookies. This not only adds to the aesthetic appeal but also gives an extra creamy texture with every bite. To assemble, simply spread or pipe a generous amount of frosting on the flat side of one cookie, then gently press another cookie on top, creating a sandwich.
-
Festive Decorations: Add a pop of color and sparkle by decorating your cookies with sprinkles or edible glitter. Choose colors that complement the occasion—red and green for Christmas, pastels for Easter, or classic red and white for Valentine’s Day. This is a fun way to involve kids in the kitchen or to personalize the cookies for special events.
Storage and Freezing Tips for Red Velvet Cookies
To ensure your red velvet cookies remain as delicious as the day you baked them, proper storage is key. Here are tips for keeping them fresh and tasty:
-
Airtight Containers: Once your cookies have completely cooled, store them in an airtight container. This will keep them moist and prevent them from drying out. If you’ve already frosted your cookies, consider placing a piece of wax paper between each layer to prevent them from sticking together.
-
Freezing for Longevity: If you’re looking to save your cookies for a later date, freezing is an excellent option. Place unfrosted cookies in a single layer on a baking sheet to freeze individually, then transfer them to a freezer-safe bag or container. This prevents them from sticking together. To enjoy, simply thaw your cookies at room temperature and frost them if desired. Frosted cookies can also be frozen, but ensure the frosting is solid before wrapping them to prevent smudging.
By following these storage and freezing tips, you can enjoy your red velvet cookies whenever the craving strikes, ensuring they’re just as moist and flavorful as when they were first baked. Whether you’re serving them at a party or enjoying them as a treat, these presentation and storage tips will help you get the most out of your baking efforts.
Common Baking Mistakes and Solutions
Even the most experienced bakers can run into issues. Here are common baking mistakes with red velvet cookies and their solutions:
-
Cookies Spreading Too Much: If your cookies are spreading more than you’d like, chilling the dough for at least an hour before baking can help maintain their shape. This solidifies the fat, which takes longer to melt, thus reducing spread.
-
Frosting Too Runny: If your frosting is more like a glaze than a frosting, gradually add more powdered sugar until you reach the desired consistency. This will thicken it up and make it easier to spread or pipe onto your cookies.
FAQs
-
Can I use a different cake mix flavor? Yes, you can use a different flavor of cake mix for a twist on the traditional red velvet cookies. However, keep in mind that this will change the flavor profile, and they won’t have the classic red velvet taste.
-
How long do these cookies last? Properly stored in an airtight container, red velvet cookies can last up to a week. Make sure they’re fully cooled before storing to prevent condensation that could make them soggy.
By following these tips and tricks, you can ensure your red velvet cookies are not only delicious but also beautifully presented and preserved. Whether you’re a seasoned baker or trying your hand at baking for the first time, these insights will help you achieve cookie perfection.
Conclusion
These red velvet cookies made from cake mix are not only delicious but also incredibly easy to make. With a few simple ingredients and steps, you can create a batch of cookies that are sure to impress. So why wait? Get your cake mix and start baking today!
Print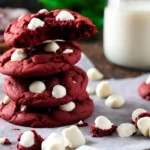
Recipe For Red Velvet Cookies with Cake Mix
- Total Time: 1 hour 13 minutes
- Yield: Varies
- Diet: Vegetarian
Description
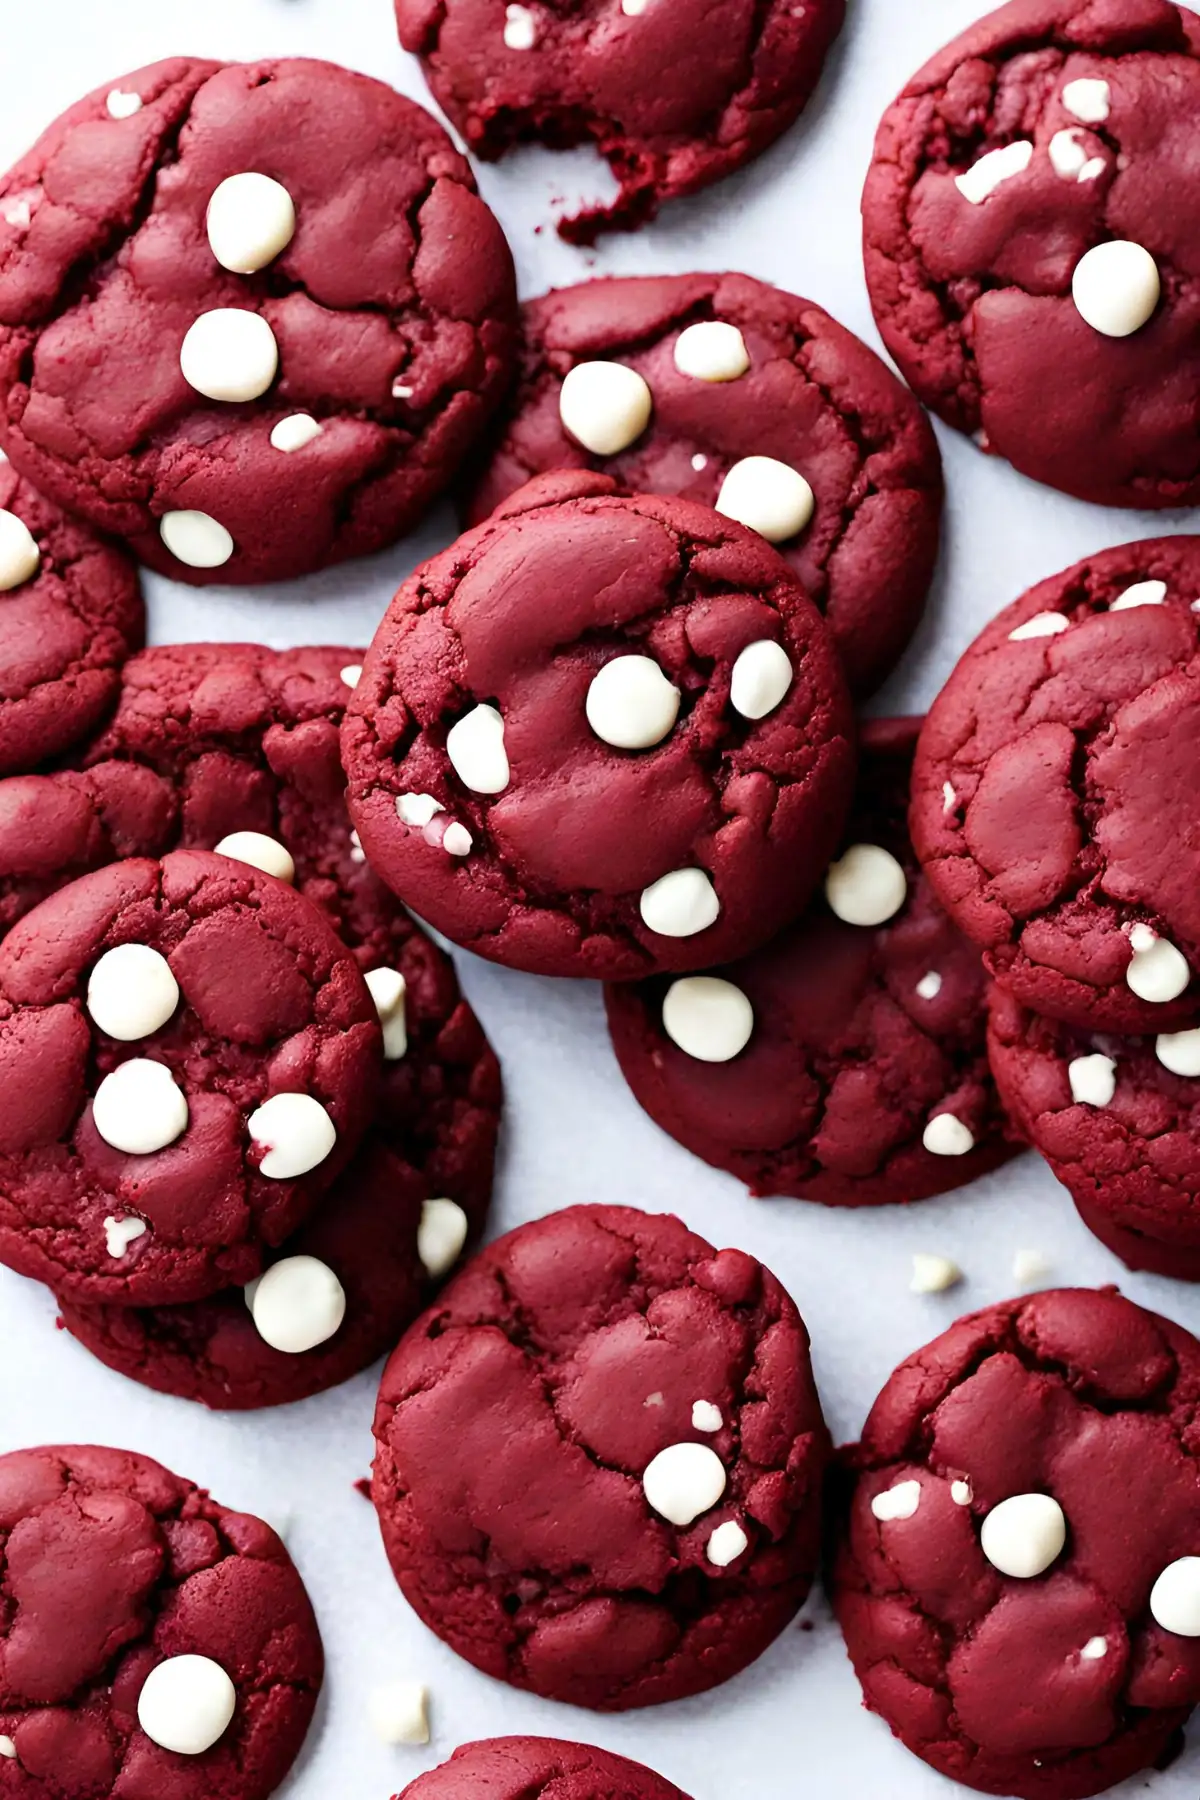
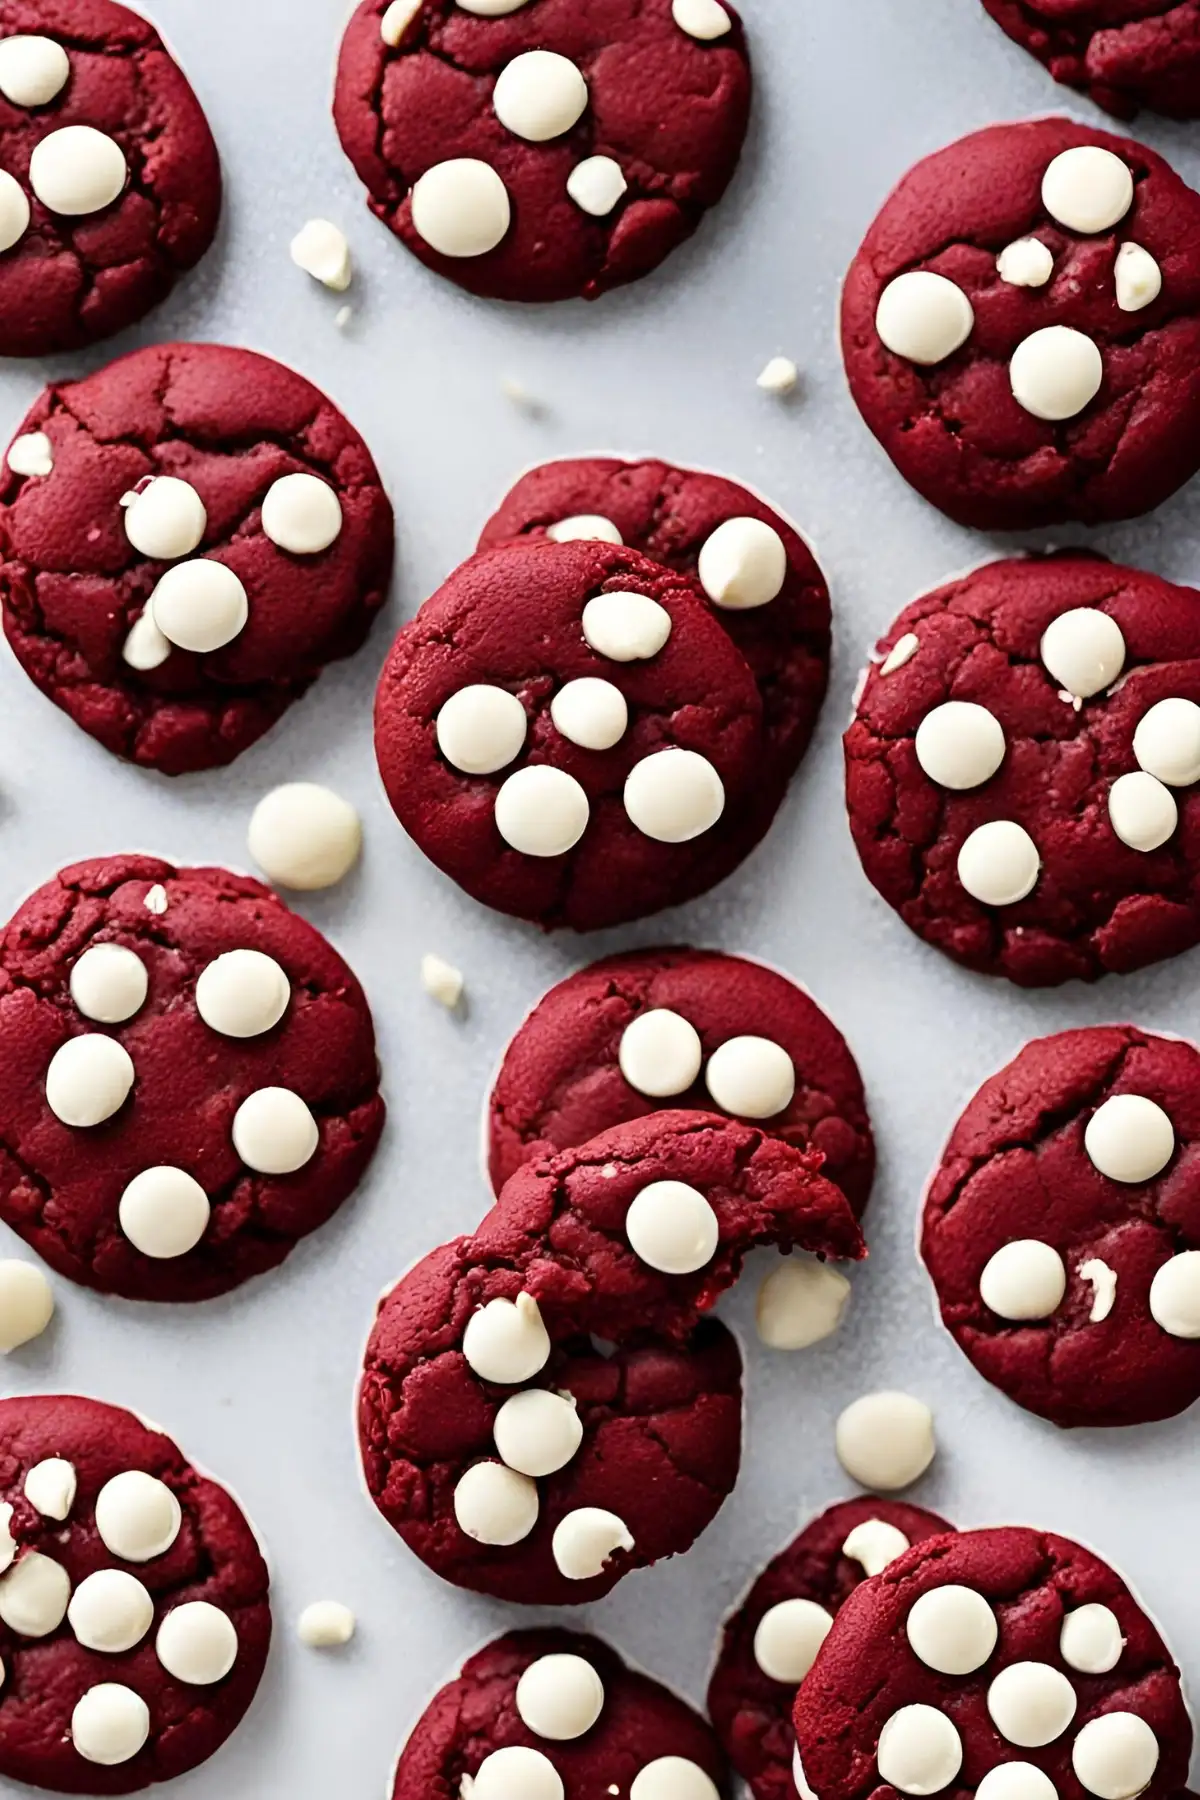
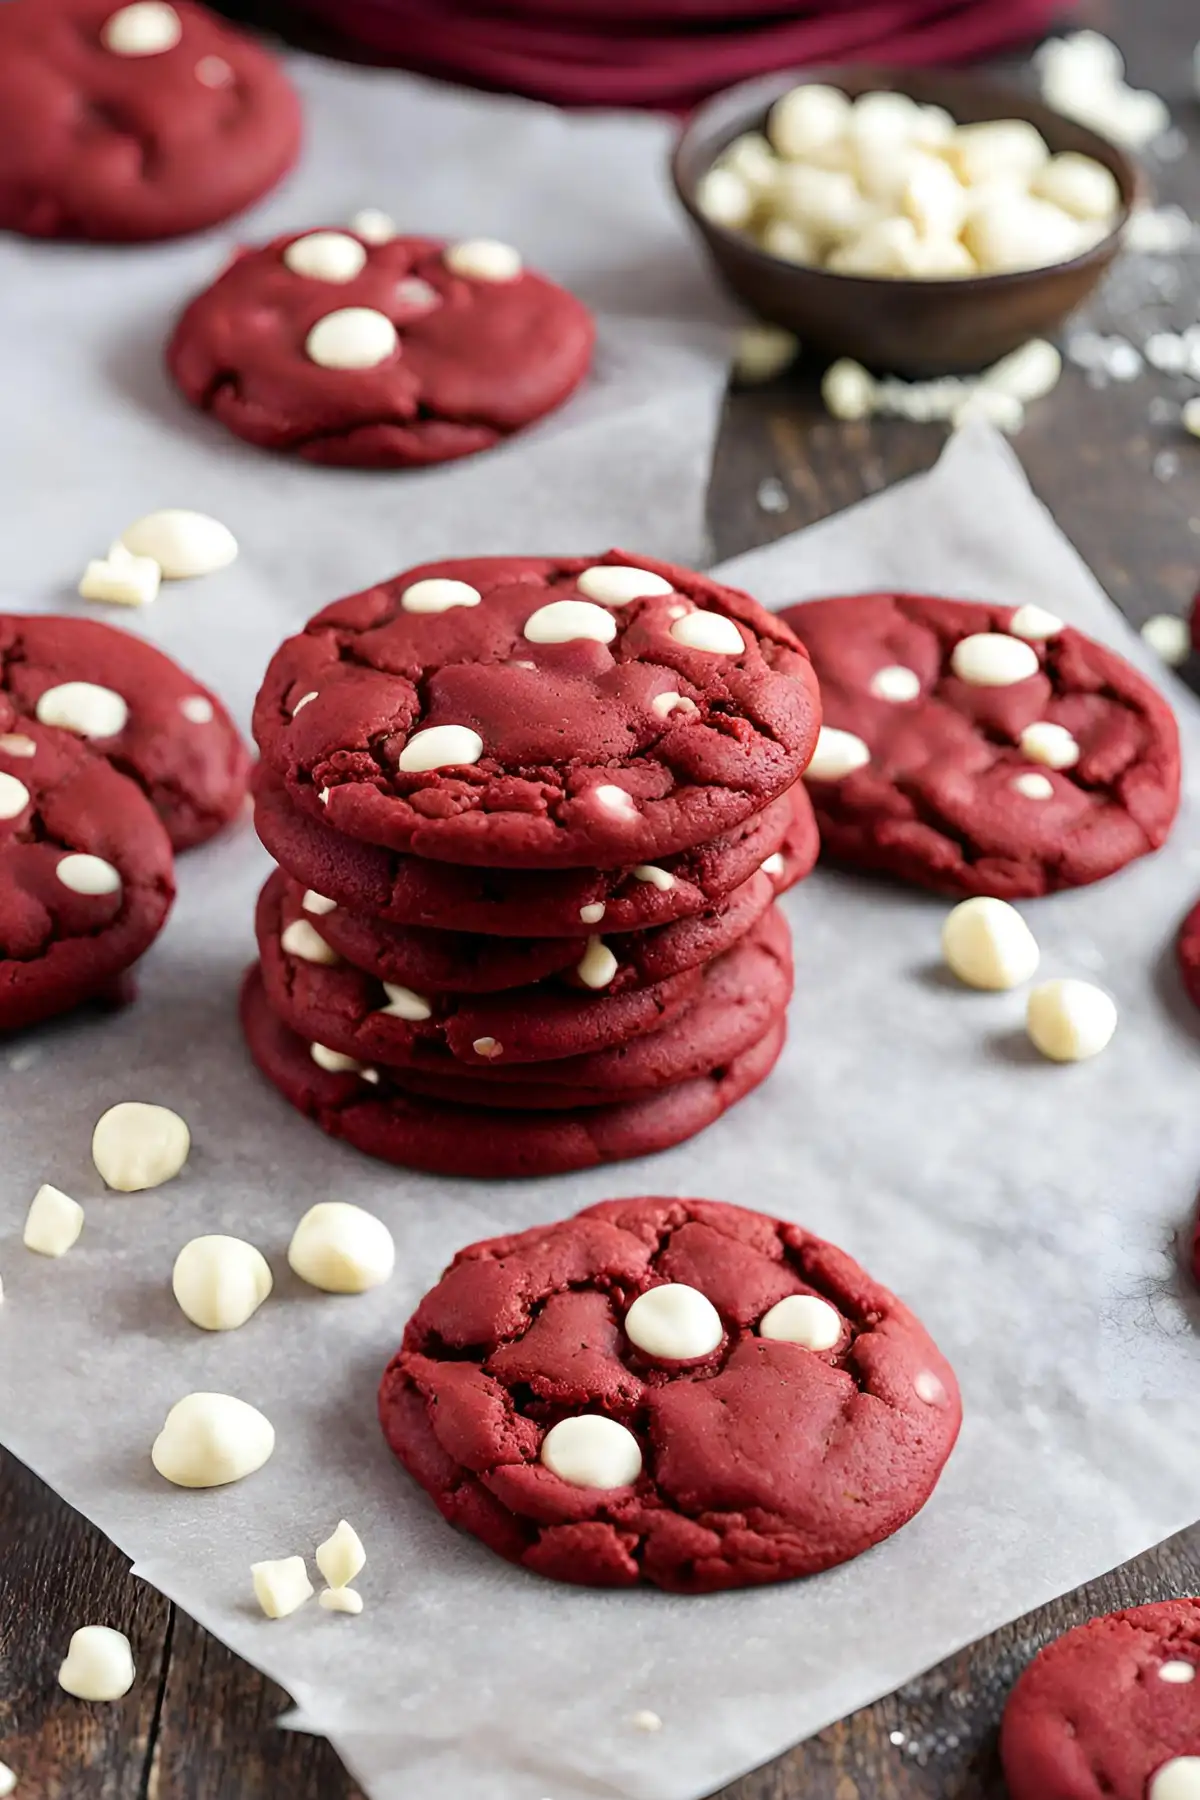
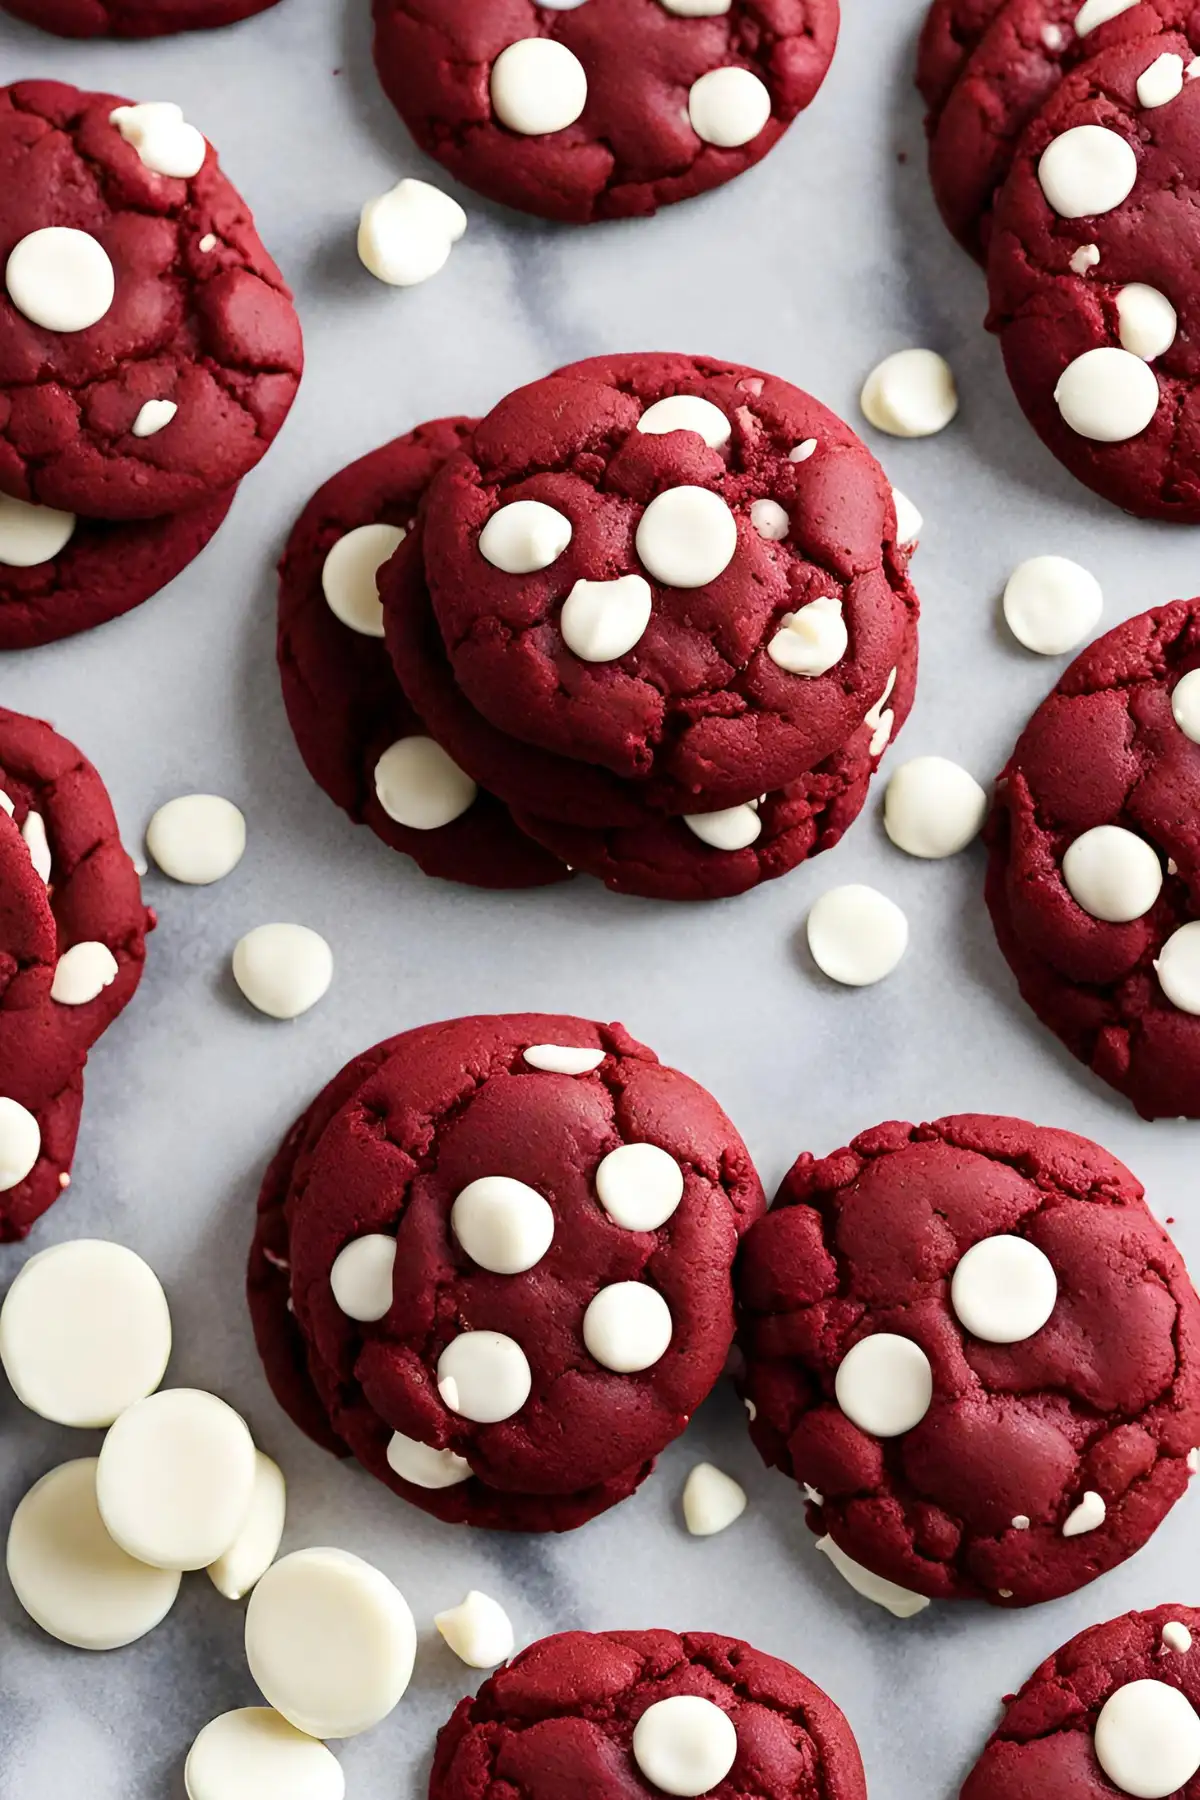
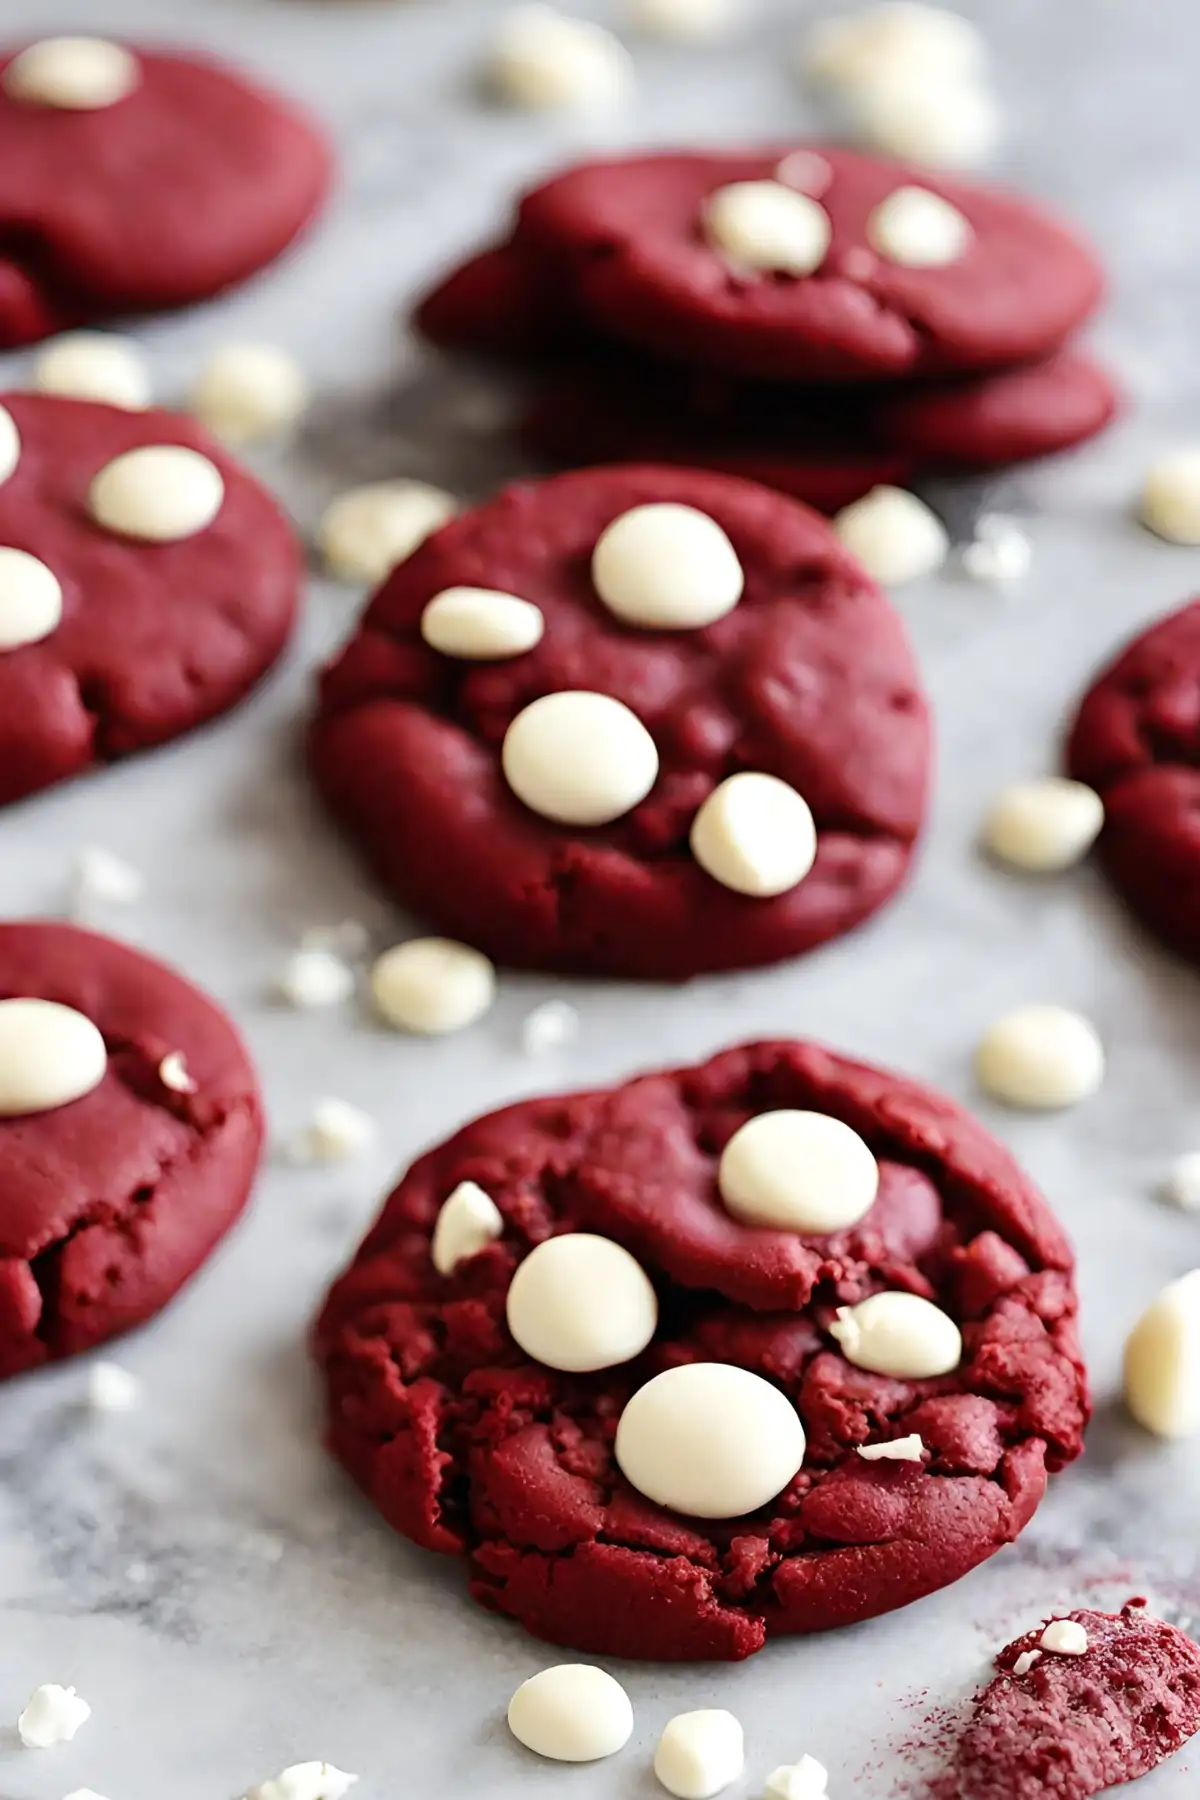
This recipe transforms a classic red velvet cake mix into chewy, vibrant red velvet cookies loaded with white chocolate chips. With just 4 simple ingredients, these cookies are perfect for any occasion, offering a quick and easy way to enjoy the rich flavors of red velvet and white chocolate.
Ingredients
- 1 (15.25-oz.) box red velvet cake mix (preferably with pudding in the mix for softer cookies)
- 1/2 cup vegetable oil
- 2 large eggs
- 1 1/4 cups white chocolate chips
Instructions
- Combine Ingredients: In a large mixing bowl, combine the cake mix, vegetable oil, and eggs until smooth. Fold in the white chocolate chips.
- Chill Dough: Refrigerate the dough for 45 minutes, covered with plastic wrap.
- Bake: Preheat oven to 350°F. Form dough into balls (about 2 tablespoons each) and place on a baking sheet 2 inches apart. Bake for 10-13 minutes until slightly crisped at the edges but soft in the center.
- Cool: Allow cookies to cool for 5 minutes on the baking sheet before transferring to a rack to cool completely.
Notes
- Room Temperature Eggs: Use eggs at room temperature for better incorporation into the dough.
- Chilling is Crucial: Chilling the dough before baking helps maintain the cookie shape and texture.
- Baking Surface: Use parchment paper or a silicone baking mat for easy removal and cleanup.
- Prep Time: 1 hour
- Cook Time: 13 minutes
- Category: Dessert
- Method: Baking
- Cuisine: American
Nutrition
- Serving Size: per cookie
- Calories: 229 kcal
- Sugar: 16g
- Sodium: 216mg
- Fat: 14g
- Saturated Fat: 8g
- Carbohydrates: 24g
- Protein: 2g
- Cholesterol: 20mg