
The Art of Molded Cookies: A Comprehensive Guide
Molded cookies, a delightful treat enjoyed across various cultures and generations, have a unique charm that captivates both bakers and cookie lovers alike. This article delves into the world of molded cookies, exploring their history, types, preparation methods, and much more.
Introduction to Molded Cookies
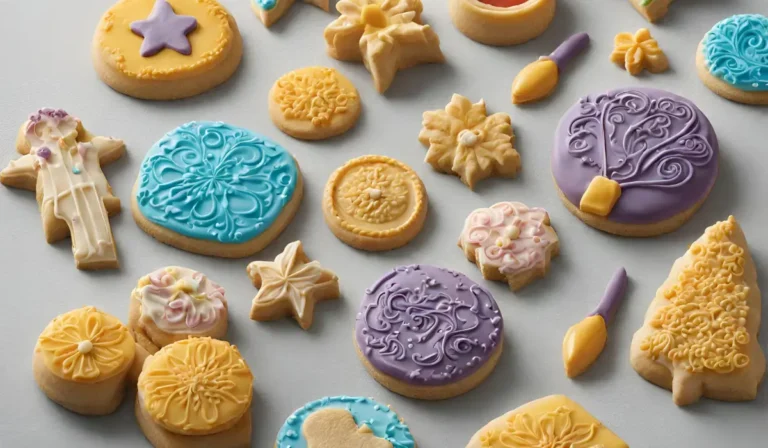
Molded cookies, known for their intricate designs and delicate flavors, are a testament to the art of baking. These cookies are shaped using molds or cutters, creating beautiful patterns that are as pleasing to the eye as they are to the palate. Their historical background is rich, with roots in various cultures, symbolizing festivities and traditions. The popularity and cultural significance of these cookies make them more than just a treat; they are a part of culinary heritage.
Types of Molded Cookies
Molded cookies come in an array of types, each with its unique appeal:
- Traditional Varieties: These include classic recipes passed down through generations.
- Modern Innovations: Contemporary twists to traditional recipes, incorporating new flavors and designs.
- Regional Specialties: Each region has its unique version, reflecting local tastes and ingredients.
Discover more about cookie varieties in the article Types of Cookies: Exploring the 7 Popular Varieties.
Ingredients and Equipment
The magic of molded cookies lies in their simplicity and the quality of their ingredients:
- Common Ingredients:
- Flour, sugar, butter, and eggs
- Various flavorings and additives
- Essential Equipment:
- Molds, rolling pins, cutters
- Baking sheets and ovens
For a deeper understanding of cookie ingredients, check out A&P Cookies Recipe: Your Guide to Baking Perfect Cookies.
Making Molded Cookies

Creating molded cookies is an enjoyable baking activity that combines culinary precision with artistic expression. Whether you’re a seasoned baker or a novice in the kitchen, this guide will help you master the art of making molded cookies, from the initial mixing of the dough to the final cooling process. Let’s embark on this delicious journey together.
1. Mixing and Preparing Dough
The first step in creating molded cookies is to mix and prepare the dough, which serves as the foundation for your culinary creations. Here’s how:
- Ingredients: Start with quality ingredients. Basic cookie dough typically includes flour, sugar, butter, eggs, and a leavening agent such as baking powder or baking soda. For flavored cookies, consider adding vanilla extract, spices, or citrus zest.
- Mixing: Cream the butter and sugar together until the mixture is light and fluffy. This incorporates air into the dough, contributing to a lighter texture. Add the eggs one at a time, mixing well after each addition. Gradually blend in the dry ingredients to avoid lumps.
- Consistency: The dough should be firm enough to hold its shape but pliable enough to be molded. If it’s too sticky, add a little more flour; if too dry, a tablespoon of milk or water can help.
2. Shaping and Molding Techniques
This stage is where your creativity comes into play. Depending on the complexity of the designs and the tools at your disposal, there are several approaches:
- Hand Molding: For simple shapes, you can shape the dough with your hands. This method is great for making balls or logs that can be sliced after chilling.
- Cookie Molds: Wooden or silicone cookie molds are perfect for intricate designs. Press the dough into the mold, then gently remove it to maintain the detailed patterns.
- Cookie Cutters: Roll out the dough on a floured surface to an even thickness, then use cookie cutters to punch out shapes.
3. Baking and Cooling
Baking and cooling are crucial for achieving the perfect texture and firmness in molded cookies.
- Preheat Oven: Always start with a preheated oven to ensure even baking. The temperature will vary based on the recipe, but 350°F (175°C) is common.
- Baking Time: Place the molded cookies on a baking sheet lined with parchment paper. Baking times will vary, but start checking around 8 to 10 minutes. Look for a light golden color around the edges.
- Cooling: Allow the cookies to cool on the baking sheet for a few minutes before transferring them to a wire rack. This helps them firm up without becoming too hard.
Tips for Perfect Cookies
- Dough Consistency: Chill the dough for at least 30 minutes before molding. This makes it easier to handle and helps prevent spreading during baking.
- Preventing Stickiness: Lightly flour your hands, tools, and work surface. For silicone molds, consider a light spray of cooking oil.
- Desired Shapes: Practice patience and gentle handling, especially with intricate molds. If using cookie cutters, dip them in flour between cuts to prevent sticking.
Creating molded cookies is a delightful way to express your creativity while indulging in sweet treats. By following these steps and tips, you’ll be well on your way to baking perfection. Enjoy the process and the delicious outcomes!
Decorating and Storing
Decorating and storing molded cookies not only enhances their visual appeal but also extends their enjoyment over time. With a touch of creativity and the right storage techniques, you can elevate your cookie experience. Additionally, adapting recipes to meet different dietary needs ensures everyone can indulge in these delightful treats. Here’s a comprehensive guide to decorating, storing, and modifying your molded cookies.
Decorating Molded Cookies
After your cookies have cooled, it’s time to add some artistic flair. Here are a few creative decorating ideas:
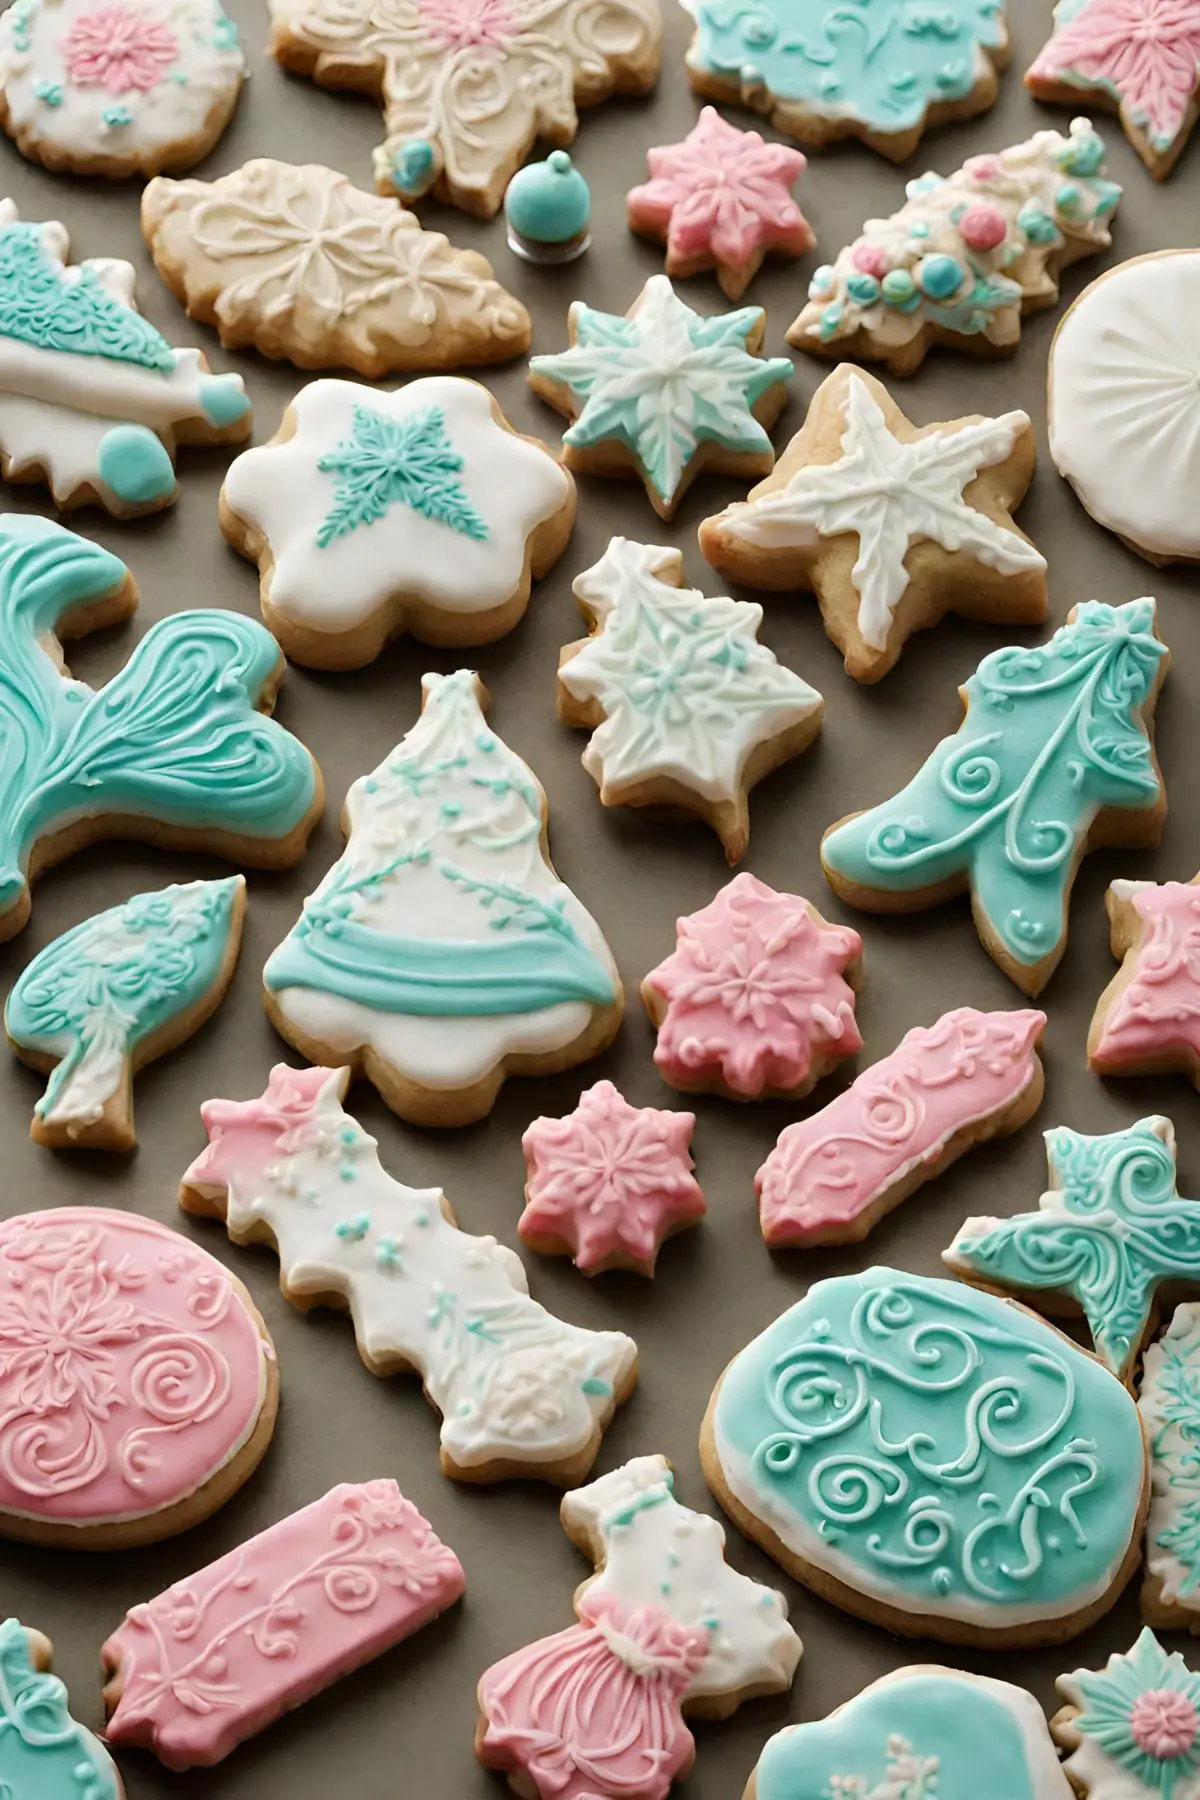
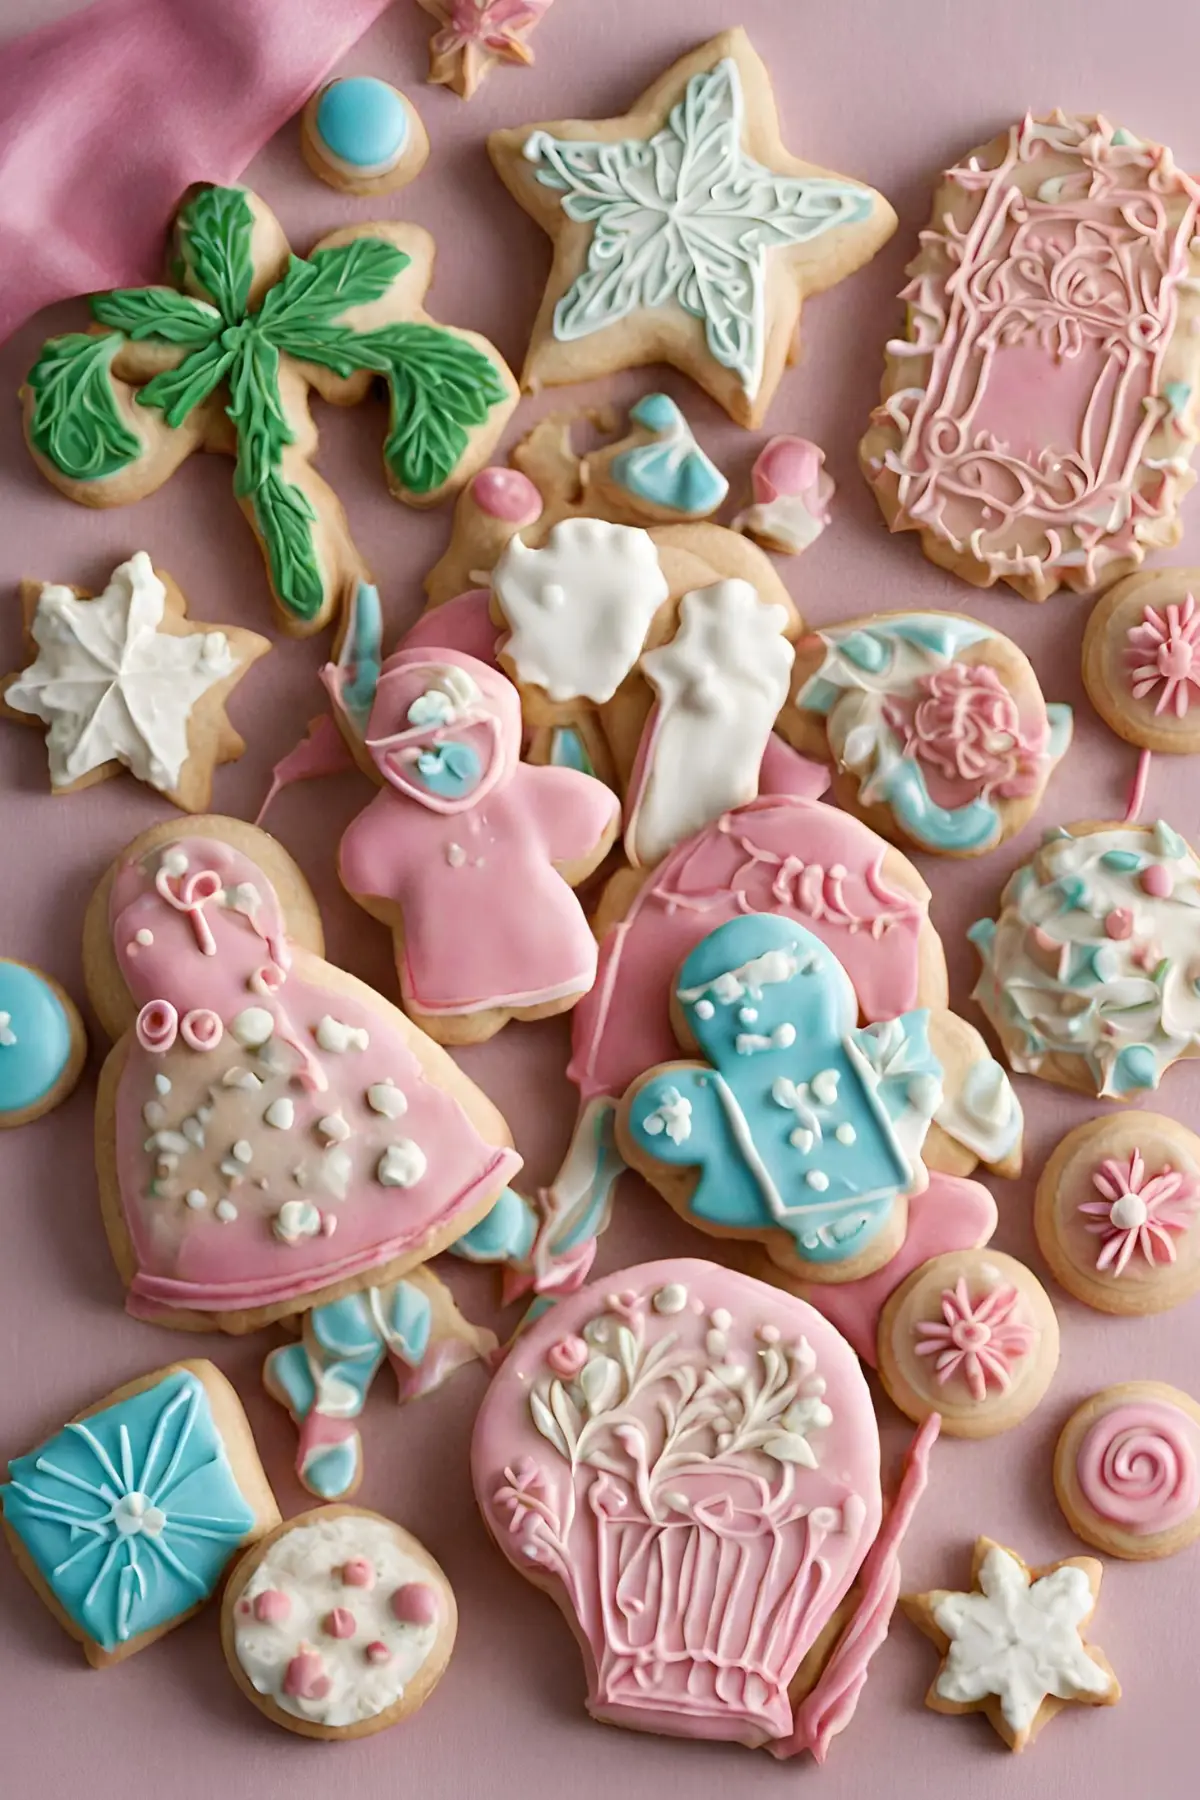
- Icing: Royal icing is perfect for detailed work. You can adjust its consistency to outline designs or fill larger areas. Colored icing, applied with a piping bag or a small spoon, can bring your cookies to life.
- Sprinkles and Edible Decorations: Add sprinkles, edible glitter, or sugar pearls before the icing sets to make your cookies pop with color and texture.
- Edible Paint: Mix food coloring with a small amount of alcohol (like vodka) or lemon extract to create edible paint. Use a clean paintbrush to add intricate designs or highlights to your cookies.
Storage Tips
Proper storage is key to maintaining the freshness and texture of your cookies.
- Short-Term Storage: Keep cooled cookies in an airtight container at room temperature. Layer them with parchment paper to prevent sticking or damage to decorations. They typically last up to a week.
- Long-Term Storage: For longer storage, freezing is your best option. Place the cookies in a single layer on a baking sheet to freeze individually, then transfer them to a freezer-safe bag or container. They can be stored for up to 3 months.
- Freezing and Thawing: To thaw, leave them in their container at room temperature to prevent condensation from softening the cookies. Decorate after thawing if you plan to freeze undecorated cookies.
Health and Dietary Considerations
