
Introduction to Easy No Bake Chocolate Icebox Cake
Have you ever found yourself yearning for a decadent dessert that doesn’t require hours in the kitchen? If so, the Easy No Bake Chocolate Icebox Cake is the treasure you’ve been looking for. This delightful dessert is not only a cinch to make, but it's also a showstopper at any gathering. With its luscious layers of chocolate and dreamy cream, it’s a dish that keeps people coming back for seconds.
What is an Icebox Cake, and Why is it a Must-Try?
So, what exactly is an icebox cake? At its core, an icebox cake is a chilled dessert composed of layers of cookies or graham crackers and whipped cream or pudding. The name comes from the fact that it was traditionally made in iceboxes, as refrigeration was less common in earlier days. As the layers of cookies soak up moisture from the cream, they soften and meld into a cake-like texture, creating something wonderfully creamy and delicious.
Why should you put the Easy No Bake Chocolate Icebox Cake at the top of your dessert list? Here are a few compelling reasons:
- No baking required: This cake is perfect for those who may not feel comfortable turning on the oven or simply want a hassle-free dessert.
- Make-ahead convenience: You can whip it up a day or two in advance. The flavors deepen over time, making it a great option for parties or gatherings.
- Customizable: While chocolate is a classic, you can easily customize it with different flavors, such as vanilla or fruit, to suit your taste.
Plus, who can resist something that's both simple and indulgent? As the temperatures rise during summer months, having a chilled dessert like this on hand can be a real lifesaver. If you’re curious about exploring more ideas, check out sources like Bon Appétit for variations and tips to elevate your icebox cake experience.
So, gather your ingredients and let’s transform this classic treat into your new favorite go-to dessert!
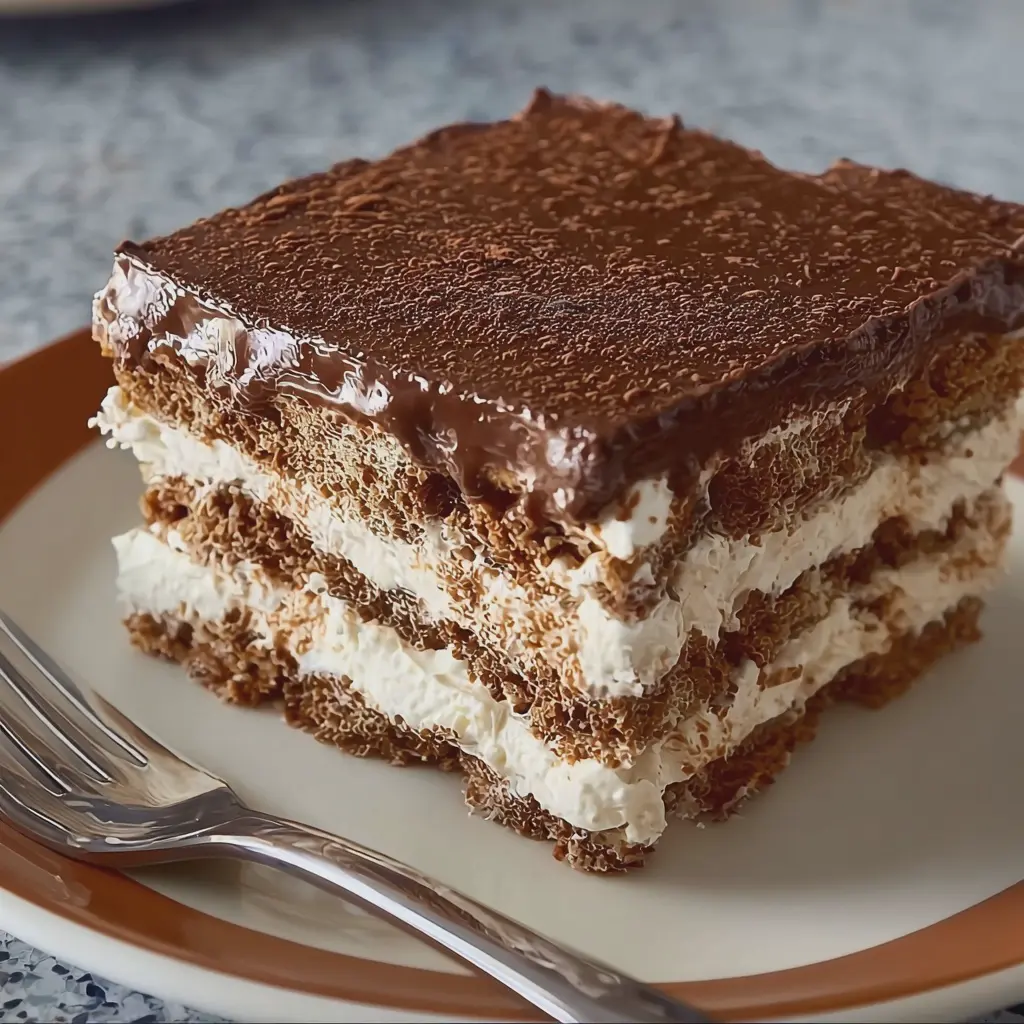
Essential ingredients for a delightful no-bake experience
When it comes to crafting the perfect Easy No Bake Chocolate Icebox Cake, you'll find that simplicity is key. Let’s explore the essential ingredients that will help you whip up this decadent dessert without breaking a sweat.
- Chocolate Cookies: Opt for your favorite chocolate wafer cookies. They act as the foundation that provides both flavor and a satisfying crunch.
- Cream Cheese: Softened cream cheese adds richness and a tangy contrast to the sweetness of the cake. Make sure it’s at room temperature for easy blending.
- Heavy Whipping Cream: For that airy and luscious texture, heavy cream is a must. Whip it until soft peaks form for the best results.
- Powdered Sugar: A little sweetness goes a long way. Use powdered sugar to sweeten your whipped cream and cream cheese mixture effortlessly.
- Cocoa Powder: For an extra chocolate kick, don't forget the unsweetened cocoa powder. It enhances the chocolate flavor and gives the cake a deep, rich color.
Don’t forget to check out other amazing no-bake dessert ideas that can complement your Easy No Bake Chocolate Icebox Cake. Who knew dessert could be this easy and delicious?
Step-by-Step Preparation of Easy No Bake Chocolate Icebox Cake
Creating your own Easy No Bake Chocolate Icebox Cake at home can be a delightful adventure, especially if you're short on time but still craving something decadent. Let's dive into the simple preparation steps that will have you enjoying this luscious dessert in no time!
Prepare the whipped cream
To kick off your Easy No Bake Chocolate Icebox Cake, you'll need to make the whipped cream from scratch for the best flavor. It’s surprisingly easy!
- Ingredients: You’ll need heavy whipping cream, granulated sugar, and vanilla extract.
- Procedure:
- Pour 2 cups of heavy whipping cream into a mixing bowl. Make sure your bowl is chilled—it helps the cream whip better.
- Add ¼ cup of granulated sugar and 1 teaspoon of vanilla extract.
- Using an electric mixer, start whipping the cream at medium speed until it forms soft peaks. This means when you lift the beaters, you’ll see gentle bends in the cream. Be cautious not to overwhip; you really want to stop before you get to stiff peaks.
The result? A beautifully light and airy whipped cream that will add layers of richness to your cake!
Mix in the sweetened condensed milk
Now it's time to add a delicious twist to your whipped cream by folding in sweetened condensed milk. This will bring a smooth, sweet creaminess to your cake.
- What you need: A can of sweetened condensed milk (usually about 14 ounces).
- How to do it:
- In a large bowl, pour in your freshly whipped cream.
- Gradually fold in the sweetened condensed milk with a spatula. Use gentle, circular motions to combine the two mixtures without deflating the whipped cream.
- Your cream mixture should now be luscious, creamy, and irresistibly sweet!
Layer the cookies and cream filling
This is where the magic truly begins—layering! You’ll want to use chocolate wafer cookies, which add a fabulous crunch to the cake.
- Assembly:
- Prepare a 9x13-inch baking dish or a pie dish, whichever you prefer.
- Start by dipping each cookie briefly in milk or your favorite non-alcoholic alternative to soften them just a bit.
- Arrange a single layer of the dipped cookies at the bottom of the dish.
- Spread a third of your whipped cream mixture on top of the cookies.
Repeat this process until you’ve used up all the cookies and cream filling. Finish with a layer of whipped cream on top, and don’t skimp on making it look pretty!
Create the chocolate ganache
Elevate your cake with a simple yet luxurious chocolate ganache. This step is a game changer!
- Ingredients: Heavy cream and semi-sweet chocolate or your favorite chocolate chips.
- Steps to follow:
- In a small saucepan over medium heat, bring 1 cup of heavy cream just to a simmer (don’t let it boil).
- Remove from heat and add 1 ½ cups of chocolate chips. Allow it to sit for about 5 minutes, then stir until smooth and glossy.
This rich chocolate ganache will serve as the perfect finish for your cake.
Assemble and chill the cake
Now that you have all your components ready, it’s time to put your Easy No Bake Chocolate Icebox Cake together!
- Final steps:
- Pour the chocolate ganache over the top layer of whipped cream, spreading it evenly.
- Cover the dish with plastic wrap and refrigerate for at least 4 hours, but overnight is best if you can wait! This chilling time allows the flavors to meld beautifully and for the cookies to soften into cake-like layers.
Once you take a slice out of the fridge, you’ll be rewarded with a creamy, dreamy dessert that’s sure to impress friends and family.
Now, there you have it! Follow these simple steps to create your own Easy No Bake Chocolate Icebox Cake, perfect for any celebration or just a cozy night in. Be prepared—everyone will be asking for seconds!
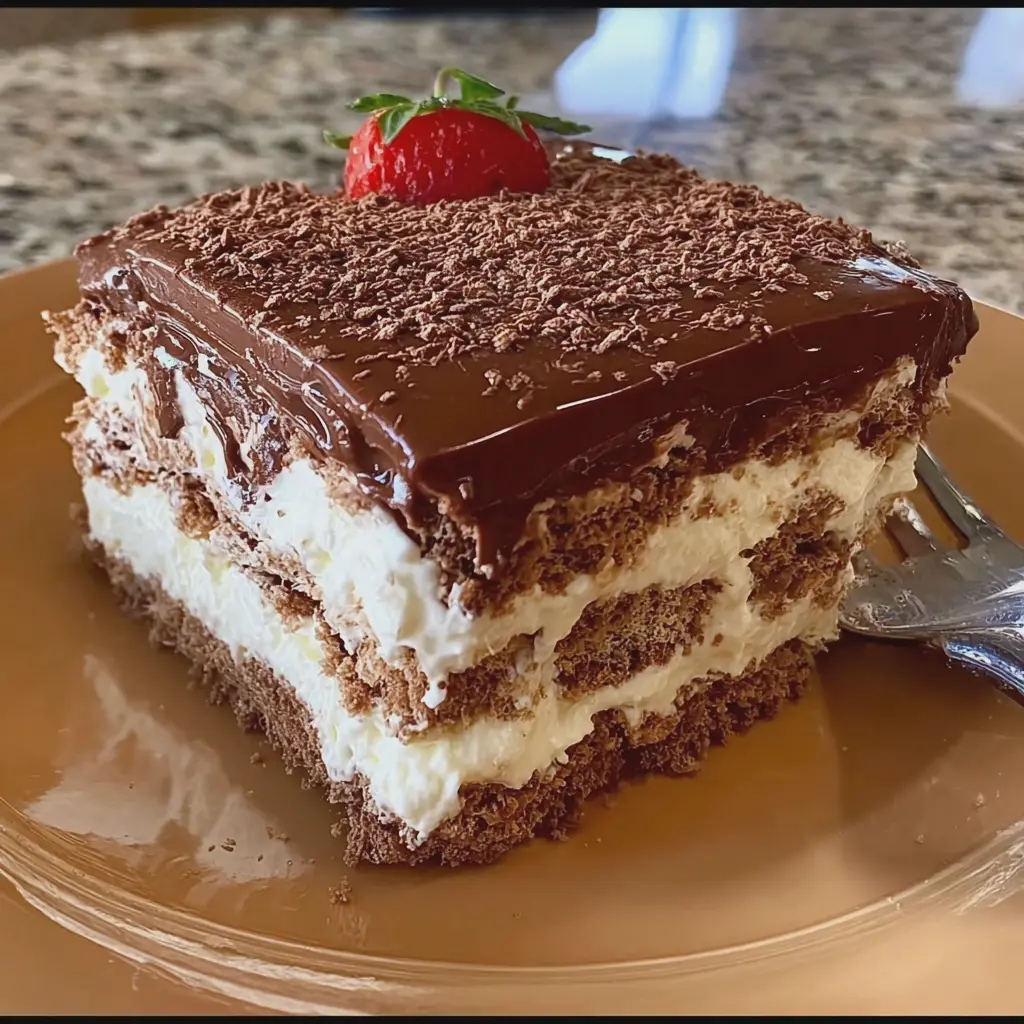
Variations on Easy No Bake Chocolate Icebox Cake
Cookies alternatives: from chocolate to vanilla
When it comes to your Easy No Bake Chocolate Icebox Cake, the base is key! While chocolate cookies impart a classic richness, vanilla cookies can provide a delightful contrast. Think about substituting your chocolate wafer cookies with:
- Graham crackers: They add a sweet, slightly crunchy layer to your cake.
- Vanilla wafers: A perfect match for a lighter flavor profile.
- Savory options: Try chocolate-dipped or nut-flavored cookies for a twist.
You can even blend different types to find a unique combination that suits your palate. The cookie choice drastically influences the overall taste and texture, so don’t be afraid to experiment!
Fun add-ins: nuts, fruits, or flavored extracts
Now, let’s talk about customization! One of the best parts of making an Easy No Bake Chocolate Icebox Cake is its adaptability. You can easily add depth and flair by incorporating:
- Chopped nuts: Almonds, walnuts, or pecans can give the cake a satisfying crunch.
- Fresh fruits: Strawberries, raspberries, or bananas can brighten the dessert and add a refreshing element.
- Flavored extracts: A splash of almond or coconut extract can enhance the chocolate without overwhelming it.
Why not try layering some fresh fruit between the cookie layers? It adds a burst of flavor and makes your cake Instagram-worthy! For those of you who enjoy a bit of indulgence, consider drizzling caramel or raspberry sauce over the top for a gourmet finish.
Incorporate these variations to make your Easy No Bake Chocolate Icebox Cake a unique centerpiece for any gathering. The options are endearing and endless! For more baking ideas and inspiration, check out the American Baking Guild’s official site.
Cooking Tips and Notes for Easy No Bake Chocolate Icebox Cake
Essential tools for a seamless preparation
Making your Easy No Bake Chocolate Icebox Cake can be a breeze with the right tools! Here’s what you’ll need:
- Mixing bowls: Having a couple of different sizes helps in whipping cream and mixing the chocolate mixture efficiently.
- Whisk or electric mixer: For achieving that fluffy whipped cream, an electric mixer makes the job easier, but a whisk will work if you're up for a workout.
- Spatula: A silicone spatula is perfect for folding in ingredients without deflating the whipped cream.
- 9x13 inch baking dish: This size is ideal for layering your ingredients beautifully.
Avoiding common pitfalls: texture and layering
When it comes to your Easy No Bake Chocolate Icebox Cake, achieving the right texture is crucial. Here are a few tips:
- Use cold ingredients: Make sure your cream is very cold when whipping—this helps achieve maximum volume.
- Layering technique: Alternate between cookies and chocolate mixture evenly, ensuring every bite is rich and satisfying. A simple tip? Use a light hand when spreading your layers to avoid crushing the cookies!
By keeping these tips in mind, you’ll create a show-stopping dessert that's smooth and delicious. Want to dive deeper into baking techniques? Check out Cook's Illustrated for more inspiring advice!
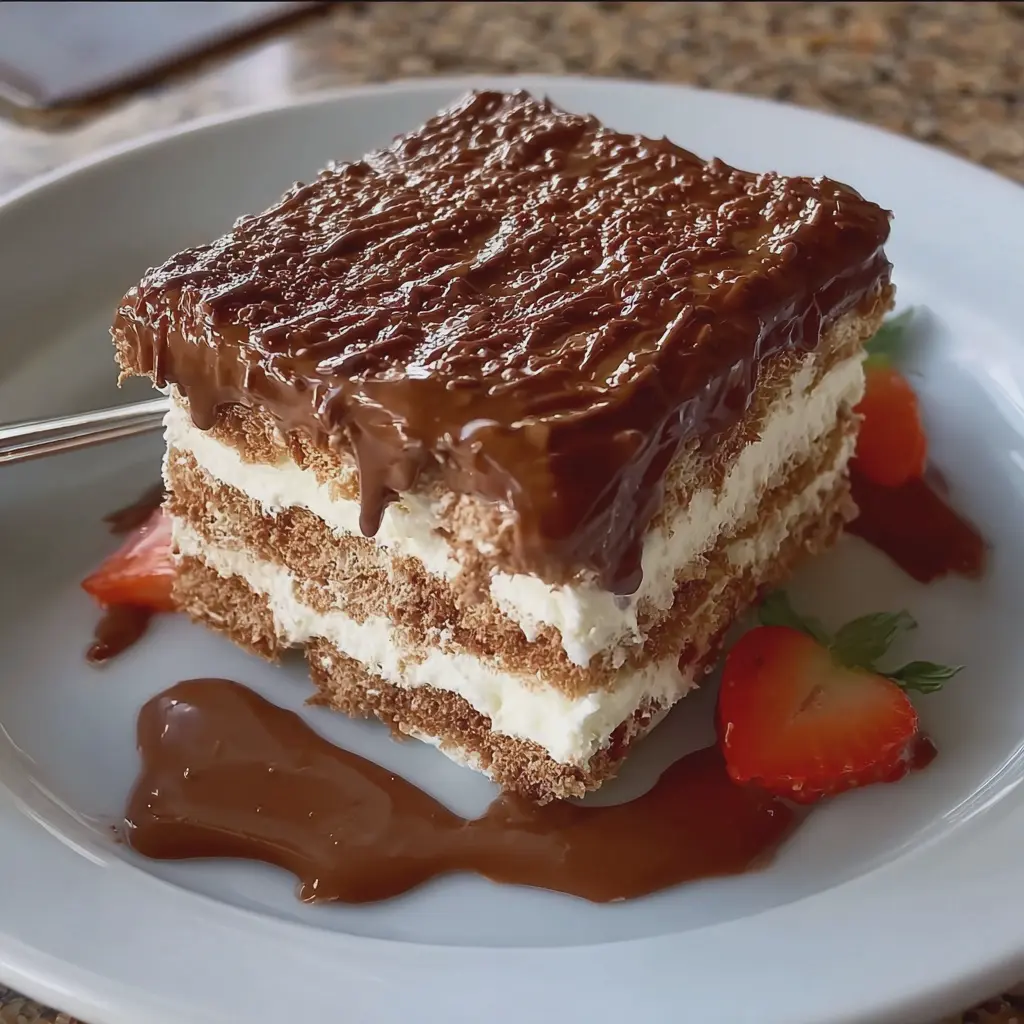
Serving Suggestions for Easy No Bake Chocolate Icebox Cake
Garnishing Ideas: Whipped Cream, Berries, or Chocolate Shavings
Enhance your Easy No Bake Chocolate Icebox Cake with delightful garnishes. A dollop of fresh whipped cream can add that perfectly creamy touch. If you're feeling fruity, consider topping your cake with a mix of fresh berries like raspberries, strawberries, or blueberries. Not only do they add a pop of color, but their tartness beautifully contrasts with the rich chocolate flavor. For a decadent finish, sprinkle chocolate shavings over the top, bringing an elegant touch to your dessert.
Pairing Options: Desserts with Coffee or Herbal Tea
When serving your chocolate cake, pairing it with the right beverage can elevate the experience. An excellent option is to enjoy it alongside a steaming cup of coffee, which complements the deep chocolate notes beautifully. If you prefer something lighter, a fragrant herbal tea, like chamomile or peppermint, offers a refreshing balance. These pairings can create a delightful ambiance for a cozy gathering or a casual evening treat.
For more ideas, check out this article on coffee pairings or explore herbal teas that can enhance your dessert experience.
Time Breakdown for Easy No Bake Chocolate Icebox Cake
Preparation time
Creating your Easy No Bake Chocolate Icebox Cake is a breeze, taking only about 15 minutes. You’ll spend this time mixing the pudding, layering it with graham crackers, and adding that rich chocolatey goodness. It's perfect for busy weeknights or when surprising friends with a last-minute dessert.
Chilling time
Next up, patience is key! Refrigerate your cake for at least 4 hours—this allows the flavors to meld beautifully and the cake to set properly. If you have time, letting it chill overnight will yield even creamier results that your taste buds will thank you for.
Total time
All in all, you're looking at roughly 4 hours and 15 minutes, including prep and chill time. That's a small investment for a delightful dessert that everyone will love! If you're eager to dive into the world of no-bake desserts, you can find additional inspiration at Joy of Baking or Taste of Home. Remember, the best things in life are often the simplest, and this cake is proof!
Nutritional Facts for Easy No Bake Chocolate Icebox Cake
Calories per serving
The delightful Easy No Bake Chocolate Icebox Cake packs about 350 calories per serving. While that may seem indulgent, it’s important to remember that this is a dessert meant for those special moments!
Key nutritional highlights
When diving into this dessert, here are a few key nutritional highlights to consider:
- Fat: Approximately 20 grams, primarily from the chocolate and cream layers. While this adds richness, opting for lower-fat alternatives can cut back on calories without sacrificing flavor.
- Carbohydrates: Around 40 grams, with the main contributors being the crust and filling. Using whole-grain graham crackers can offer a fiber boost!
- Sugar: About 25 grams, depending on your chocolate selection. If you're looking to reduce sugar, consider using unsweetened cocoa powder or a sugar substitute.
These figures can vary based on the exact ingredients and serving sizes, so always keep that in mind. For more insights into portion control and healthier swaps, check out resources like Harvard Health for all things nutrition-related!
FAQs about Easy No Bake Chocolate Icebox Cake
How long can I store the icebox cake?
One of the best features of this Easy No Bake Chocolate Icebox Cake is how well it holds up in the fridge. You can store it for about 3 to 5 days in an airtight container. Just make sure to keep it chilled, as the cream can lose its fluffiness if left out for too long. If you’re like me and enjoy sneaking a slice every now and then, you might even find that the flavors deepen a bit after a day or two!
Can I substitute the heavy cream?
Absolutely! If heavy cream isn’t your thing or you’re looking for a lighter option, there are alternatives. You can use coconut cream for a dairy-free version, or if you're trying to cut back on calories, whipped topping works well too. Just keep in mind that the texture and flavor might change slightly, but it will still be delicious. For more tips on ingredient substitutions, check out this handy guide over at Bon Appétit.
What if I can't find chocolate tea biscuits?
No worries! If chocolate tea biscuits are elusive at your local store, try using regular chocolate wafer cookies or even graham crackers dipped in cocoa powder. The key is to have a crunchy layer to contrast with the creamy filling. Each alternative brings its own twist to the Easy No Bake Chocolate Icebox Cake experience—exploring different flavors can be quite fun. Think outside the box, and don’t hesitate to get creative!
Conclusion on Easy No Bake Chocolate Icebox Cake
Why you should try making this delightful dessert at home!
If you’re looking for a dessert that’s as simple to prepare as it is delicious, the Easy No Bake Chocolate Icebox Cake is a must-try! Not only does it require minimal effort, but it also wow your friends and family with its rich flavors and smooth texture.
Imagine layering creamy chocolate goodness with crisp cookies—each bite melts in your mouth, making it perfect for gatherings or quiet evenings. Plus, you can customize it with your favorite toppings or add a touch of whipped cream for extra indulgence.
For the best tips and tricks on mastering this dessert, check out Food Network for some expert advice. Give it a shot; you may just find your new go-to dessert!
Print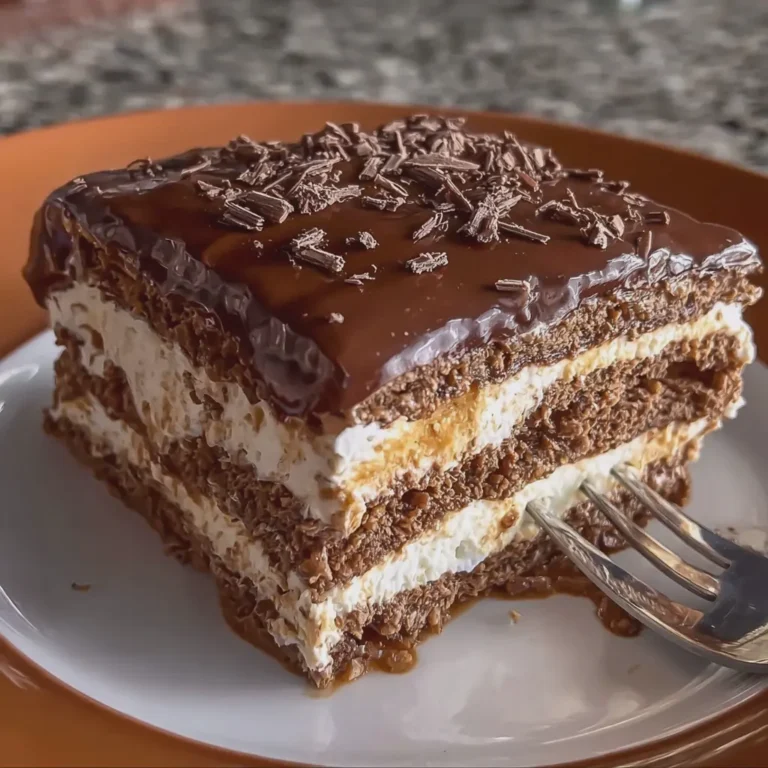
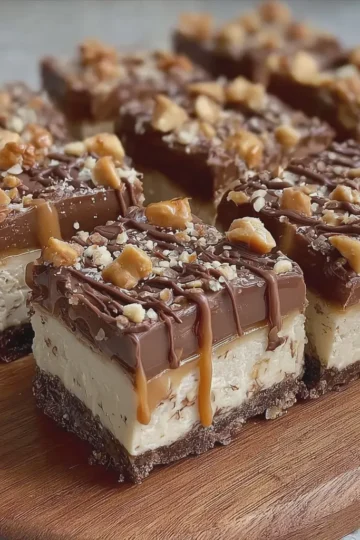
Easy No Bake Chocolate Icebox Cake: A Decadent Summer Treat
Enjoy a refreshing dessert without the need for baking with this Easy No Bake Chocolate Icebox Cake. Perfect for hot summer days!
- Total Time: 4 hours 20 minutes
- Yield: 8 servings
Ingredients
- 2 cups heavy cream
- 1 cup powdered sugar
- 1 teaspoon vanilla extract
- 1 package chocolate wafer cookies
- 1 cup chocolate pudding mix
- 2 cups milk
- 1 cup chocolate shavings (for topping)
Instructions
- In a large bowl, whip the heavy cream until it starts to thicken.
- Add the powdered sugar and vanilla extract, and continue whipping until stiff peaks form.
- In another bowl, combine the chocolate pudding mix and milk, mixing until smooth.
- Layer the chocolate wafers in a rectangular dish, covering the bottom.
- Spread a layer of the whipped cream mixture over the wafers.
- Pour a layer of the chocolate pudding over the whipped cream.
- Repeat the layers until all ingredients are used, finishing with whipped cream on top.
- Sprinkle chocolate shavings on top for garnish.
- Cover and refrigerate for at least 4 hours before serving.
Notes
- For a richer flavor, you may add chocolate syrup between layers.
- This cake can be customized with different flavored puddings or whipped toppings.
- Prep Time: 20 minutes
- Category: Dessert
- Method: No Bake
- Cuisine: American
- Diet: Vegetarian



Leave a Reply