
Introduction to Homemade Vanilla Pudding
If you’ve ever found yourself yearning for a simple yet indulgent dessert after a long day at work, homemade vanilla pudding is the answer. As a busy young professional, you may be juggling various aspects of your life, from demanding job responsibilities to social commitments. In this fast-paced world, whipping up a creamy, delectable treat like vanilla pudding at home might just be the comforting experience you didn’t realize you needed. It’s quick to make, and the taste will far surpass anything you could buy at the store.
Why Homemade Vanilla Pudding is a Game Changer for Young Professionals
Let’s face it: life can get overwhelming. Between deadlines, meetings, and social plans, who has time to spend hours in the kitchen? This is where homemade vanilla pudding shines bright. Not only is it incredibly easy to prepare, but it also requires minimal ingredients. A few pantry staples such as milk, sugar, cornstarch, and, of course, real vanilla extract can transform into a luscious dessert in under 30 minutes.
- Ease of Preparation: You can make vanilla pudding during a quick break or right before dinner. Unlike complicated cakes or pies, it won’t have you tied to the oven.
- Versatile Ingredients: Modify it to your liking—add a pinch of salt for balance, or throw in some fresh berries for a fruity twist. It’s the customizability that makes it perfect for those with unique tastes.
- Budget-Friendly: With rising costs, it's essential to find affordable indulgences. Homemade pudding allows you to enjoy a sweet treat without breaking the bank.
Did you know that homemade desserts can lift your mood and provide a nostalgic connection to childhood? A study from the Journal of Positive Psychology indicates that cooking can significantly boost your emotional well-being. Next time you’re feeling stressed, consider stirring up a batch of homemade vanilla pudding. It’s not just about the sweet taste; it’s about creating something comforting and rewarding.
For an easy recipe and more culinary inspiration, check out The Kitchn or Serious Eats, which provide great insights into mastering basic dessert techniques.
Indulging in homemade vanilla pudding is not just about satisfying a craving; it’s about treating yourself with love and care. Are you ready to dive into the world of creamy delights?
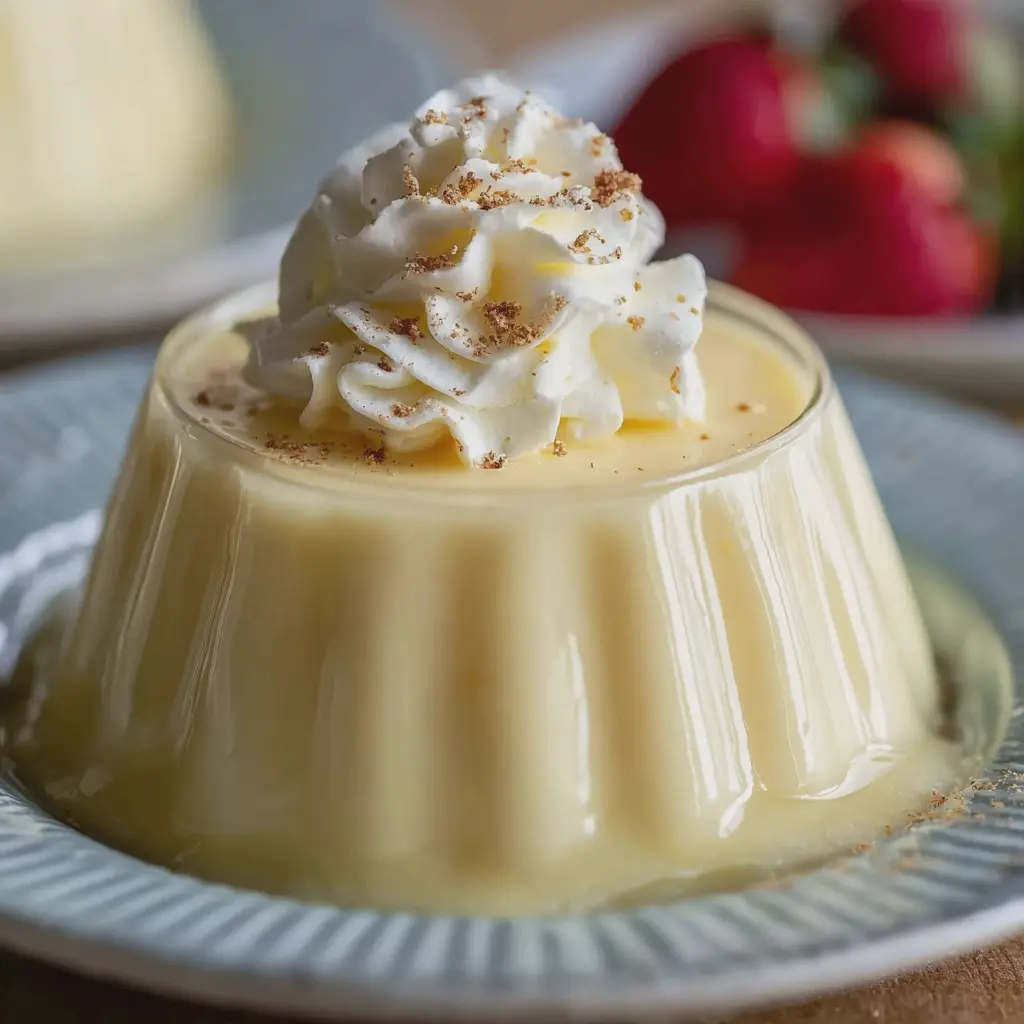
Ingredients for Homemade Vanilla Pudding
List of Ingredients to Gather
Creating delicious homemade vanilla pudding starts with the right ingredients. Here’s what you’ll need:
- 2 cups of whole milk
- ½ cup of granulated sugar
- ¼ cup of cornstarch
- ¼ teaspoon of salt
- 2 large egg yolks
- 2 tablespoons of unsalted butter
- 1 tablespoon of pure vanilla extract
Before you dive in, make sure to gather these items. A quick run to the grocery store or a peek into your kitchen can save you from unexpected hiccups while cooking.
Importance of Quality Ingredients
When it comes to homemade vanilla pudding, the quality of your ingredients directly influences the flavor and texture. Opt for pure vanilla extract over imitation. It may seem like a small choice, but it makes a world of difference. Did you know that high-quality milk, like whole milk or even a creamy alternative, enhances the richness of the pudding?
Investing in quality ingredients not only elevates your dish but also makes your cooking experience more enjoyable. For further reading on the benefits of using fresh and natural ingredients, check out this article on culinary essentials. Enjoy your cooking journey!
Preparing Homemade Vanilla Pudding
Making homemade vanilla pudding is a delightful project that brings a bit of nostalgia to the kitchen. Not only is it a rewarding experience, but it also fills your home with the comforting aroma of vanilla. Let’s dive into each step of this simple yet gratifying recipe, ensuring you have the know-how to whip up a luscious pudding that will impress.
Gather Your Kitchen Tools
Before we roll up our sleeves, it’s essential to have all the right tools on hand. Here’s what you will need:
- Medium saucepan
- Mixing bowl
- Whisk (preferably a whisk with a comfortable handle)
- Measuring cups and spoons
- Wooden spoon or heat-resistant spatula
- Fine mesh strainer (optional for an ultra-smooth pudding)
- Serving dishes or individual bowls
Having these essentials ready will streamline the process and allow you to enjoy making your homemade vanilla pudding without interruptions.
Whisk Together Dry Ingredients
Now that you have your tools set up, it’s time to focus on the dry ingredients. In a medium bowl, combine:
- ½ cup granulated sugar
- ¼ cup cornstarch
- ¼ teaspoon salt
This blend is critical because the sugar provides sweetness, while cornstarch acts as a thickening agent. Whisk together these ingredients until they’re well mixed. Using a whisk helps aerate the mixture and ensures there are no lumps, which is essential for creating that creamy texture we all love.
Combine the Eggs
In another bowl, crack two large eggs and whisk them slightly. We just want to break them up at this stage; there's no need to whip them into a frenzy. This step is crucial because the eggs add richness and create that velvety texture in the pudding.
Gradually Add the Milk Mixture
Next, here comes the fun part: pouring in your milk! In a saucepan, heat 2 cups of whole milk over medium heat until it’s warm but not boiling. Once it's ready, carefully whisk about half of the warm milk into the egg mixture — this is called tempering the eggs. It prevents the eggs from scrambling when they meet the heat. After the eggs are warmed up, add the rest of the milk and whisk again to fully combine.
Cook Over Medium-Low Heat Until Thickened
With your mixture combined, pour it back into the saucepan. Cook over medium-low heat, stirring constantly with a wooden spoon or spatula, until it starts to thicken, about 5-10 minutes. You’ll notice the pudding slowly transforms from a liquid into a creamy dream — this is the magic moment! Make sure to keep stirring to avoid any scorching or sticking to the bottom of the pan.
Incorporate Butter and Vanilla
Once your pudding has thickened to your desired consistency, remove it from the heat. Now, for the finishing touches: stir in 2 tablespoons of butter and 1 tablespoon of pure vanilla extract. The butter adds shine and silkiness, while the vanilla infuses delightful flavor. For the best vanilla, consider using high-quality extracts; it makes a natural difference!
Chill the Pudding
Transfer your pudding to a bowl, cover it with plastic wrap (make sure it touches the surface to prevent a skin from forming), and refrigerate for at least 2 hours. If you’re pressed for time, a quick chill for 30 minutes will still be enjoyable, though the texture may differ slightly.
Serve and Enjoy!
Finally, once your homemade vanilla pudding is perfectly chilled, it’s time to serve! Spoon it into individual bowls and consider topping it off with some whipped cream, fresh berries, or a sprinkle of crushed cookies to add some crunch.
With just a few simple steps and a touch of patience, you’ve created a comforting dessert that’s sure to make anyone smile. Enjoy, and don’t forget to share the recipe! For more delicious dessert ideas, check out Taste of Home or Serious Eats for further inspiration.
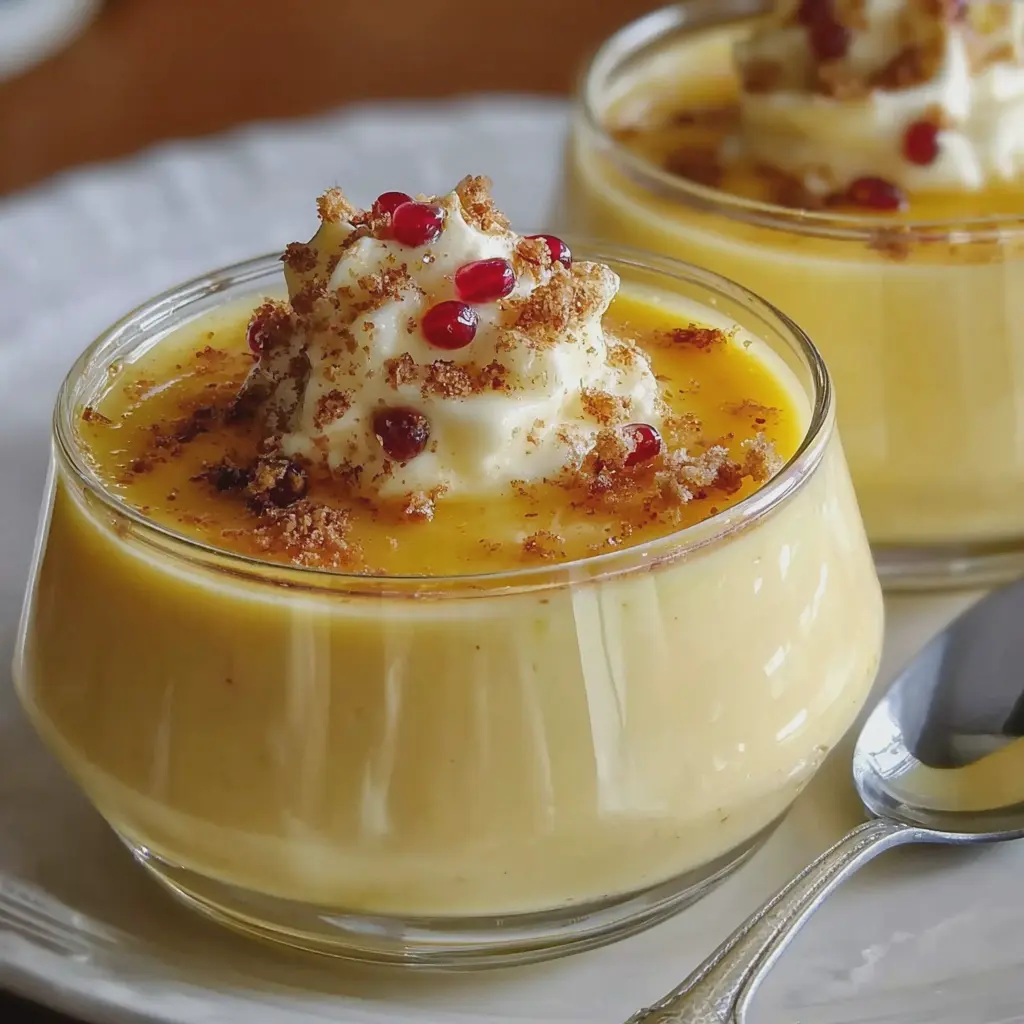
Variations on Homemade Vanilla Pudding
Homemade vanilla pudding is a classic dessert that serves as a blank canvas, inviting you to play with flavors. Here are some delicious variations to elevate your pudding game.
Chocolate Vanilla Pudding
Why not indulge in a twist by mixing in some rich chocolate? To make chocolate vanilla pudding, simply stir in 2-3 tablespoons of unsweetened cocoa powder into the warm mixture before chilling. You can also melt chocolate and blend it in for a more intense chocolate flavor. This delightful combination pleases chocolate lovers and is perfect for a cozy night in.
Coconut Vanilla Pudding
If you’re dreaming of tropical vibes, coconut vanilla pudding is the way to go. Substitute half of the milk in the recipe with coconut milk for that creamy texture. Adding shredded coconut will not only enhance the flavor but also give the pudding a fun texture. Top it off with some toasted coconut flakes for an irresistible crunch. A definite crowd-pleaser, this variation can also bring a piece of paradise to your dinner table.
Fruity Vanilla Pudding
For a refreshing take, consider fruity vanilla pudding. Throughout the summer, I love adding fresh berries or even diced peaches into my pudding. You can fold in the fruits after the pudding is cooled for a light and colorful dessert. Alternatively, prepare a fruit compote and layer it between the pudding to create a beautiful dessert that’s as stunning as it is tasty.
Each variation offers a unique taste adventure while maintaining the comforting essence of homemade vanilla pudding. So why not experiment and find your favorite? For more creative puddings and dessert ideas, check out resources like Serious Eats or America's Test Kitchen.
Cooking Tips and Notes for Homemade Vanilla Pudding
How to Prevent Lumps
Making homemade vanilla pudding can be a delightful experience, but nobody wants a lumpy final product! To ensure a silky-smooth texture, always start by whisking your dry ingredients (like sugar and cornstarch) before adding them to the milk. Slowly pour the milk in while continuously stirring; this way, you won't get clumps. A fine mesh strainer can be a game-changer—pour the mixture through it into your pot to catch those pesky lumps!
Tips for Achieving the Right Texture
Achieving the perfect texture for your homemade vanilla pudding is all about patience. Heat the mixture over medium-low heat, stirring constantly. This helps avoid curdling while thickening beautifully. Once it starts to bubble, cook for an extra minute or two; this ensures it sets properly once cooled. If you're looking for extra smoothness, consider whisking in a tablespoon of butter at the end or experimenting with different milk types—almond or oat milk can add unique flavors!
For more tips, check out Serious Eats for in-depth techniques on pudding-making!
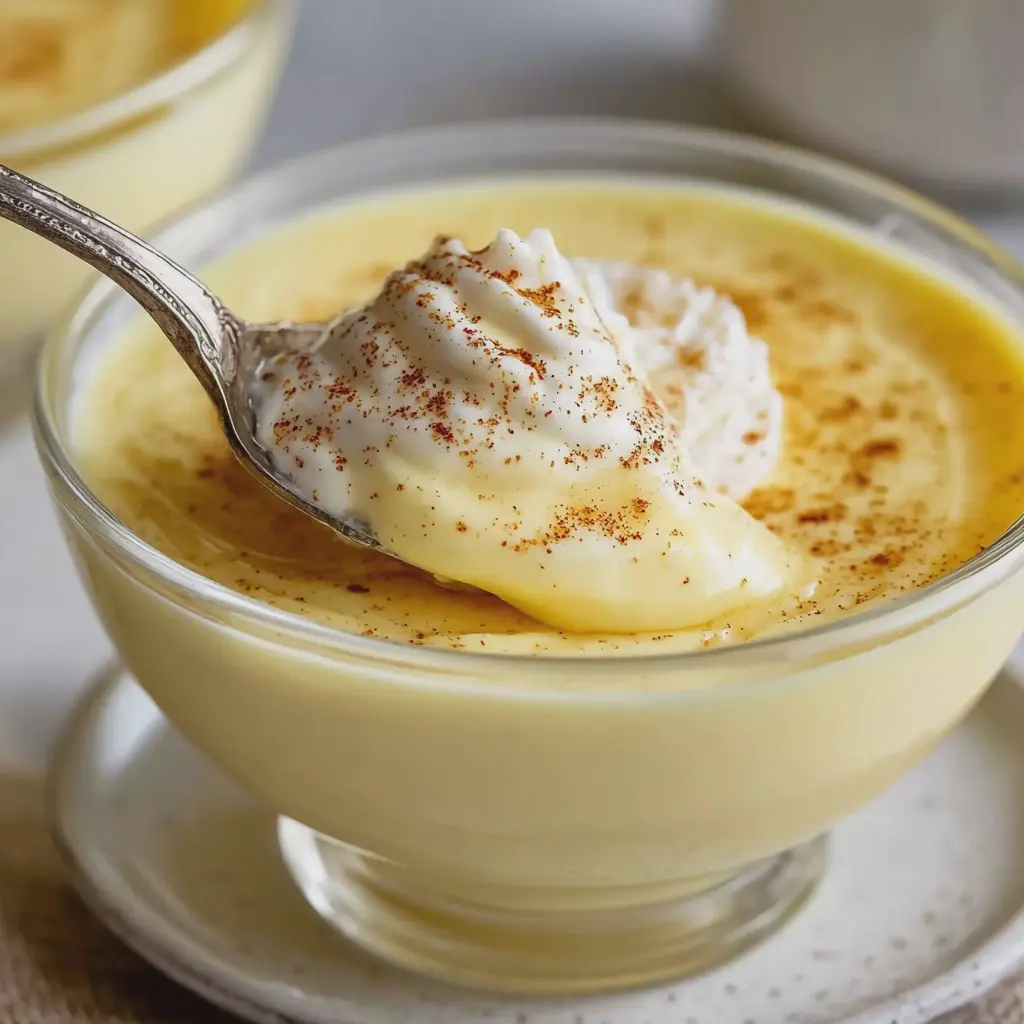
Serving suggestions for Homemade Vanilla Pudding
When it comes to enjoying homemade vanilla pudding, the fun doesn’t stop at just serving it right out of the bowl. There are a plethora of ways to elevate this delightful dessert!
Topping ideas
Transform your pudding with some creative toppings! Consider these crowd-pleasers:
- Whipped Cream: A light dollop adds a fluffy texture that complements the smooth pudding.
- Fresh Fruits: Slices of strawberries, blueberries, or bananas not only enhance the flavor but also add a burst of color.
- Toasted Nuts: Almonds or pecans deliver a satisfying crunch.
- Chocolate Shavings: For chocolate lovers, this is the ultimate indulgence.
Pairing with other desserts
Is it just me, or does pairing homemade vanilla pudding with other desserts make life a little sweeter? Try these combinations:
- Layered Dessert: Alternate layers of pudding with crumbled cookies and whipped cream for a delightful parfait.
- Pudding Pie: Use your pudding as a filling for a pie crust topped with more whipped cream or fresh fruit.
- Brownies: Serve warm brownies alongside a scoop of cold pudding for a delightful temperature contrast.
Incorporate these suggestions into your next gathering, and watch as your homemade vanilla pudding becomes the star of the show! For more sweet inspirations, check out BBC Good Food or AllRecipes for dessert ideas that pair beautifully with pudding.
Time breakdown for Homemade Vanilla Pudding
Preparation time
Getting your ingredients ready for your homemade vanilla pudding takes about 10 minutes. This includes measuring out milk, sugar, cornstarch, and your favorite vanilla extract. Make sure you have everything on hand, so you won’t have to scramble later!
Cooking time
The cooking process will take approximately 15 minutes. You’ll want to whisk the mixture on medium heat until it thickens—this is where the magic happens! Keep stirring to avoid any lumps and to achieve that silky texture.
Chilling time
Once your homemade vanilla pudding is cooked, let it cool for about 30 minutes at room temperature, then refrigerate for at least an hour to let it set completely. If you're feeling a bit impatient, a quick chill before serving can make all the difference in texture!
For detailed tips on achieving the perfect pudding, check out Serious Eats.
Nutritional facts for Homemade Vanilla Pudding
Understanding the nutritional content of your homemade vanilla pudding can help you enjoy this delightful treat guilt-free. Let's break it down.
Calories per serving
A typical serving of homemade vanilla pudding contains around 150-200 calories. This can vary based on the specific ingredients and portion size you use.
Macronutrient breakdown
- Carbohydrates: Approximately 25-30 grams, the main contributor to energy.
- Proteins: Around 4-5 grams, essential for growth and repair.
- Fats: Usually about 3-6 grams, depending on whether you use whole milk or a lighter alternative.
Homemade vanilla pudding can be a delicious addition to a balanced diet when enjoyed in moderation. Want to explore more about healthy dessert options? Check out Healthline for additional insights and tips on nutrition!
FAQs about Homemade Vanilla Pudding
Can I make this pudding dairy-free?
Absolutely! If you're looking to create a dairy-free homemade vanilla pudding, simply substitute regular milk with a plant-based alternative. Nut milks like almond or cashew milk work well, while oat milk offers a creamy texture that many people love. Coconut milk is another great option, adding a rich flavor profile. Just be sure to use a non-dairy butter substitute, if applicable. For more tips on dairy alternatives, you might want to check out resources from the Dairy Alliance.
How long will homemade pudding last in the fridge?
When properly stored in an airtight container, your homemade vanilla pudding should stay fresh in the fridge for about 4 to 5 days. Just remember to keep it covered to prevent it from absorbing any odors. If you want to enjoy it longer, consider freezing it! It’s easily defrostable and can still taste amazing when you’re ready to dig in.
What should I do if my pudding doesn’t thicken?
If your pudding isn’t thickening as expected, don’t fret! Here are a few tips to troubleshoot:
- Cook Longer: Sometimes, it just needs more time. Make sure you're cooking your pudding on medium heat, stirring constantly until it thickens.
- Cornstarch: If you didn't add enough, you can whisk a little extra cornstarch in a small amount of milk and add it back to the cooking mixture.
- Temperature: Ensure your mixture reaches a rolling boil; that’s when the magic of thickening starts!
Don’t hesitate to experiment until you reach that velvety consistency you desire. Remember, every stove is different!
For more tips, you might find helpful insights from Serious Eats on how to perfect your custard techniques. Happy cooking!
Conclusion on Homemade Vanilla Pudding
Recap of Why Making Pudding at Home is Worthwhile
Creating homemade vanilla pudding is not just a culinary task; it’s a delightful experience. The fresh flavors and creamy texture of your own pudding far surpass anything from a store-bought version, and it’s surprisingly simple to make.
By using quality ingredients, you can tailor the sweetness and flavor profile to your liking, making it a healthier option too.
Plus, the satisfaction of serving a delicious dessert that you made from scratch is unparalleled. Why settle for less when you can enjoy the richness and comfort of your own kitchen creations? For more tips and recipe inspiration, consider visiting Bon Appétit.
Print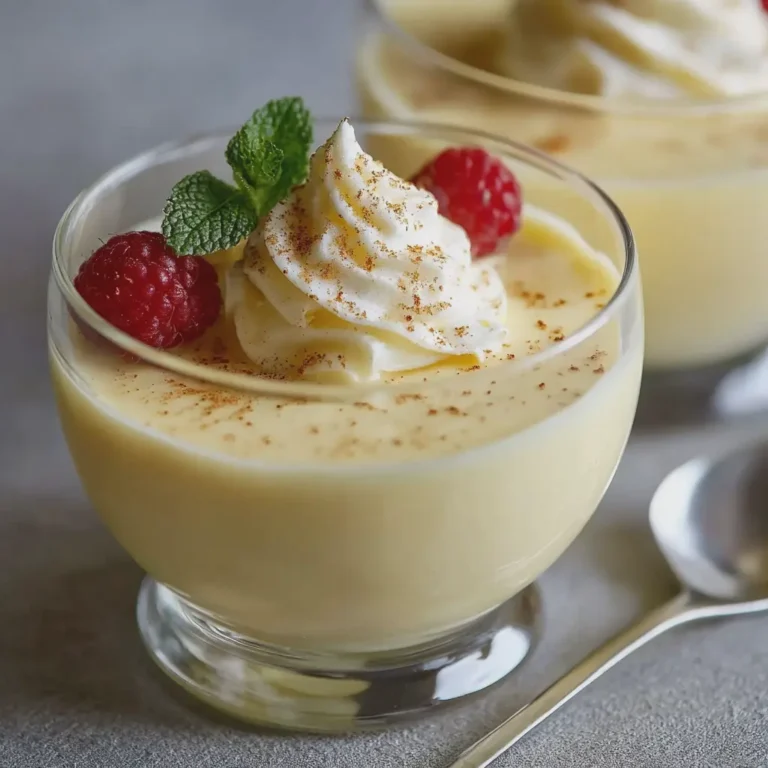
Homemade Vanilla Pudding: The Best Creamy Delight for All!
Experience the rich and creamy texture of homemade vanilla pudding that melts in your mouth. This delightful treat is perfect for dessert lovers of all ages!
- Total Time: 25 minutes
- Yield: 4 servings
Ingredients
- 2 cups whole milk
- ½ cup granulated sugar
- ¼ cup cornstarch
- ¼ teaspoon salt
- 2 large egg yolks
- 2 tablespoons unsalted butter
- 2 teaspoons pure vanilla extract
Instructions
- In a medium saucepan, whisk together the milk, sugar, cornstarch, and salt over medium heat.
- Cook while stirring continuously until the mixture thickens and comes to a gentle boil.
- In a small bowl, whisk the egg yolks until well blended. Slowly pour in a little of the hot pudding mixture to temper the yolks, then whisk this mixture back into the saucepan.
- Continue to cook for another 2 minutes, stirring constantly.
- Remove from heat, and stir in the butter and vanilla extract until smooth.
- Pour the pudding into individual serving dishes and chill in the refrigerator for at least 2 hours before serving.
Notes
- For a richer flavor, consider using half-and-half instead of whole milk.
- Top the pudding with whipped cream or fresh berries for added flavor!
- Prep Time: 10 minutes
- Cook Time: 15 minutes
- Category: Dessert
- Method: Stovetop
- Cuisine: American
- Diet: Vegetarian
Leave a Reply