
The Ultimate Guide to Baking the Perfect Red Velvet Bundt Cake
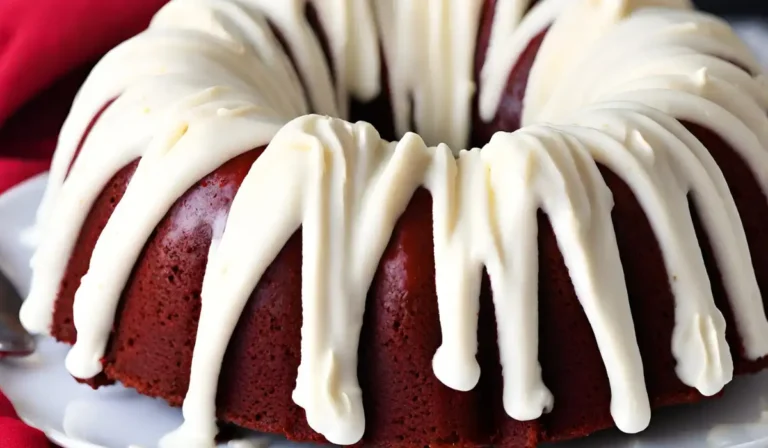
Red velvet cake, a dessert as rich in flavor as it is in history, has long been a favorite for its distinctive taste and vibrant color. When transformed into a bundt cake, it becomes not only a delicious treat but also a stunning centerpiece for any gathering. This guide will walk you through creating the perfect red velvet bundt cake, complete with a silky cream cheese icing.
Key Ingredients Explained
To achieve the classic red velvet flavor and texture, certain ingredients are essential:
- Buttermilk: This ingredient adds a subtle tang and helps to tenderize the cake. If you don’t have buttermilk, there are alternative ingredients you can use.
- Vinegar: It reacts with baking soda, contributing to the cake’s fluffy texture.
- Cocoa: Just a hint is enough to add depth without overpowering the cake.
- Red Food Coloring: This gives the cake its signature look. Opt for liquid dye for the best results.
Preparing the Perfect Batter
Creating a smooth and well-combined batter is crucial for a moist and tender cake:
- Start by whisking together your dry ingredients.
- In a separate bowl, mix the oil, butter, and sugar, then incorporate the eggs, buttermilk, vanilla, and vinegar.
- Gradually add the dry ingredients to the wet mixture, ensuring everything is thoroughly combined without overmixing.
Baking Techniques and Tips
Baking a red velvet bundt cake is an art that combines the right ingredients with precise techniques. Here’s how to ensure your cake turns out moist, tender, and delicious every time.
1. Preheating Your Oven
- Accuracy is Key: The oven should be preheated to 350°F (175°C). Use an oven thermometer to check the accuracy of your oven’s temperature, as an incorrect temperature can lead to undercooked or overbaked cakes.
2. Preparing Your Bundt Pan
- To Prevent Sticking: Use a brush or a piece of kitchen paper to apply butter thoroughly inside the pan’s crevices, ensuring every nook and cranny is covered. Then, choose one of the following methods:
- Sugar Coating: After buttering, coat the pan lightly with granulated sugar. This not only prevents sticking but also adds a slight crunch to the cake’s exterior.
- Flour Dusting: Alternatively, dust the pan with flour after buttering, tapping out the excess. This method is traditional and effective for creating a non-stick surface.
3. Baking the Cake
- Check for Doneness: Bake until a toothpick or a skewer inserted into the thickest part of the cake comes out clean or with a few moist crumbs attached. It’s crucial not to open the oven frequently during baking, as temperature fluctuations can cause the cake to collapse or bake unevenly.
Making Cream Cheese Icing
The cream cheese icing adds a tangy and sweet layer that complements the rich cocoa flavor of the red velvet cake. Here’s how to make it perfectly creamy and spreadable.
1. Room Temperature Ingredients
- Smooth Consistency: Ensure the cream cheese and butter (if used) are at room temperature before mixing. This helps achieve a smooth, lump-free icing.
2. Mixing the Icing
- Ingredients: Start with one package of cream cheese (8 oz or 226 grams), about 2 cups of powdered sugar (sifted for smoothness), and 2-3 tablespoons of milk or cream.
- Procedure: Using a mixer, beat the cream cheese until smooth. Gradually add the powdered sugar, then the milk or cream, a tablespoon at a time, until you reach the desired consistency. The icing should be smooth and spreadable, but not too runny.
- Flavoring: Add a teaspoon of vanilla extract for an extra layer of flavor. Adjust according to taste.
3. Applying the Icing
- Cooling the Cake: Allow the cake to cool completely before applying the icing. If the cake is warm, the icing will melt.
- Decoration Tips: Use a piping bag with a nozzle of your choice for decorative patterns, or simply pour and spread the icing over the cake for a rustic, homely look.
Additional Tips
- Ingredient Quality: Use high-quality cocoa powder for a rich, chocolatey flavor.
- Coloring: For that classic red velvet look, use a good quality red food coloring. Liquid, gel, or powder form can be used, but the amount may vary depending on the type.
By following these steps and tips, you’ll create a red velvet bundt cake that’s not only a feast for the eyes but also a delight to the palate. Enjoy the process and the delicious outcome!
Decorating and Presenting Your Cake
When it comes to presenting your red velvet bundt cake, the visual appeal is just as important as the taste. Here are some expert tips to ensure your cake looks as good as it tastes:
-
Cooling: Patience is key. Allow your cake to cool completely before attempting to ice it. This prevents the icing from melting and ensures it adheres smoothly to the cake surface.
-
Icing Technique: For a professional look, drizzle the cream cheese icing over the top of the bundt cake, starting from the center and moving towards the edges. Use a spoon or a piping bag with a small hole for more control. Allow the icing to naturally flow down the sides of the cake for that classic, elegant look.
-
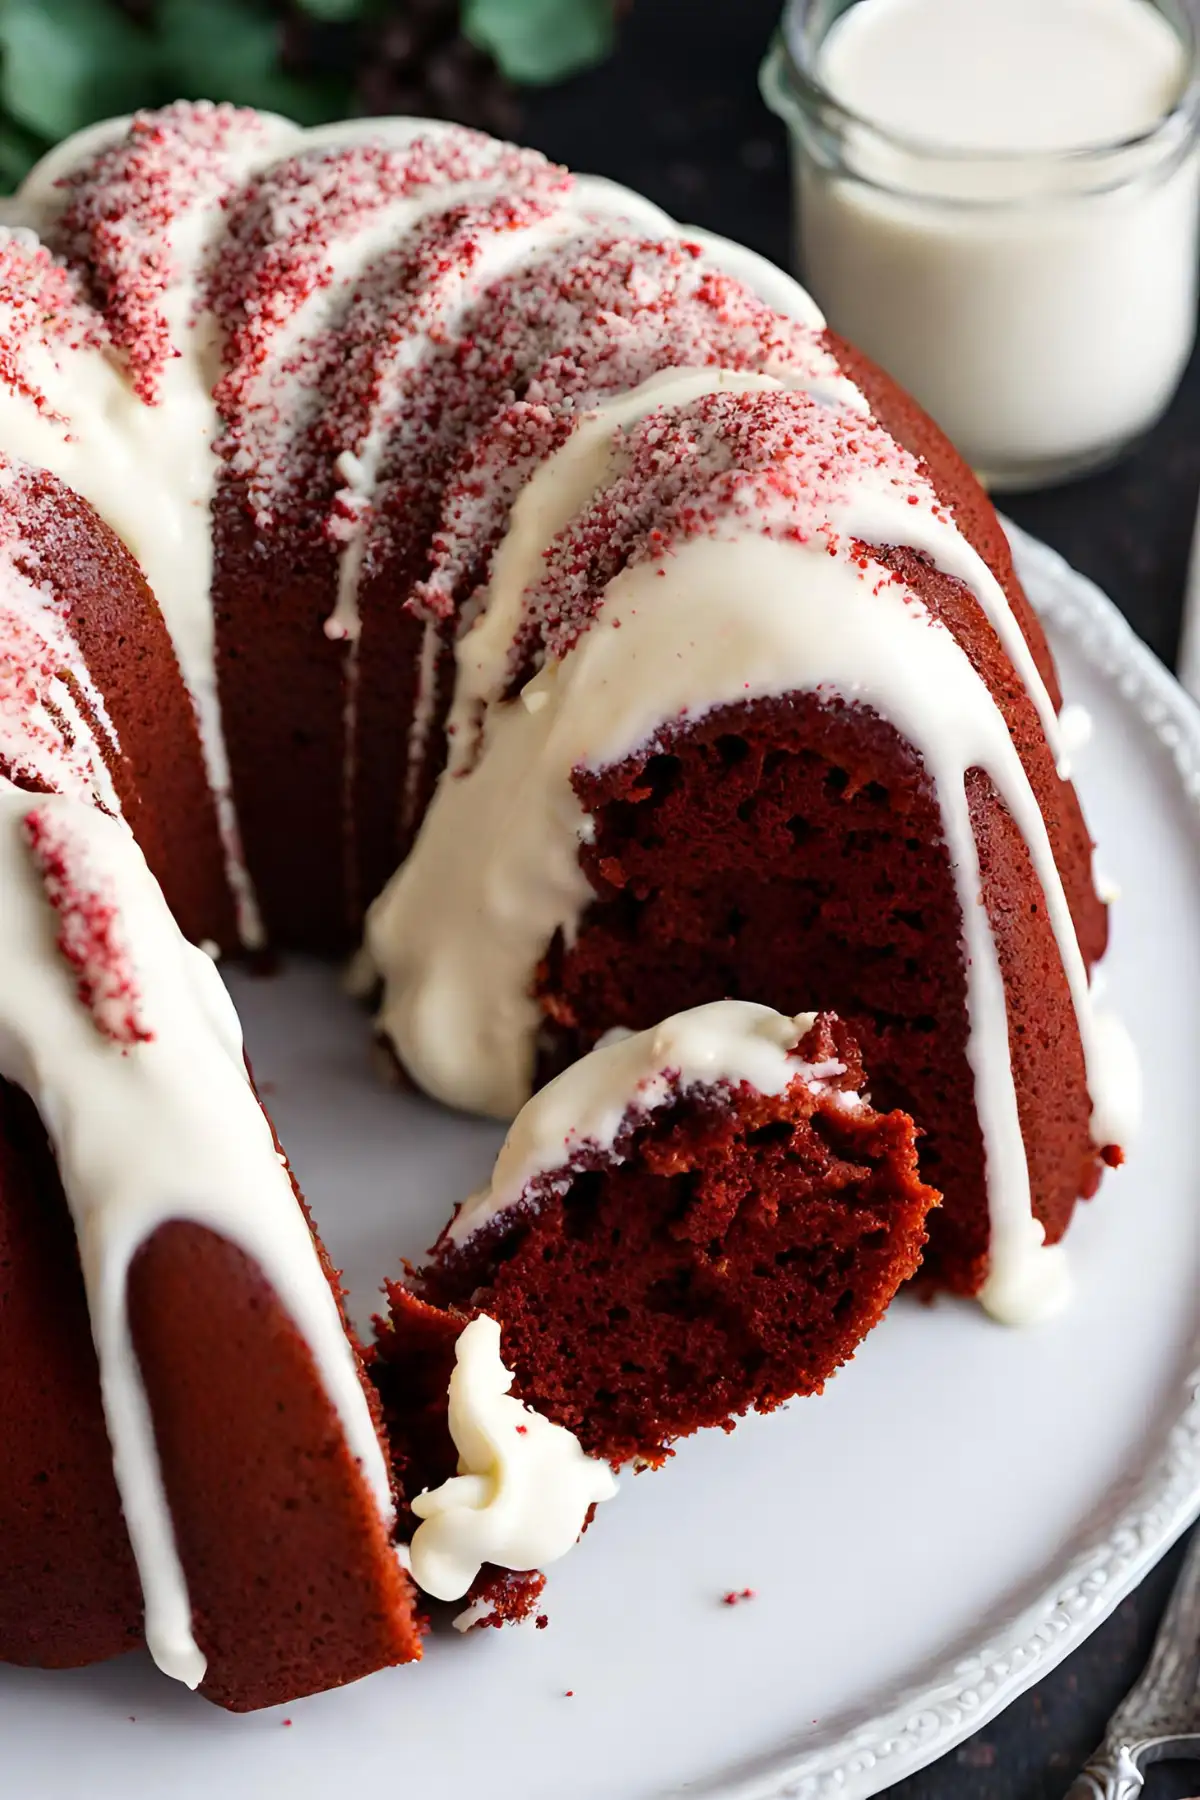
Garnishing: To elevate the appearance, sprinkle red velvet cake crumbs over the icing for a pop of color and texture. Edible flowers or a dusting of powdered sugar can also add a sophisticated finish. Consider the occasion and your personal style to choose the best garnish.
Overcoming Common Baking Challenges
Baking a perfect bundt cake can sometimes present challenges, but with the right knowledge, you can easily overcome them. Here are solutions to some common baking issues:
-
Cake Sticking to the Pan: The key to preventing this is proper pan preparation. Even if you’re using a non-stick bundt pan, it’s advisable to grease and flour the pan thoroughly. Some bakers prefer to use a baking spray that contains flour for an even coat. Ensure you get into all the crevices of the pan to prevent sticking.
-
Dry Cakes: Dryness is often a result of overbaking or incorrect measurement of ingredients. Make sure to accurately measure your ingredients, especially the flour and liquids. Use an oven thermometer to confirm your oven’s temperature is accurate and avoid opening the oven door too often during baking. If your cakes tend to be dry, consider reducing the baking time by a few minutes and checking for doneness earlier than the recipe suggests.
These tips and solutions aim to guide you through the process of baking, decorating, and solving common issues with your red velvet bundt cake, ensuring delightful results every time.
Creative Variations of the Recipe
-
Gluten-Free Version: For those who are gluten intolerant or have celiac disease, replacing all-purpose flour with a gluten-free flour blend is an effective solution. Ensure that the blend you choose is a 1:1 substitute to avoid altering the texture and structure of the cake.
-
Add-ins for Texture and Flavor: Introducing chocolate chips or nuts into the batter can add an interesting texture and enhance the flavor profile of your cake. Chocolate chips would complement the cocoa in the red velvet cake, while nuts like pecans or walnuts would offer a delightful crunch.
Frequently Asked Questions
-
Ensuring Moisture: To ensure your red velvet bundt cake remains moist, it’s crucial to balance the use of butter and oil in your recipe. Butter provides flavor, while oil contributes to a softer, more moist texture. Using both in the right proportions can yield a cake that’s both flavorful and tender.
-
Making the Cake Vegan: Yes, it’s entirely possible to make a vegan red velvet bundt cake. Substitute dairy products with plant-based alternatives, such as almond milk or coconut milk, and use vegan cream cheese for the icing. For eggs, options like flaxseed meal mixed with water, apple sauce, or commercially available vegan egg replacers can work well.
Final Thoughts
Experimenting with your red velvet bundt cake recipe not only caters to different dietary needs but also allows you to express creativity in baking. Whether making it gluten-free, adding unique ingredients for texture, or adapting the recipe for vegan friends and family, each variation opens up a new way to enjoy this beloved dessert. Remember, baking is both an art and a science—don’t be afraid to try new things and adjust based on your preferences and dietary requirements. Enjoy the process and the delicious outcomes of your baking endeavors!
Print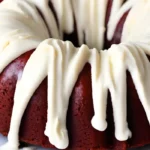
Red Velvet Bundt Cake Recipe
- Total Time: 70 minutes
- Yield: Serves several
Description
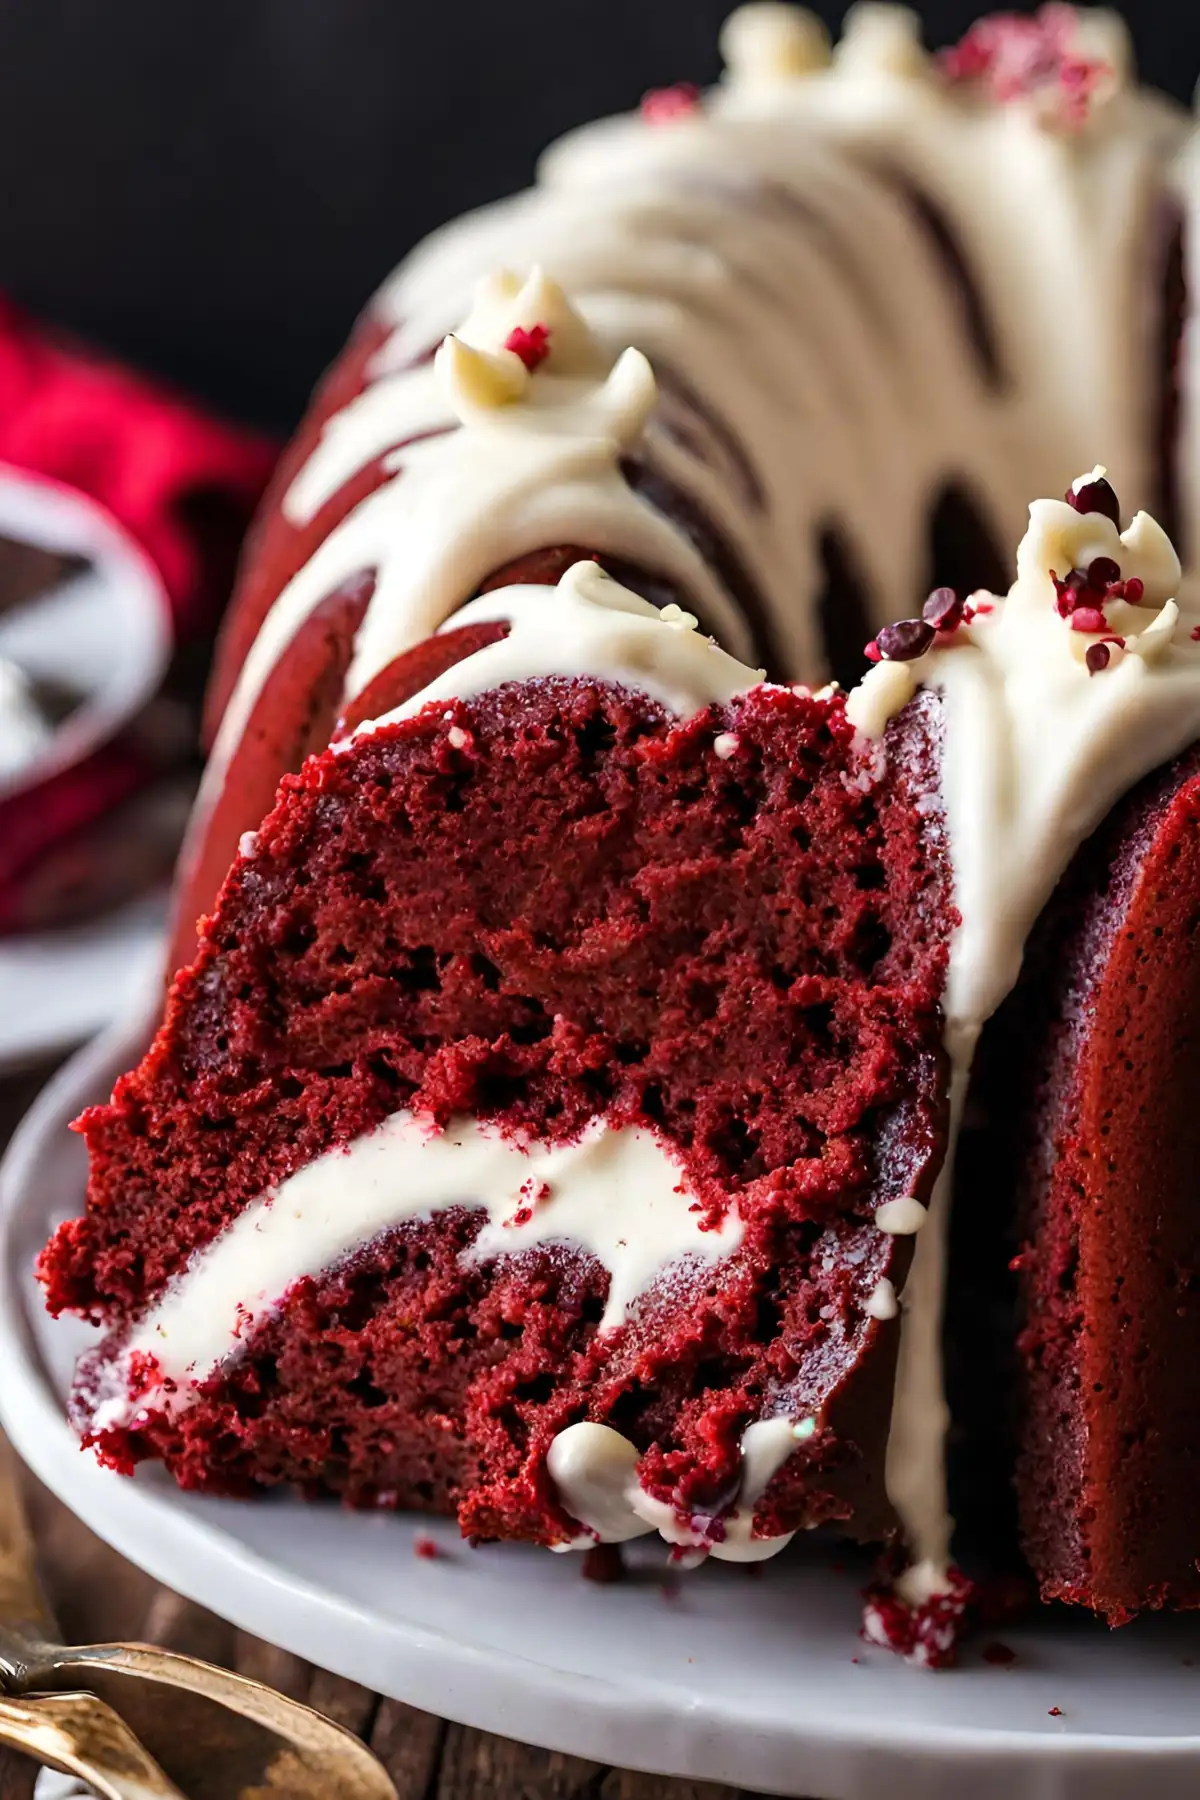
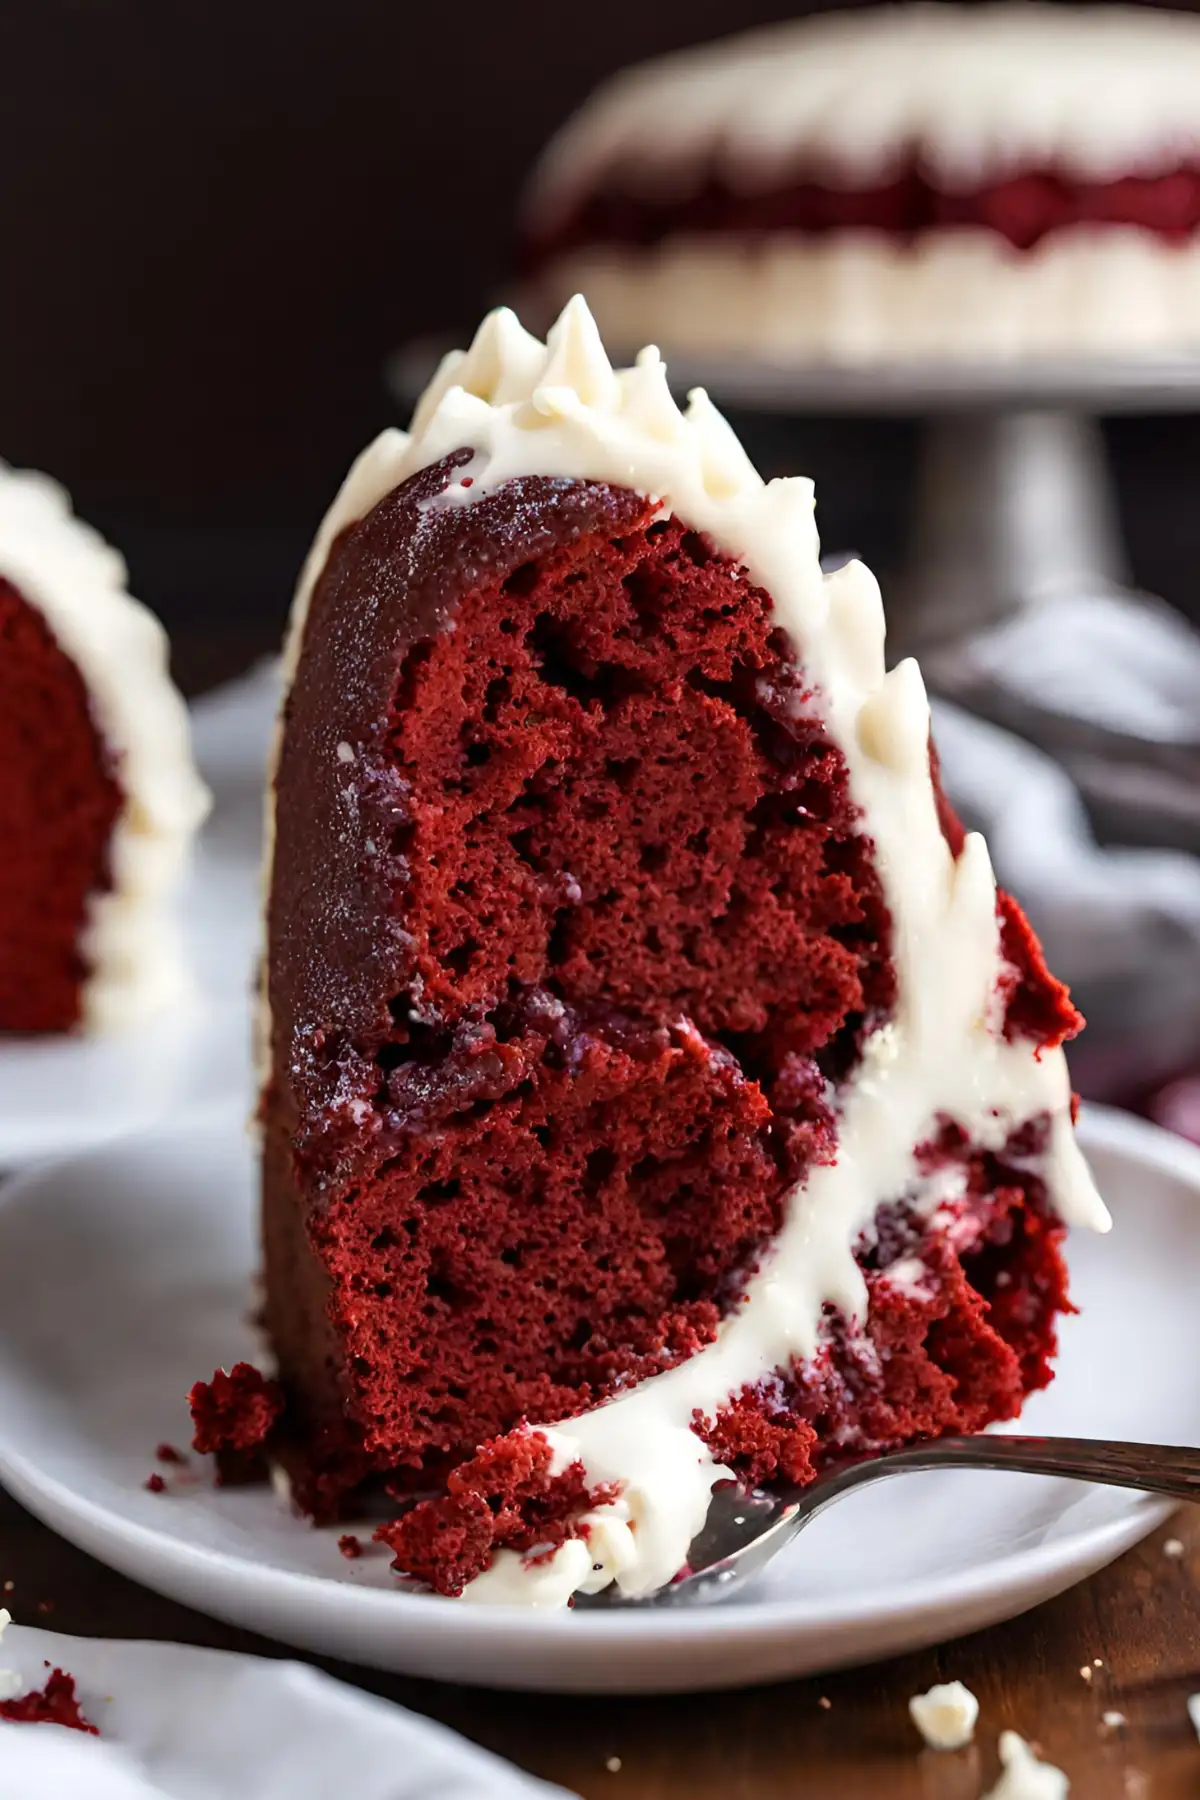
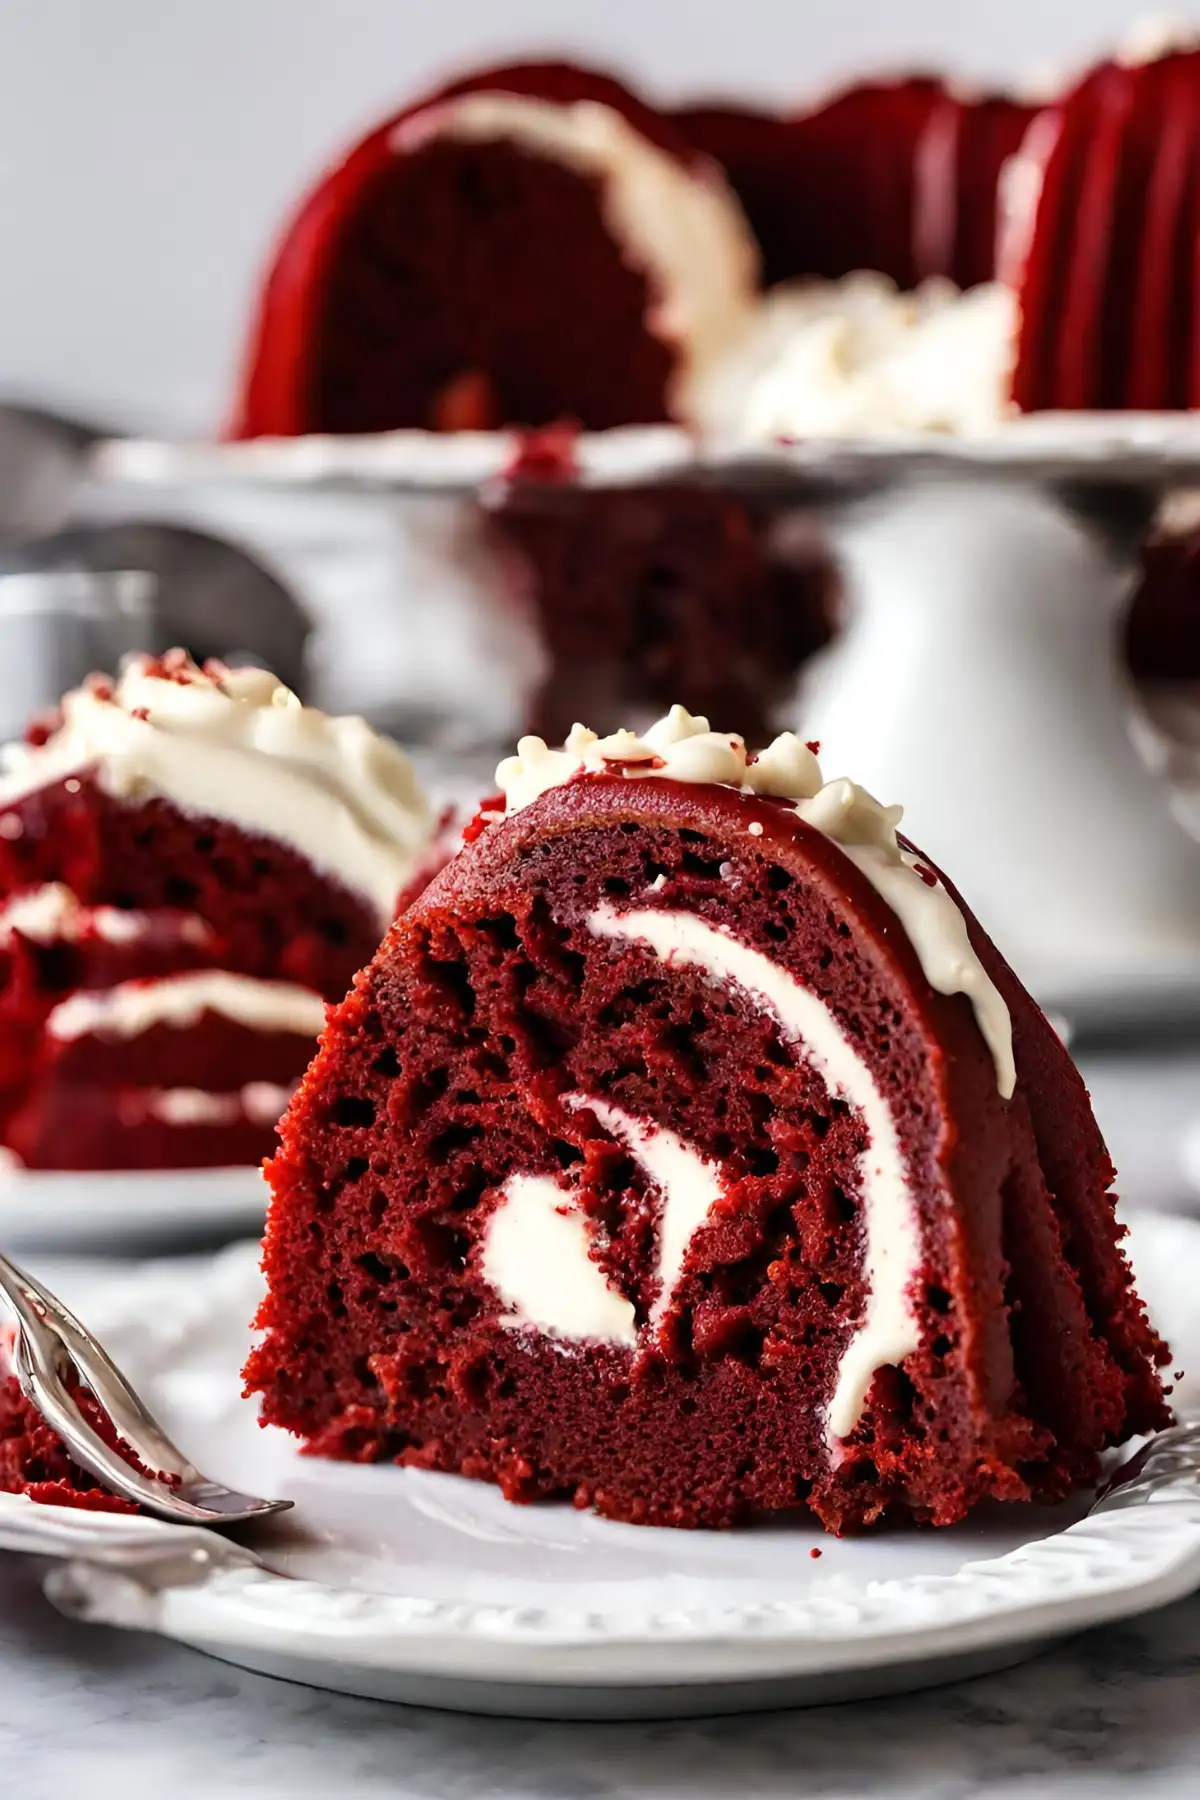
This is the best red velvet bundt cake recipe you’ll find, distinguished by its incredibly moist texture and coated in a silky cream cheese glaze. The cake boasts a rich and tender texture, a signature hint of chocolate flavor, and a perfect deep red color. It’s enhanced with a cream cheese icing, making it irresistible.
Ingredients
- Red Velvet Cake
- 3/4 cup (160g) canola or vegetable oil
- 1/2 cup (110g) unsalted butter, melted
- 2 cups (400g) granulated sugar
- 2 large eggs
- 1 cup (240ml) buttermilk
- 2 tsp vanilla extract
- 1 tsp white vinegar
- 2 tbsp red food coloring
- 2 1/2 cups (300g) all-purpose flour (GF option available)
- 3 tbsp unsweetened cocoa powder
- 1 tsp baking soda
- 1 tsp salt
- Cream Cheese Glaze
- 4 oz cream cheese, room temp
- 2 cups (240g) powdered sugar
- 3 tbsp milk
- 1/2 tsp vanilla extract
Instructions
- Preheat oven to 350°F. Prepare a 10 or 12 cup bundt pan using sugar or flour method.
- Whisk together dry ingredients; set aside. In a large bowl, mix oil, butter, and sugar, then add eggs, buttermilk, vanilla, vinegar, and food coloring. Combine with dry ingredients.
- Pour batter into the prepared bundt pan, bake for 45-60 minutes. Let it cool for 10 minutes before turning out onto a cooling rack.
- For the glaze, mix cream cheese and powdered sugar, adding milk to achieve the right consistency. Add vanilla. Pour over cooled cake.
Notes
- Make your own buttermilk with milk and vinegar. For a GF option, substitute all-purpose flour with a quality gluten-free baking flour.
- Store the cake in the refrigerator for up to 5 days.
- Prep Time: 25 minutes
- Cook Time: 45 minutes
- Category: Dessert
- Method: Baking
- Cuisine: American