
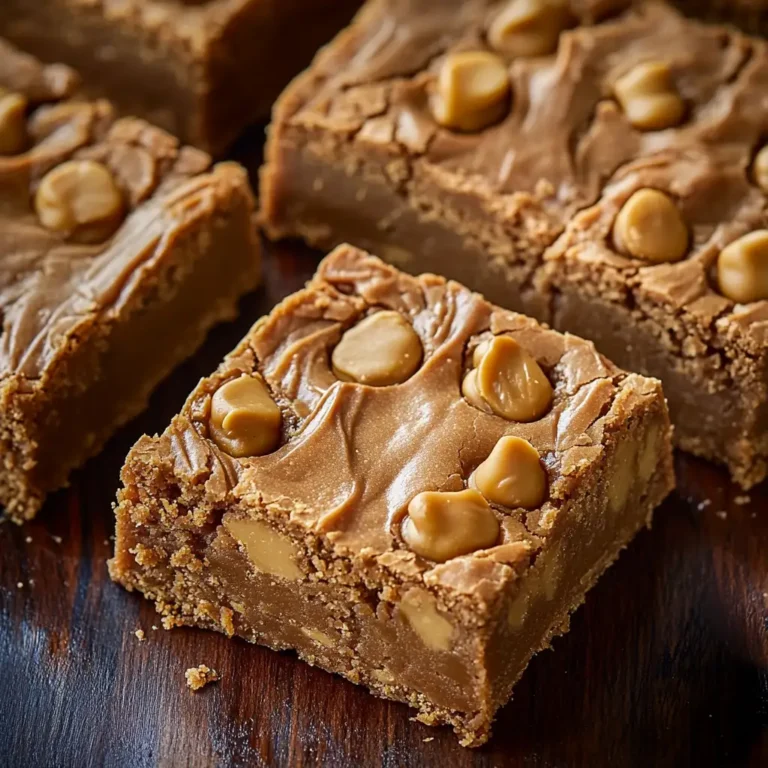
Introduction: If you’re a fan of peanut butter and chocolate, these Peanut Butter Lunch Lady Cookie Bars are sure to become your new favorite dessert. These rich, indulgent bars are inspired by the classic treats often served in school cafeterias, but with a homemade twist that elevates them to a whole new level. With a buttery graham cracker crust, a creamy peanut butter filling, and a generous topping of semi-sweet chocolate chips, these bars are perfect for satisfying your sweet tooth. Whether you’re baking for a family gathering, a potluck, or just because, these cookie bars are guaranteed to please.
Overview of the Recipe: Peanut Butter Lunch Lady Cookie Bars are a layered dessert that combines a crunchy graham cracker crust with a smooth, sweet peanut butter filling, all topped with melted chocolate. The bars are baked to golden perfection and then optionally drizzled with additional peanut butter for an extra layer of flavor. They are easy to make and require just a few simple ingredients, making them an ideal recipe for both novice and experienced bakers. The result is a dessert that is rich, creamy, and absolutely irresistible.
Ingredients:
- 1 cup unsalted butter, melted
- 2 cups graham cracker crumbs
- 2 cups powdered sugar
- 1 1/2 cups creamy peanut butter
- 1 1/2 cups semi-sweet chocolate chips
- 1/4 cup creamy peanut butter (for drizzling, optional)
Instructions:
- Preheat the Oven: Start by preheating your oven to 350°F (175°C). This will ensure that your oven is at the right temperature when the cookie bars are ready to bake. Grease a 9×13 inch baking pan to prevent the bars from sticking.
- Prepare the Crust: In a medium-sized bowl, combine the melted butter with the graham cracker crumbs. Stir until the mixture is well combined and resembles wet sand. This will create the base layer of your cookie bars, providing a crunchy and buttery foundation.
- Press the Crust into the Pan: Take the graham cracker mixture and press it evenly into the bottom of the prepared baking pan. Use the back of a spoon or the bottom of a glass to press it down firmly, ensuring an even layer that covers the entire base of the pan. This step is crucial for achieving a solid crust that holds together when cut into bars.
- Prepare the Peanut Butter Filling: In a separate bowl, mix together the powdered sugar and 1 1/2 cups of creamy peanut butter. Stir until the mixture is smooth and creamy, with no lumps of powdered sugar remaining. This rich and sweet peanut butter filling is the star of the bars, providing a delicious contrast to the crunchy crust.
- Layer the Peanut Butter Filling: Spread the peanut butter mixture evenly over the graham cracker crust in the baking pan. Use a spatula to smooth it out, ensuring that the filling completely covers the crust. The peanut butter layer should be thick and uniform, creating a creamy center for the bars.
- Add the Chocolate Chips: Evenly sprinkle the semi-sweet chocolate chips over the peanut butter layer. The chocolate chips will melt slightly during baking, creating a delicious, gooey topping that complements the peanut butter filling perfectly.
- Bake the Bars: Place the baking pan in the preheated oven and bake for 20-25 minutes, or until the edges of the bars are golden brown and the chocolate chips have melted slightly. Keep an eye on the bars as they bake to ensure they don’t overcook, as this can cause the peanut butter layer to dry out.
- Cool the Bars: Once baked, remove the pan from the oven and place it on a wire rack to cool completely. Cooling the bars in the pan helps them set properly, making them easier to cut later on. Patience is key here, as cutting the bars while they are still warm can cause them to crumble.
- Optional Peanut Butter Drizzle: If you’d like to add an extra layer of flavor, melt the remaining 1/4 cup of creamy peanut butter in the microwave or on the stovetop until smooth. Drizzle the melted peanut butter over the cooled bars in a decorative pattern. Allow the drizzle to set before cutting the bars into squares.
- Cut and Serve: Once the bars are completely cooled and the peanut butter drizzle has set, use a sharp knife to cut them into squares. Serve these decadent Peanut Butter Lunch Lady Cookie Bars at room temperature and enjoy the perfect combination of sweet, salty, and chocolaty flavors.
Serving Suggestions: These Peanut Butter Lunch Lady Cookie Bars are perfect on their own, but they can also be served with a scoop of vanilla ice cream for an extra indulgent treat. For a fun presentation, you can drizzle the ice cream with some of the remaining peanut butter or chocolate syrup. These bars are also great for packing in lunchboxes or serving at parties, as they hold up well at room temperature and are easy to transport.
Pairing and Serving Suggestions: Pair these rich bars with a cold glass of milk or a cup of hot coffee or tea. The creamy and sweet flavors of the bars are wonderfully complemented by these beverages, making for a satisfying and comforting snack or dessert.
Variations of the Recipe:
- Peanut Butter and Banana Bars: Add a layer of sliced bananas over the peanut butter layer before adding the chocolate chips. This will create a delicious peanut butter and banana flavor combination.
- Nutty Cookie Bars: For added crunch, sprinkle chopped peanuts or other nuts over the chocolate chips before baking.
- White Chocolate Variation: Swap the semi-sweet chocolate chips for white chocolate chips for a sweeter, creamier flavor. You can also mix and match chocolate types for a more complex taste.
- Gluten-Free Option: Use gluten-free graham crackers to make this recipe suitable for those with gluten sensitivities.
Health Benefits: While these bars are certainly an indulgent treat, they do offer some nutritional benefits:
- Protein: The peanut butter provides a good source of protein, which is important for muscle repair and energy.
- Healthy Fats: Peanut butter also contains healthy fats, which are essential for brain function and overall health.
- Antioxidants: Dark chocolate or semi-sweet chocolate chips contain antioxidants that can help protect the body from free radical damage.
FAQs:
- Can I use crunchy peanut butter instead of creamy? Yes, crunchy peanut butter can be used for added texture in the bars. It will give the bars a bit more crunch and a slightly different mouthfeel.
- How should I store these bars? Store the bars in an airtight container at room temperature for up to 5 days. For longer storage, you can refrigerate them, though they may lose some of their softness when chilled.
- Can I freeze these bars? Yes, these bars freeze well. Once cooled, cut them into squares and wrap each one individually in plastic wrap. Store them in a freezer-safe bag for up to 3 months. Thaw at room temperature before serving.
- What if I don’t have graham crackers? If you don’t have graham crackers, you can substitute with other types of cookie crumbs, such as digestive biscuits or even crushed vanilla wafers.
- Can I make these bars without baking? Yes, for a no-bake version, simply press the graham cracker crust into the pan, layer with the peanut butter mixture, and top with melted chocolate instead of chocolate chips. Chill the bars in the refrigerator until set.
Conclusion: Peanut Butter Lunch Lady Cookie Bars are a delicious and nostalgic dessert that’s perfect for any occasion. With their buttery graham cracker crust, creamy peanut butter filling, and rich chocolate topping, these bars are sure to satisfy any sweet tooth. Easy to make and even easier to eat, they’re a great choice for both casual snacking and special events. Whether you’re enjoying them at home or sharing them with friends, these bars are a guaranteed hit.