
Introduction:
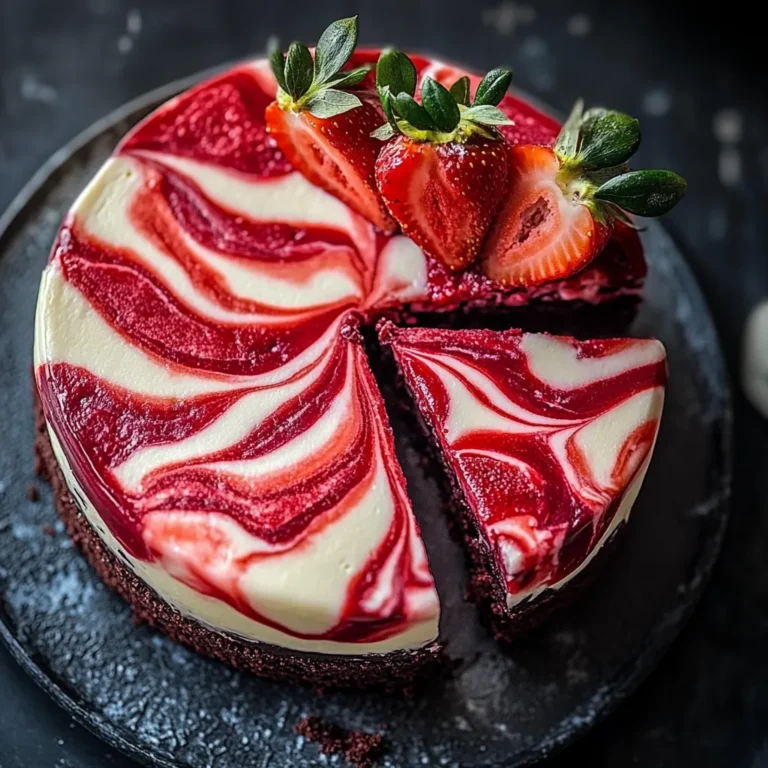
Indulge in the ultimate dessert experience with this Marbled Strawberry Red Velvet Cheesecake. This luxurious cheesecake combines the rich, velvety texture of a classic red velvet cake with the smooth creaminess of cheesecake. The striking marbled design, created by swirling the vibrant red velvet batter with a creamy vanilla cheesecake mixture, makes this dessert as visually stunning as it is delicious. Topped with fresh strawberry puree and a hint of strawberry jam, this cheesecake is a showstopper for any occasion.
Overview of the Recipe:
This Marbled Strawberry Red Velvet Cheesecake offers a perfect blend of flavors and textures. The crunchy chocolate cookie crust provides a robust foundation, while the creamy layers of red velvet and vanilla cheesecake create a harmonious balance. The addition of strawberry puree and jam adds a fresh and fruity note, complementing the richness of the cheesecake. Whether you’re celebrating a special occasion or simply want to treat yourself, this cheesecake is sure to impress.
History and Origin:
Red velvet cake has a storied history, with its origins tracing back to the Victorian era. Originally, the term “velvet” was used to describe cakes with a soft, fine texture. The red color was initially a result of a chemical reaction between the cocoa and acidic ingredients, but over time, food coloring became the primary source of its signature hue. Cheesecake, on the other hand, has roots that go back to ancient Greece, where it was often served to athletes during the Olympic Games. Combining these two classics into a marbled cheesecake brings together history and innovation, resulting in a dessert that is both traditional and contemporary.
Ingredients:
For the Crust:
- 1 1/2 cups chocolate cookie crumbs
- 1/3 cup unsalted butter, melted
For the Cheesecake Filling:
- 3 (8 oz) packages cream cheese, softened
- 1 cup granulated sugar
- 1 teaspoon vanilla extract
- 3 large eggs
- 1/4 cup cocoa powder
- 1/4 cup red food coloring
- 1 cup sour cream
- 1/2 cup heavy cream
For the Strawberry Topping:
- 1 cup fresh strawberries, pureed
- 1/4 cup strawberry jam, warmed
Instructions:
- Prepare the Crust:
- Preheat your oven to 325°F (163°C).
- Grease a 9-inch springform pan to ensure easy removal of the cheesecake later.
- In a medium-sized bowl, combine the chocolate cookie crumbs with the melted butter. Mix until the crumbs are evenly coated and the mixture resembles wet sand.
- Press the crumb mixture firmly into the bottom of the greased springform pan to form an even crust. Use the bottom of a glass or a flat object to help pack it down. Set aside.
- Make the Cheesecake Filling:
- In a large mixing bowl, beat the softened cream cheese and granulated sugar together using a hand mixer or stand mixer on medium speed. Continue mixing until the mixture is smooth and creamy, with no lumps remaining.
- Add the vanilla extract and then the eggs, one at a time. Beat each egg into the mixture until fully incorporated before adding the next. Be careful not to overmix, as this can introduce too much air into the batter.
- Divide the cheesecake batter evenly into two separate bowls.
- Create the Red Velvet Layer:
- In one of the bowls, sift in the cocoa powder and add the red food coloring. Mix thoroughly until the batter is evenly colored and smooth. The red velvet portion should have a deep, vibrant red color.
- Create the Vanilla Layer:
- In the other bowl, blend in the sour cream and heavy cream. Stir until the mixture is smooth and has a slightly lighter texture than the red velvet batter.
- Assemble the Cheesecake:
- Pour the red velvet cheesecake batter over the prepared crust in the springform pan, spreading it out evenly with a spatula.
- Gently spoon the vanilla batter on top of the red velvet layer. To create the marbled effect, use a knife or skewer to swirl the two batters together. Be careful not to over-swirl, as you want to maintain distinct streaks of color.
- Bake the Cheesecake:
- Place the springform pan on the middle rack of your preheated oven. Bake for 55-60 minutes, or until the center of the cheesecake is set and only slightly jiggly.
- Once baked, turn off the oven and crack the door open slightly. Allow the cheesecake to cool in the oven for about an hour. This gradual cooling process helps prevent the cheesecake from cracking.
- Chill the Cheesecake:
- After the cheesecake has cooled in the oven, remove it and let it cool to room temperature.
- Cover the cheesecake with plastic wrap or foil and refrigerate for at least 4 hours, preferably overnight. This chilling time allows the cheesecake to fully set and develop its flavors.
- Prepare the Strawberry Topping:
- Just before serving, puree the fresh strawberries using a blender or food processor until smooth.
- Warm the strawberry jam in a small saucepan or microwave until it becomes easy to spread.
- Serve the Cheesecake:
- Remove the cheesecake from the springform pan and place it on a serving plate.
- Pour the strawberry puree over the top of the cheesecake, spreading it out evenly with a spatula.
- Drizzle the warmed strawberry jam over the puree, allowing it to naturally flow over the edges of the cheesecake for an elegant presentation.
- Slice and serve chilled.
Serving and Pairing Suggestions:
This Marbled Strawberry Red Velvet Cheesecake pairs beautifully with a variety of accompaniments. Consider serving it with a dollop of whipped cream, a side of fresh berries, or even a drizzle of chocolate sauce for an extra touch of indulgence. For beverages, a hot cup of coffee or a glass of cold milk complements the rich flavors of the cheesecake perfectly. If you prefer something lighter, a refreshing glass of iced tea or a sparkling water with a slice of lemon would also work well.
Variations of the Recipe:
This recipe is versatile and can be adapted to suit different tastes:
- Chocolate Lovers: For an extra chocolatey version, use a chocolate ganache as an additional topping.
- Berry Medley: Instead of just strawberries, you can mix a variety of berries like raspberries, blueberries, and blackberries for the topping.
- Mini Cheesecakes: Divide the batter into a muffin tin lined with cupcake liners for individual servings. Reduce the baking time to about 20-25 minutes.
- Gluten-Free Option: Substitute the chocolate cookie crumbs with gluten-free cookies or graham crackers to make the crust.
Health Benefits:
While this Marbled Strawberry Red Velvet Cheesecake is undoubtedly a decadent treat, it does offer some nutritional benefits:
- Calcium: Cream cheese and sour cream are excellent sources of calcium, which is essential for strong bones and teeth.
- Antioxidants: Strawberries are rich in antioxidants like vitamin C, which help protect the body against free radicals.
- Protein: The eggs and cream cheese in the recipe provide a good source of protein, which is important for muscle repair and overall health.
FAQs:
Q: Can I make this cheesecake ahead of time? A: Yes, this cheesecake can be made a day or two in advance. Store it in the refrigerator until you’re ready to serve. The flavors will actually improve as it sits.
Q: What can I use instead of red food coloring? A: If you prefer to avoid artificial coloring, you can use natural alternatives like beetroot powder or juice. However, the color might be less vibrant.
Q: How do I prevent my cheesecake from cracking? A: To prevent cracks, avoid overmixing the batter, bake the cheesecake in a water bath, and allow it to cool gradually in the oven before refrigerating.
Conclusion:
The Marbled Strawberry Red Velvet Cheesecake is a dessert that combines classic flavors with a modern twist. Its rich, creamy texture, paired with the fresh taste of strawberries, makes it a memorable treat for any occasion. Whether you’re an experienced baker or a novice in the kitchen, this recipe is sure to impress your family and friends. With its stunning presentation and irresistible flavor, this cheesecake will undoubtedly become a favorite in your dessert repertoire. Enjoy the process of making it, and savor every bite!