
Introduction:
Indulge in the nostalgic and comforting taste of homemade Nutter Butter Cookies, a delightful treat that combines the rich, creamy flavor of peanut butter with a tender, melt-in-your-mouth cookie. These homemade versions of the classic store-bought cookies are not only easy to make but also offer a fresher and more flavorful experience. Perfect for peanut butter lovers, these sandwich cookies are filled with a smooth and sweet peanut butter filling, making them irresistible for both kids and adults alike. Whether you’re looking to satisfy a sweet tooth or create a delightful dessert for a gathering, this recipe will quickly become a household favorite.
Overview of the Recipe:
This recipe involves making two components: the cookies and the creamy peanut butter filling. The cookies themselves are soft, yet slightly crisp on the edges, with a rich peanut butter flavor. Once baked and cooled, these cookies are sandwiched together with a smooth, sweet peanut butter filling that adds the perfect balance of sweetness and creaminess. The entire process, from preparation to baking, takes about an hour, making it a relatively quick and rewarding baking project.
History and Origin:
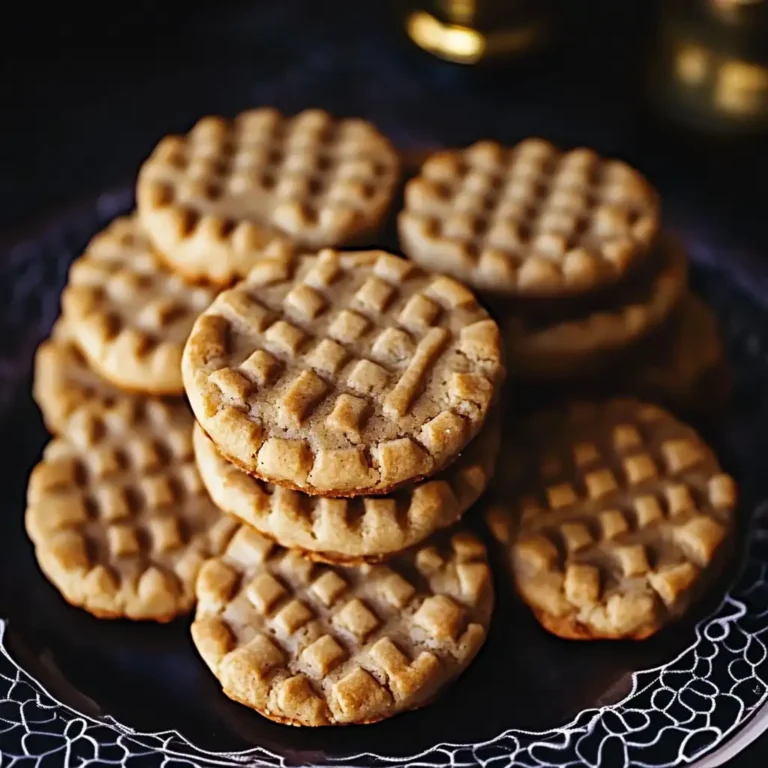
The original Nutter Butter Cookies were first introduced by Nabisco in 1969, quickly becoming a beloved treat across the United States. These iconic peanut butter sandwich cookies are known for their unique peanut shape and distinctive crisscross pattern. The homemade version of Nutter Butter Cookies captures the essence of the original while allowing for customization and the use of fresh ingredients. This homemade recipe offers a simple way to recreate a classic childhood favorite in your own kitchen, with a flavor that’s even more satisfying.
Ingredients:
For the Cookies:
- 1 cup unsalted butter, softened
- 1 cup creamy peanut butter
- 1 cup granulated sugar
- 1 cup packed brown sugar
- 2 large eggs
- 1 tsp vanilla extract
- 2 1/2 cups all-purpose flour
- 1 tsp baking soda
- 1 tsp baking powder
- 1/2 tsp salt
For the Filling:
- 1 cup creamy peanut butter
- 1/2 cup unsalted butter, softened
- 2 cups powdered sugar
- 2-3 tbsp milk (as needed for consistency)
Instructions:
For the Cookies:
- Preheat the Oven:
- Start by preheating your oven to 350°F (175°C). Prepare your baking sheets by lining them with parchment paper. This will prevent the cookies from sticking and make cleanup easier.
- Cream the Butters and Sugars:
- In a large mixing bowl, combine the softened unsalted butter, creamy peanut butter, granulated sugar, and packed brown sugar. Using an electric mixer or a sturdy wooden spoon, beat the ingredients together until the mixture is light and fluffy. This step incorporates air into the dough, giving the cookies a tender texture.
- Incorporate the Eggs and Vanilla:
- Beat in the eggs one at a time, ensuring each egg is fully mixed before adding the next. This helps maintain the structure of the dough. Once the eggs are incorporated, add the vanilla extract and mix well.
- Mix the Dry Ingredients:
- In a separate bowl, whisk together the all-purpose flour, baking soda, baking powder, and salt. This ensures that the leavening agents are evenly distributed throughout the flour.
- Combine Wet and Dry Ingredients:
- Gradually add the dry ingredients to the wet mixture, mixing on a low speed or by hand until just combined. Be careful not to overmix, as this can make the cookies tough.
- Shape the Dough:
- Roll the dough into small balls, about 1 inch in diameter. Place the dough balls on the prepared baking sheets, spacing them about 2 inches apart to allow for spreading.
- Create the Classic Crisscross Pattern:
- Using a fork, gently press down on each dough ball to flatten it slightly, creating a crisscross pattern on the surface of the cookies. This step is both functional, as it helps the cookies bake evenly, and decorative, giving them their characteristic appearance.
- Bake the Cookies:
- Place the baking sheets in the preheated oven and bake the cookies for 10-12 minutes, or until the edges are lightly golden. The centers of the cookies may still appear soft, but they will firm up as they cool.
- Cool the Cookies:
- Allow the cookies to cool on the baking sheets for about 5 minutes before transferring them to a wire rack to cool completely. This helps the cookies set and makes them easier to handle.
For the Filling:
- Prepare the Peanut Butter Filling:
- In a medium-sized bowl, combine the creamy peanut butter and softened unsalted butter. Beat the mixture until it is smooth and well combined.
- Add the Powdered Sugar:
- Gradually mix in the powdered sugar, a little at a time, until fully incorporated. The filling should be thick but spreadable.
- Adjust the Consistency:
- If the filling is too thick, add milk one tablespoon at a time until you reach the desired consistency. The filling should be smooth and easy to spread without being runny.
Assemble the Cookies:
- Spread the Filling:
- Once the cookies have completely cooled, take one cookie and spread a generous amount of the prepared filling on the flat side using a butter knife or small spatula.
- Create the Sandwich:
- Top the filling with another cookie, pressing gently to create a sandwich. Repeat with the remaining cookies until all are assembled.
Serving:
These homemade Nutter Butter Cookies are best enjoyed fresh, with a glass of cold milk or a cup of hot coffee. They can be served as a snack, dessert, or even packed into lunchboxes for a sweet treat on the go. For special occasions, consider serving them on a platter at room temperature to showcase their delicious filling.
Pairing and Serving Suggestions:
Homemade Nutter Butter Cookies pair wonderfully with a variety of beverages and sides. Here are some suggestions:
- Milk: A classic pairing, the creamy texture of milk complements the rich peanut butter flavor.
- Coffee: The slight bitterness of coffee provides a perfect contrast to the sweetness of the cookies.
- Fruit: Fresh fruits like apple slices or banana pieces add a refreshing element to the rich cookies.
- Ice Cream: Serve the cookies with a scoop of vanilla or chocolate ice cream for an indulgent dessert.
Variations of the Recipe:
- Chocolate-Dipped Nutter Butter Cookies:
- Dip half of each sandwich cookie in melted chocolate and allow it to set. This adds a decadent layer of chocolate to the already delicious cookies.
- Gluten-Free Nutter Butter Cookies:
- Substitute the all-purpose flour with a gluten-free flour blend to make these cookies suitable for those with gluten sensitivities.
- Chunky Peanut Butter Filling:
- For a bit of texture, use chunky peanut butter in the filling instead of creamy. The small peanut pieces add a delightful crunch.
- Peanut Butter and Jelly Nutter Butter Cookies:
- Add a thin layer of your favorite jelly or jam to the filling for a peanut butter and jelly twist on this classic cookie.
Health Benefits:
While these cookies are a treat, peanut butter does offer some nutritional benefits. Peanut butter is a good source of protein, healthy fats, and several vitamins and minerals, including vitamin E, magnesium, and potassium. However, due to the sugar and butter content, these cookies should be enjoyed in moderation.
FAQs:
- Can I use natural peanut butter in this recipe?
- Yes, natural peanut butter can be used, but it may affect the texture of the cookies and filling. Natural peanut butter tends to be more oily, so you may need to adjust the amount of flour in the cookies or powdered sugar in the filling.
- How should I store these cookies?
- Store the assembled cookies in an airtight container at room temperature for up to 3 days. For longer storage, place them in the refrigerator, but allow them to come to room temperature before serving for the best texture.
- Can I freeze Nutter Butter Cookies?
- Yes, these cookies freeze well. Place them in a single layer on a baking sheet to freeze individually before transferring them to a freezer-safe container. They can be frozen for up to 2 months. Thaw at room temperature before serving.
- Can I make the dough ahead of time?
- Absolutely! You can prepare the dough and refrigerate it for up to 24 hours before baking. Just make sure to let the dough soften slightly at room temperature before rolling and baking.
Conclusion:
Homemade Nutter Butter Cookies are a delightful and satisfying treat that combines the classic flavors of peanut butter in both the cookie and the filling. This recipe allows you to enjoy a fresh, homemade version of a beloved store-bought cookie, with the added benefits of customizing ingredients and flavors to suit your preferences. Whether you enjoy them with a glass of milk, a cup of coffee, or as a sweet addition to a dessert spread, these cookies are sure to be a hit with everyone who tries them. Enjoy the process of baking and, most importantly, savor every bite of these delicious peanut butter sandwich cookies!