
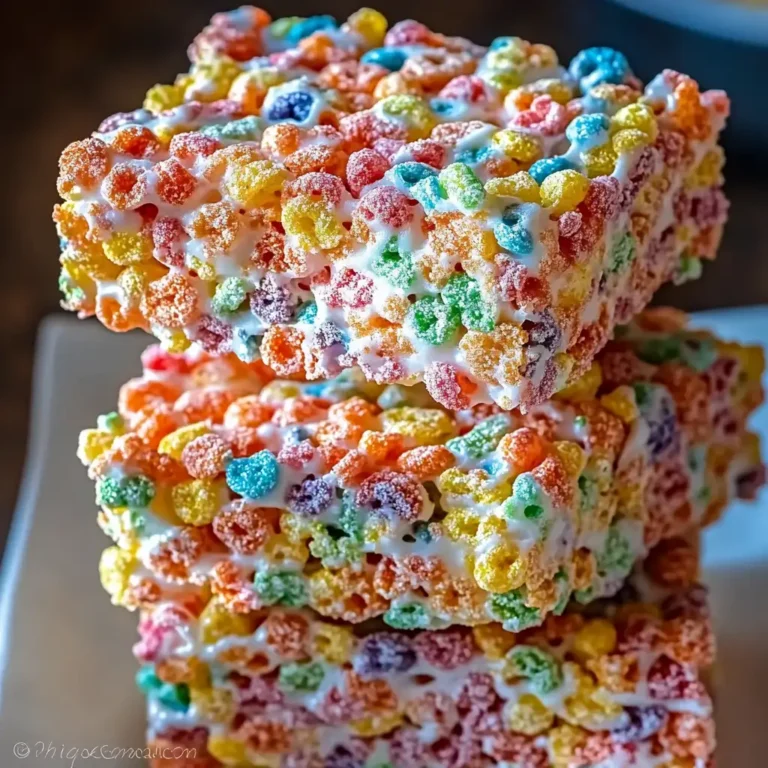
Introduction: Fruity Pebbles Krispie Treats are a colorful, fun, and delicious twist on the classic Rice Krispies Treats. Combining the vibrant flavors of Fruity Pebbles with the traditional crunch of Rice Krispies, these treats are perfect for both kids and adults. Easy to make and bursting with flavor, they are a great choice for parties, lunchbox snacks, or just a sweet treat to satisfy your cravings.
Overview of the Recipe: This recipe takes the traditional Rice Krispies Treats and adds a fruity, colorful twist by incorporating Fruity Pebbles cereal. The combination of marshmallows and butter creates a sticky, sweet base that binds the cereals together, resulting in a chewy, crispy, and delightfully sweet snack. The addition of vanilla extract enhances the flavor, making these treats even more irresistible.
History and Origin: Rice Krispies Treats have been a beloved dessert in America since the 1930s when they were first popularized by Kellogg’s. Over the years, this simple recipe of cereal, butter, and marshmallows has been adapted in countless ways. The use of Fruity Pebbles in this version adds a playful twist, bringing in a burst of color and fruity flavor that appeals to all ages. Fruity Pebbles, first introduced in 1971, have become a nostalgic favorite for many, making this combination a hit among cereal lovers.
Ingredients:
- 4 cups Fruity Pebbles cereal
- 2 cups Rice Krispies cereal
- 1 (10 oz) bag mini marshmallows
- 4 tablespoons unsalted butter
- 1/2 teaspoon vanilla extract
- Cooking spray or parchment paper (for pan)
Instructions:
- Prepare the Baking Dish:
- Begin by greasing a 9×13-inch baking dish with cooking spray. Alternatively, you can line the dish with parchment paper, making it easier to remove the treats later. Set the prepared dish aside.
- Melt the Butter and Marshmallows:
- In a large pot, melt the unsalted butter over medium heat. Stir occasionally to ensure even melting.
- Once the butter is completely melted, add the mini marshmallows to the pot.
- Stir continuously as the marshmallows melt, mixing with the butter to form a smooth, creamy mixture. This process should take about 2-3 minutes.
- Add the Vanilla Extract:
- Remove the pot from heat once the marshmallows are fully melted and smooth.
- Stir in the vanilla extract, mixing well to incorporate it evenly into the marshmallow mixture.
- Mix in the Cereals:
- Quickly add the Fruity Pebbles and Rice Krispies cereals to the pot.
- Stir the mixture thoroughly, ensuring that all the cereal is evenly coated with the marshmallow mixture. Work quickly, as the mixture can start to harden as it cools.
- Transfer to the Baking Dish:
- Pour the cereal mixture into the prepared 9×13-inch baking dish.
- Using a spatula sprayed with a bit of cooking spray, press the mixture evenly into the dish. Be careful not to press too hard, as this can make the treats too dense.
- Cool and Cut:
- Allow the Fruity Pebbles Krispie Treats to cool at room temperature for about 30 minutes.
- Once cooled and set, cut the treats into squares of your desired size.
Serving: These Fruity Pebbles Krispie Treats are best served at room temperature. They can be enjoyed as a sweet snack on their own or paired with a glass of milk. Their vibrant colors make them especially appealing for parties, kids’ gatherings, or as a fun treat to brighten up any day.
Pairing and Serving Suggestions:
- Beverages: Pair these treats with a cold glass of milk, hot cocoa, or a fruity juice to complement the flavors.
- Dessert Table: Add them to a dessert table alongside other finger foods like cookies, brownies, or cake pops.
- Garnish: For a special touch, drizzle melted white chocolate over the top of the treats before they cool completely.
Variations of the Recipe:
- Chocolate Twist: Add 1/2 cup of mini chocolate chips to the cereal mixture for a chocolatey version of these treats.
- Peanut Butter: Stir in 1/2 cup of smooth peanut butter with the melted marshmallows for a nutty flavor.
- Extra Marshmallows: Fold in an additional 1/2 cup of mini marshmallows after mixing in the cereals for extra gooey treats.
Health Benefits: While Fruity Pebbles Krispie Treats are an indulgent dessert, they offer a fun way to enjoy a treat in moderation. Making them at home allows you to control the portion size and avoid added preservatives that are often found in store-bought versions. They are also a great way to bring some joy and nostalgia to your diet, especially when shared with family and friends.
Notes:
- If you prefer thicker treats, you can use an 8×8-inch baking dish instead of the 9×13-inch dish, which will yield taller squares.
- Store the treats in an airtight container at room temperature for up to 3 days to maintain their freshness and chewiness.
FAQs:
- Can I use other cereals instead of Fruity Pebbles?
- Yes, you can substitute Fruity Pebbles with Cocoa Pebbles, Cheerios, or any other cereal you enjoy for a different flavor profile.
- How do I prevent the treats from sticking to the spatula?
- Spraying the spatula with a bit of cooking spray before pressing the mixture into the pan helps prevent sticking. You can also use a piece of parchment paper to press down the mixture.
- Can I freeze these treats?
- Yes, you can freeze Fruity Pebbles Krispie Treats by wrapping them individually in plastic wrap and storing them in a freezer-safe bag. They can be frozen for up to 6 weeks. To enjoy, thaw at room temperature.
- What if my treats are too hard?
- If the treats turn out too hard, it may be because they were pressed too firmly into the pan or cooked at too high a temperature. To avoid this, handle the mixture gently and avoid overcooking the marshmallows.
Conclusion: Fruity Pebbles Krispie Treats are a fun and delicious way to enjoy a classic childhood favorite with a fruity twist. Quick and easy to make, these treats are perfect for any occasion, from family gatherings to casual snacking. Their vibrant colors and sweet, crispy texture are sure to bring a smile to anyone’s face. Try them out and enjoy a bit of nostalgia in every bite!